SPCC Works - How to Add a New Cardholder
Navigate to https://payment2.works.com/works/home
Click on "Administration"

Click on "Organization"
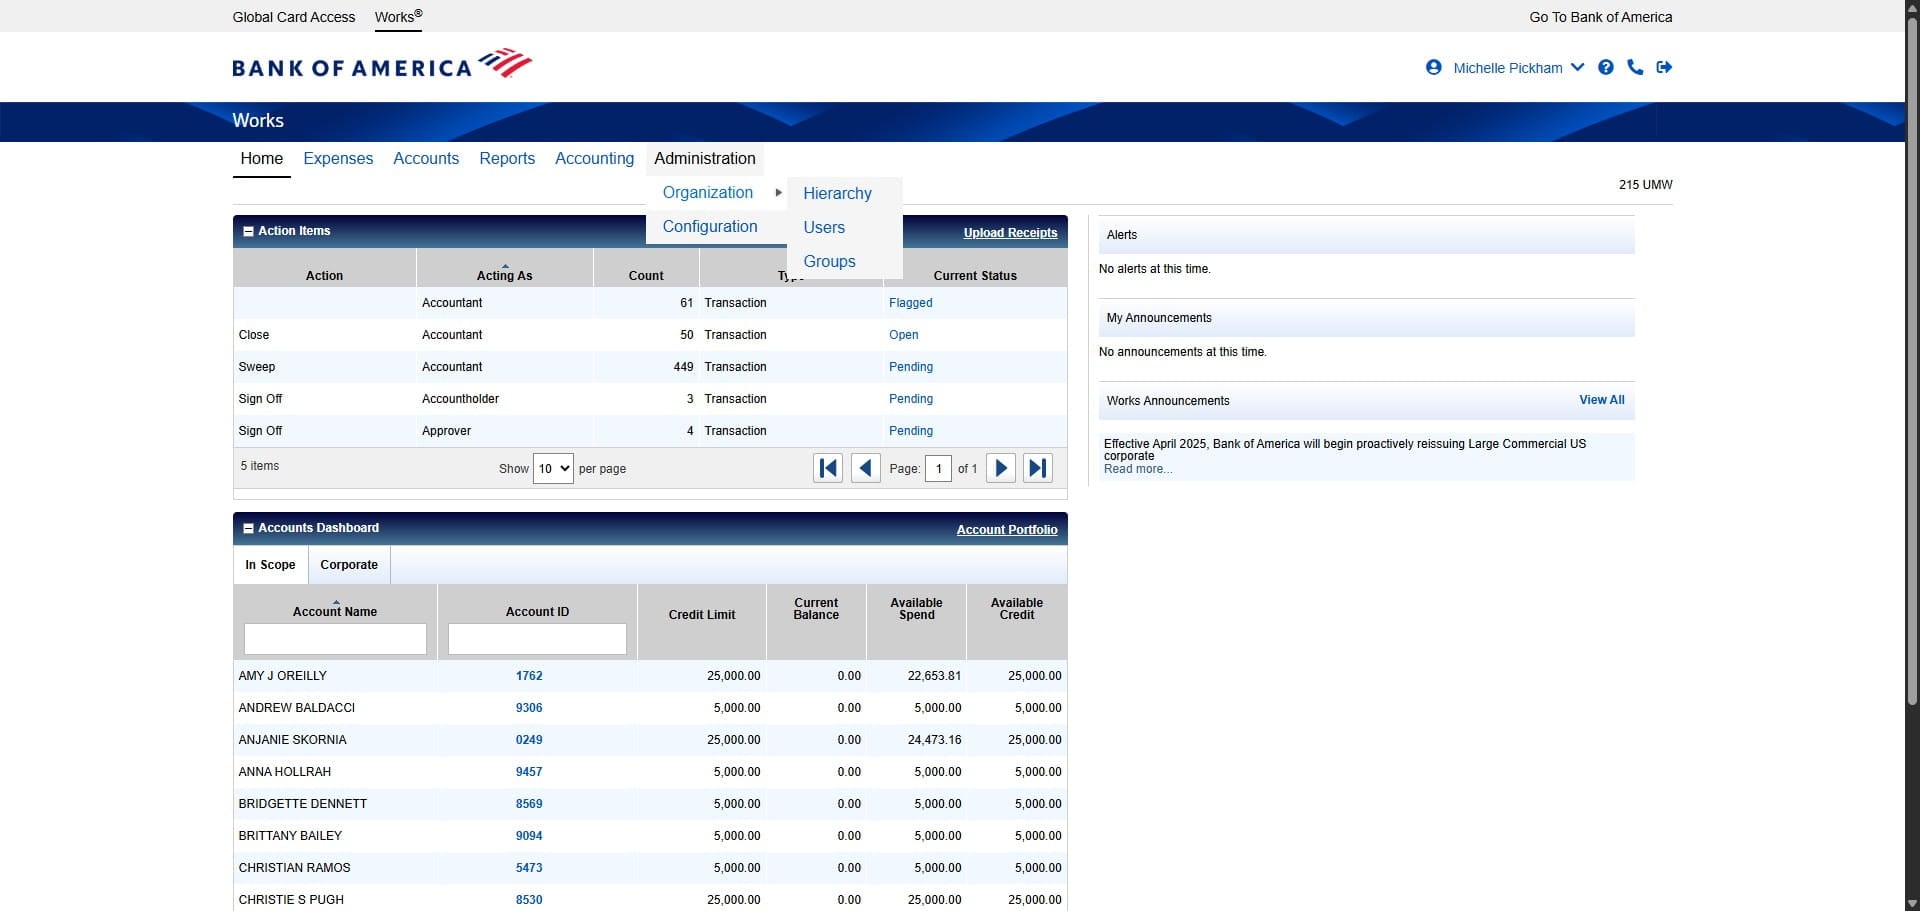
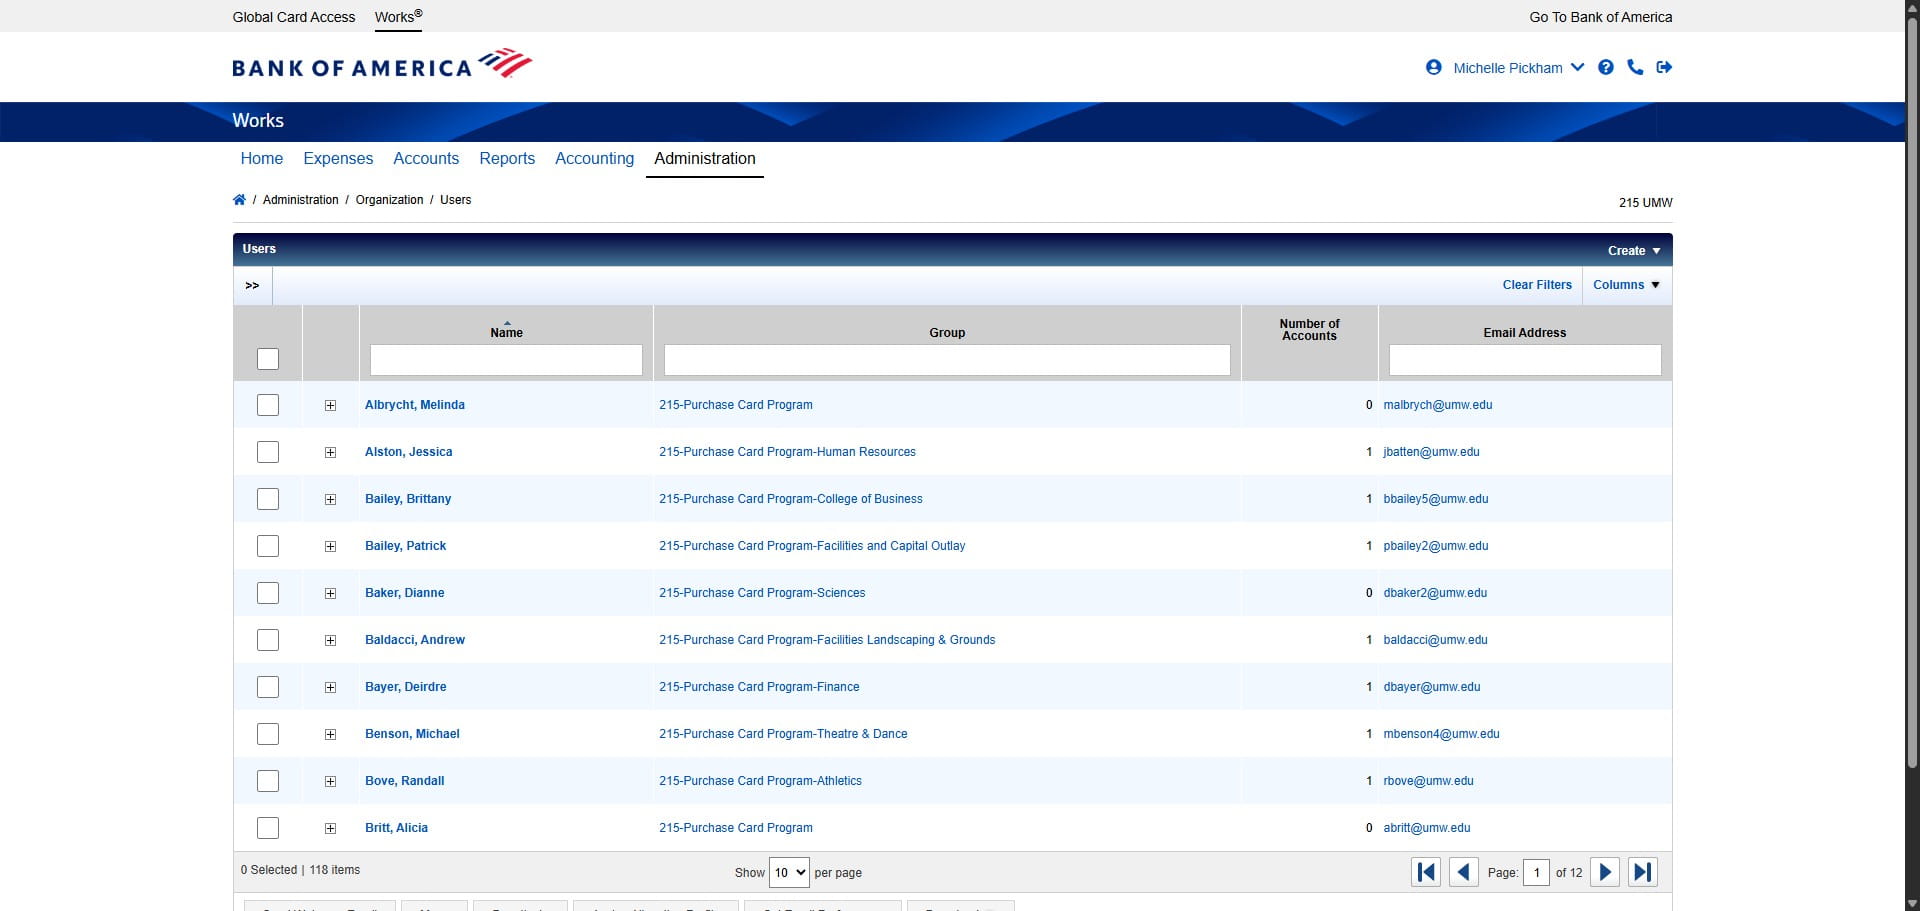
Click on "Users"

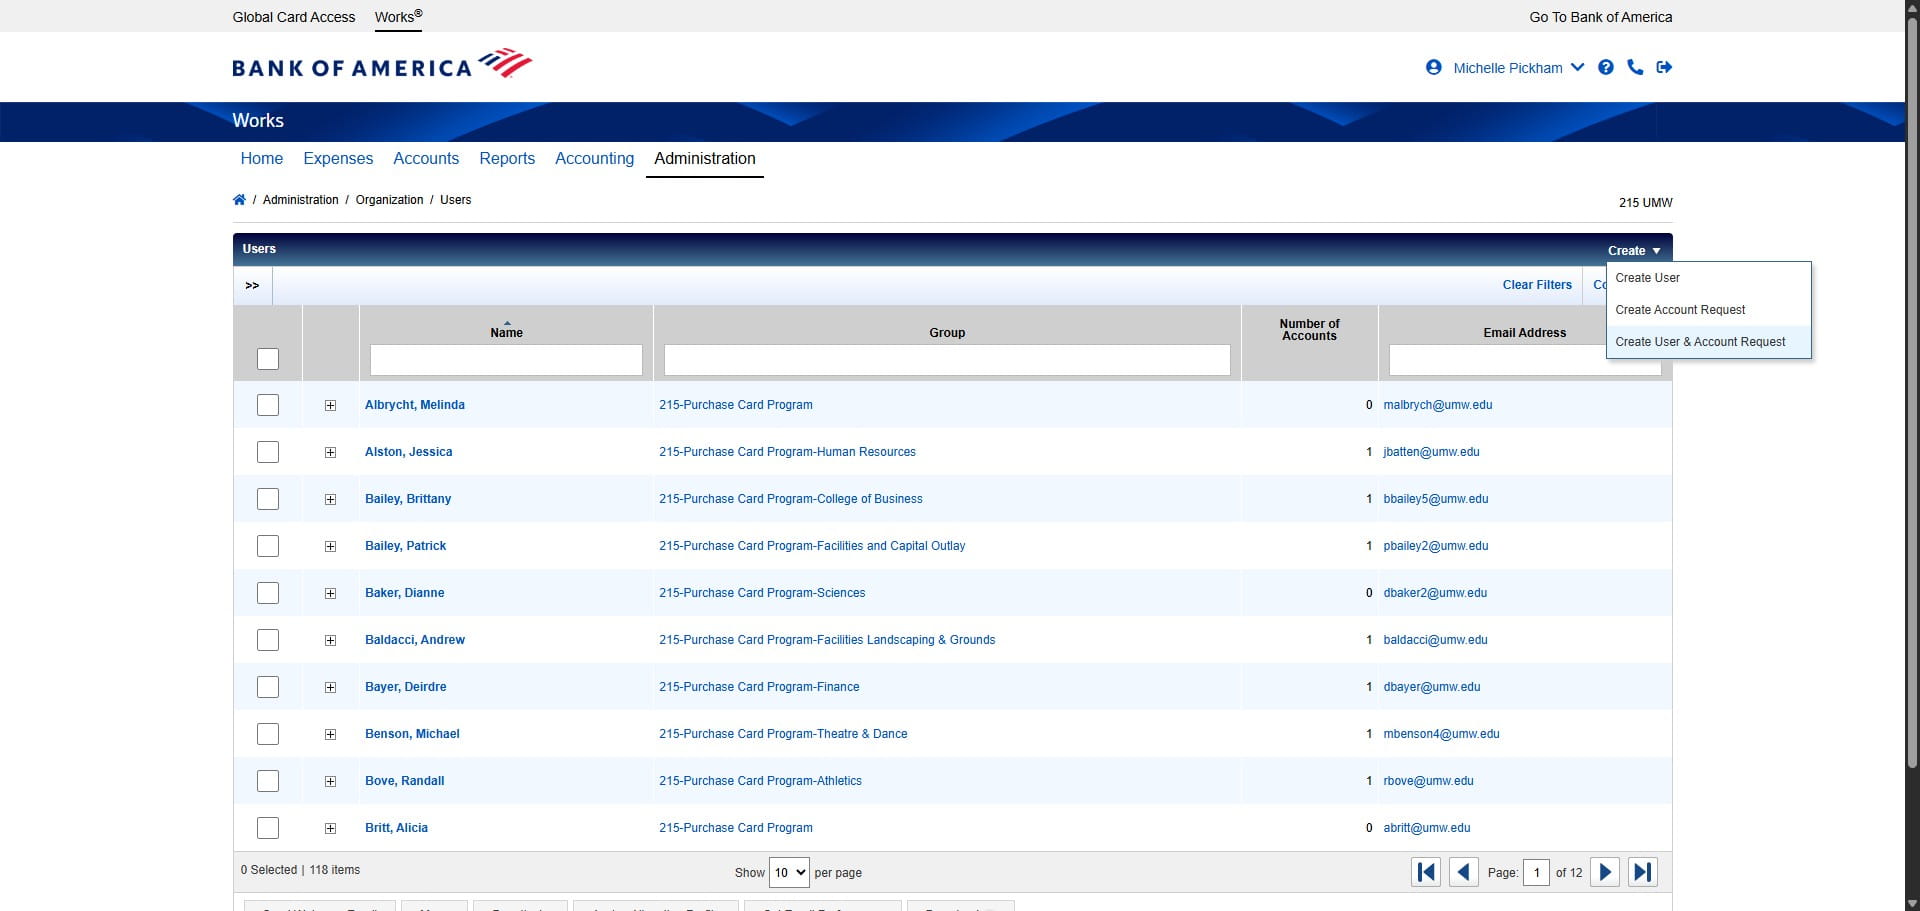
Click the drop down next to Create.
Click on "Create User & Account Request"
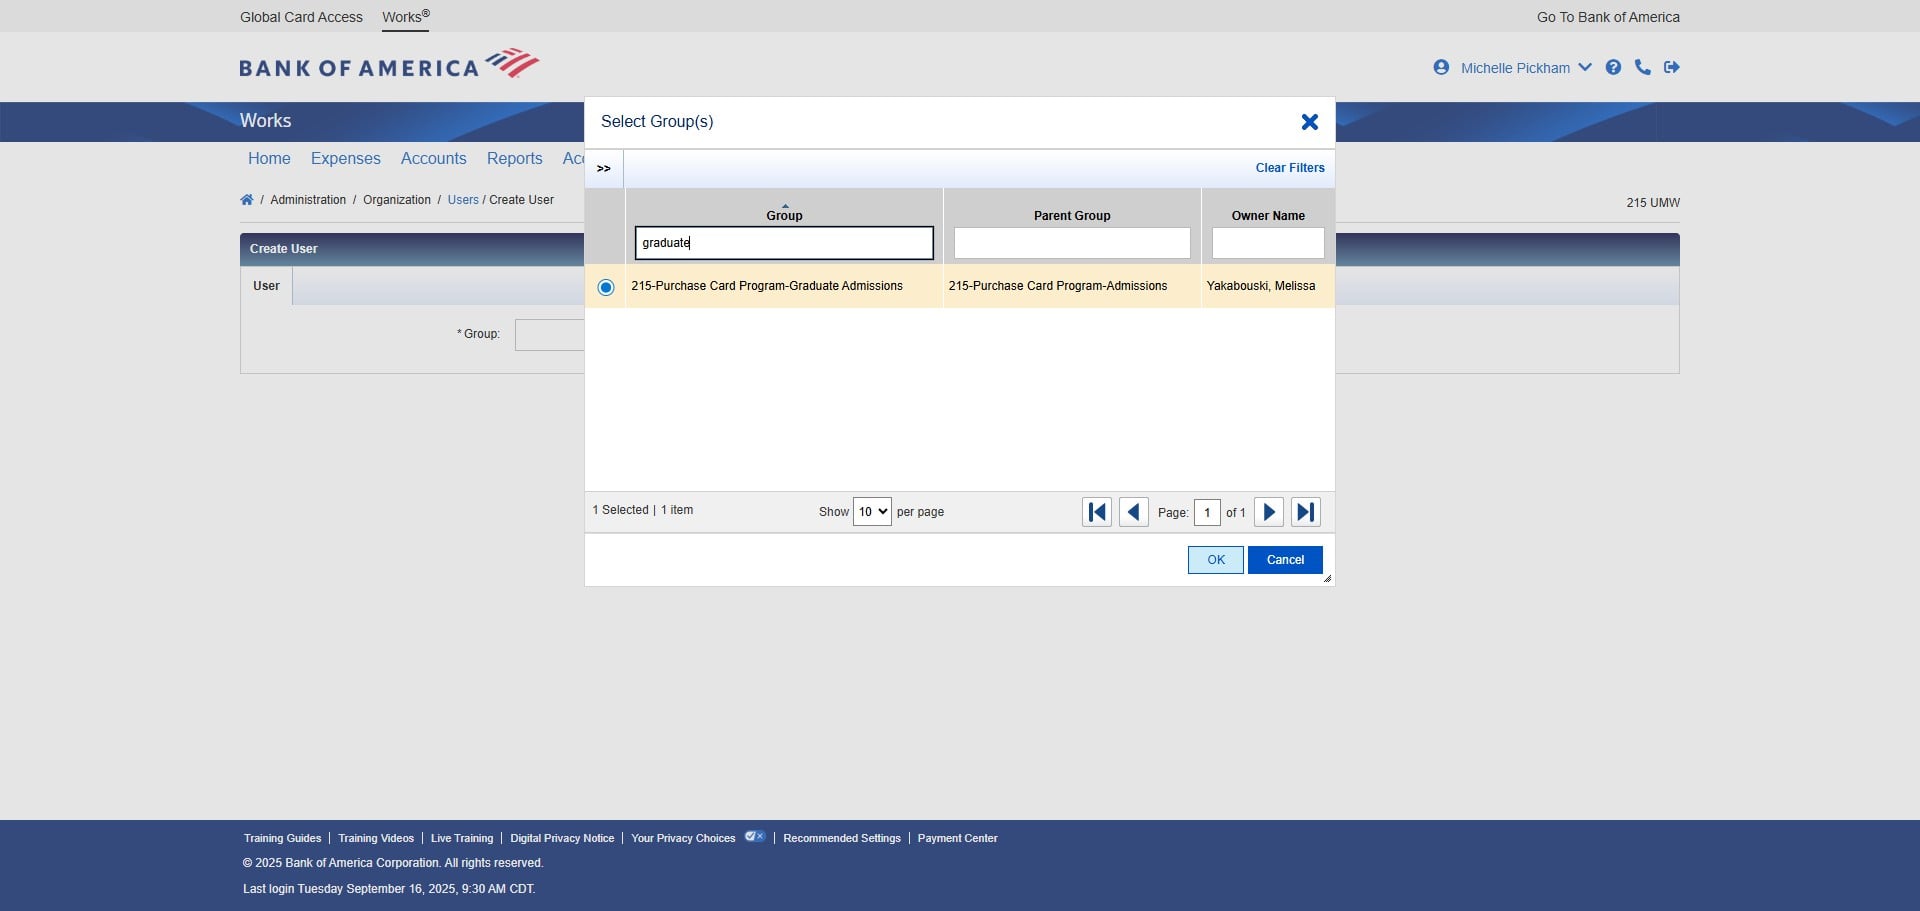
You need to select a Group for the new Cardholder. Follow the instructions on creating a new Works Group prior to adding a new Cardholder. Select the Group appropriate to that cardholder.
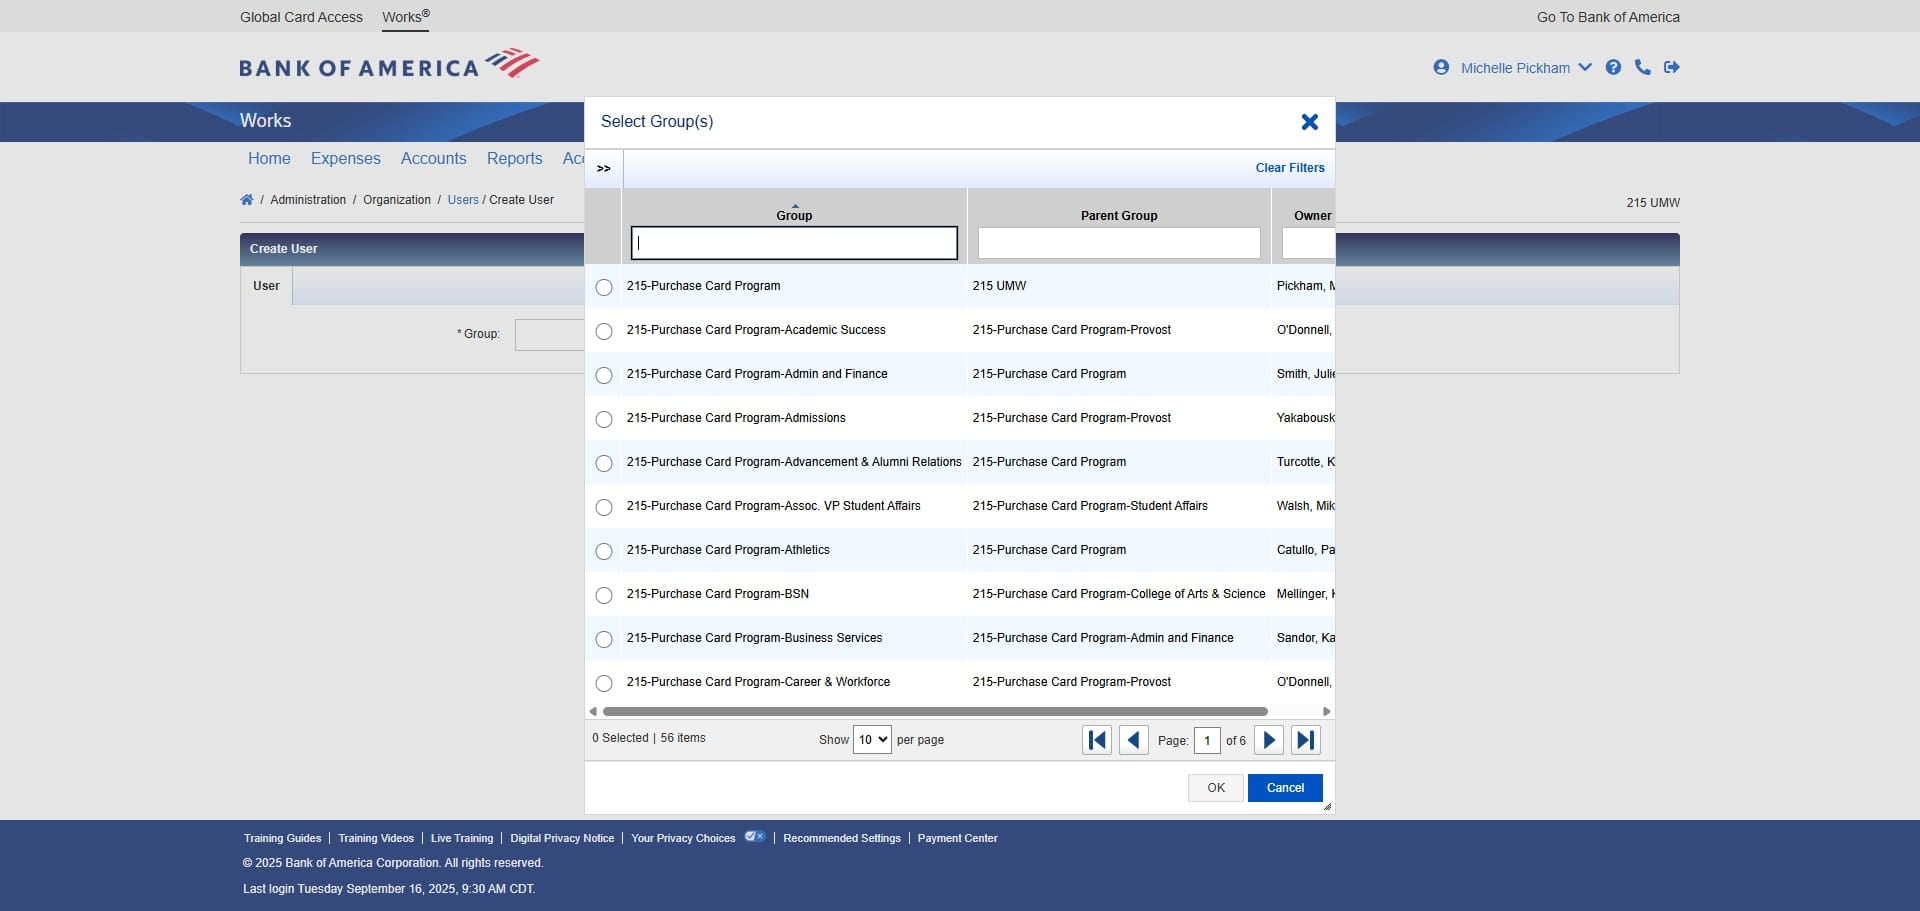
Once you've found the correct group, Click on "OK"
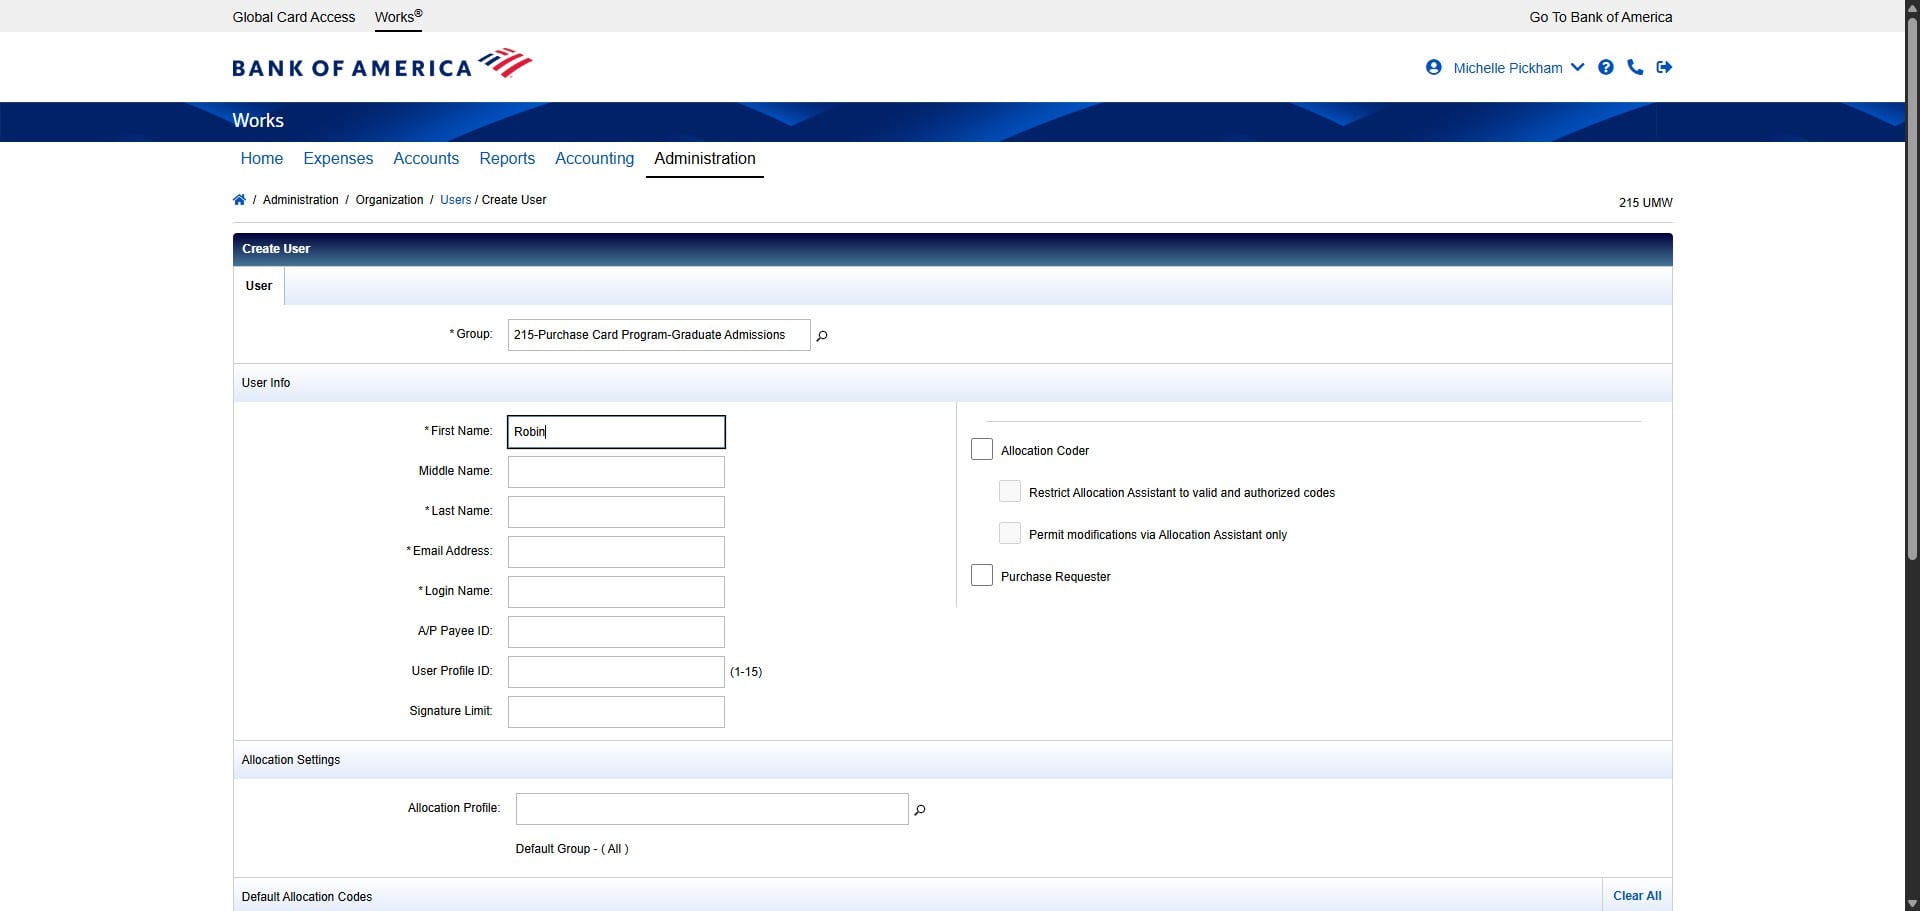
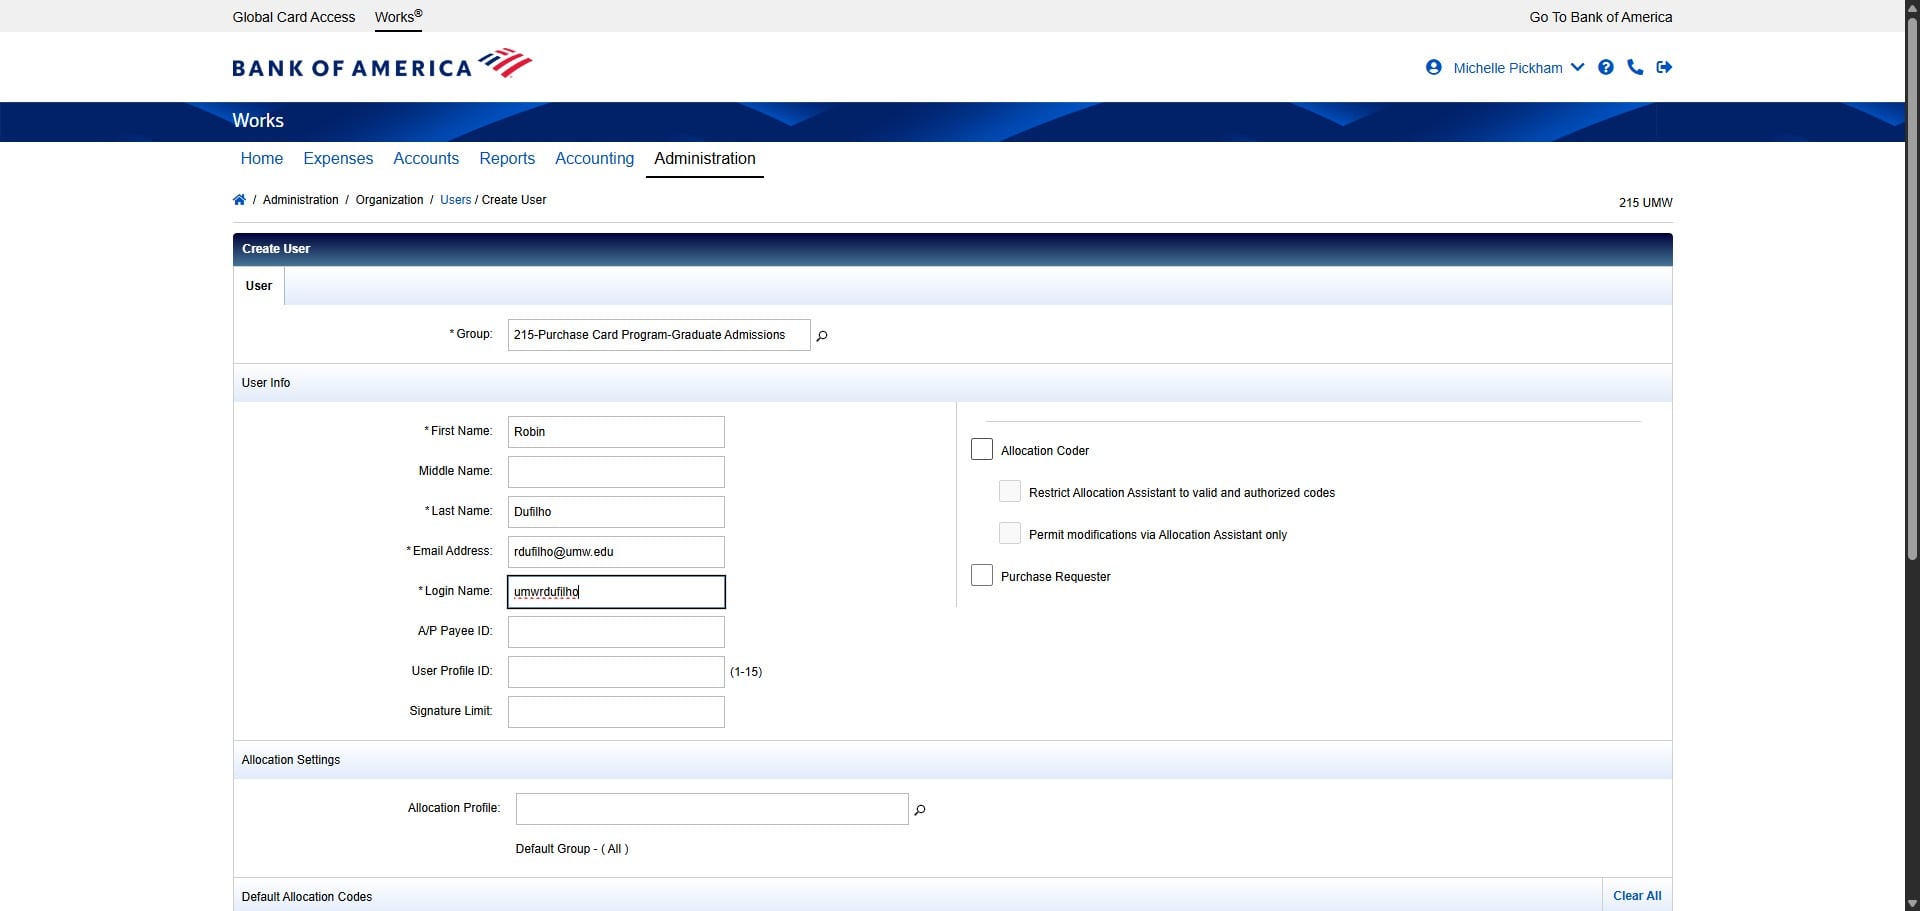
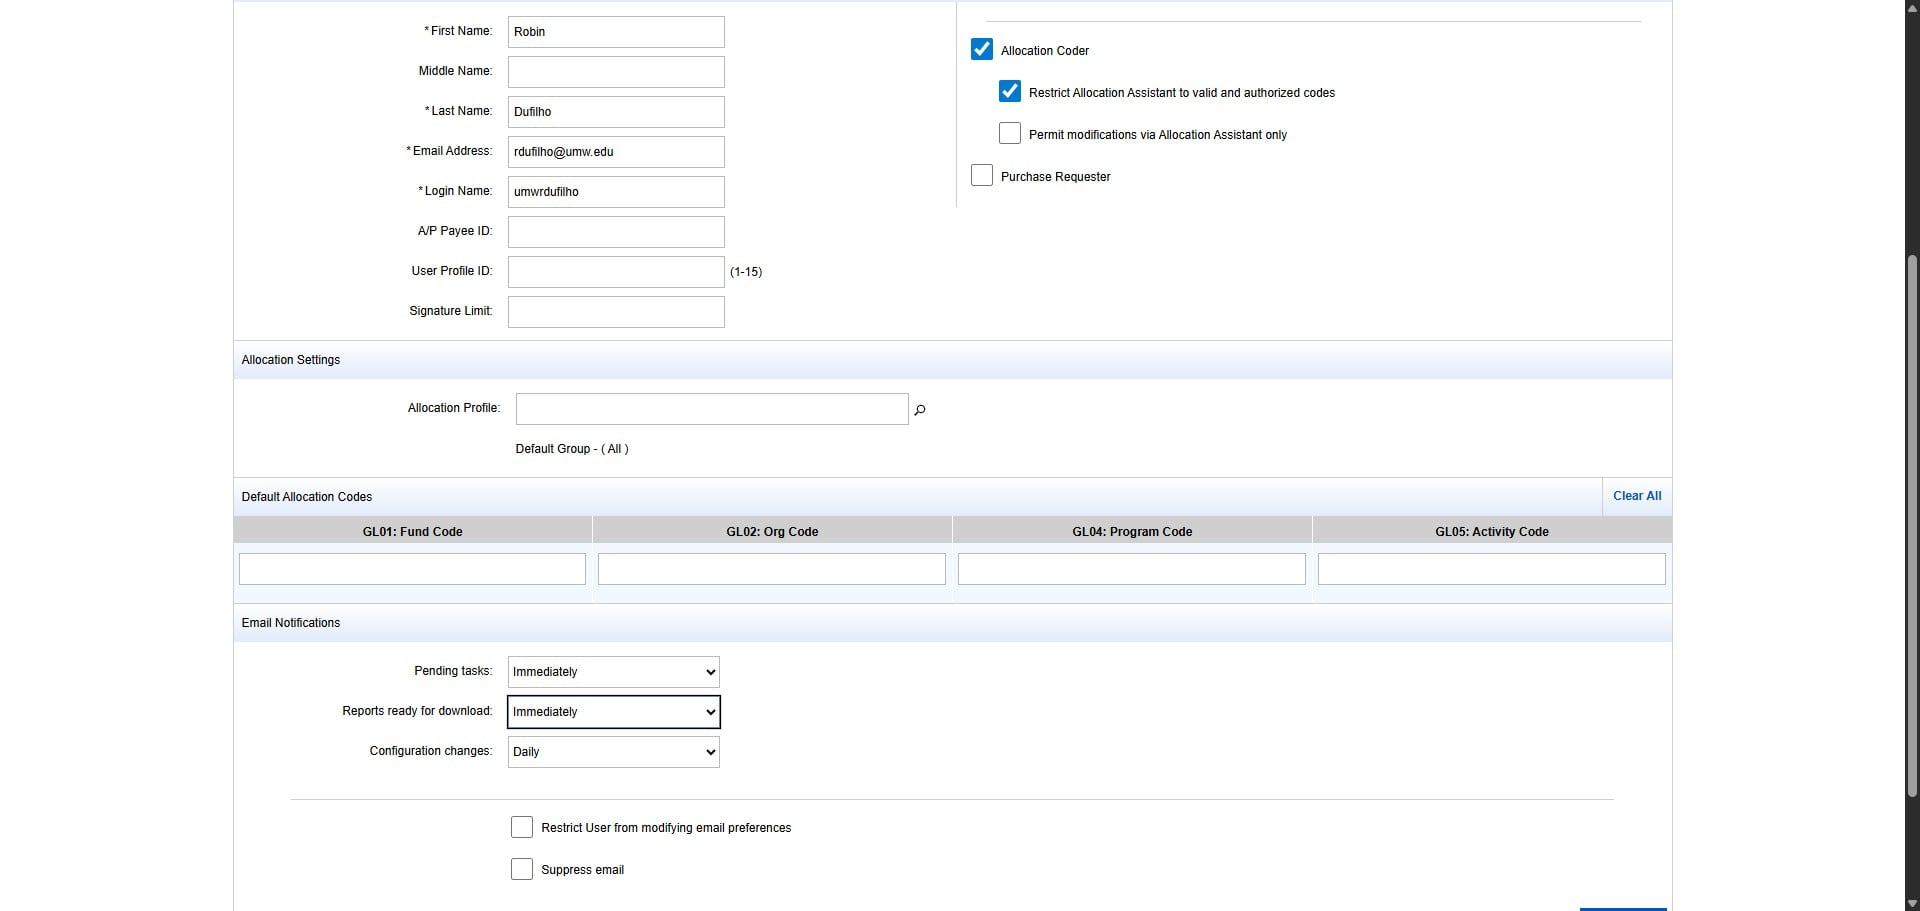
Enter the Cardholder's First Name.

Enter the Cardholder's Last Name.
Enter the Cardholder's Email Address.
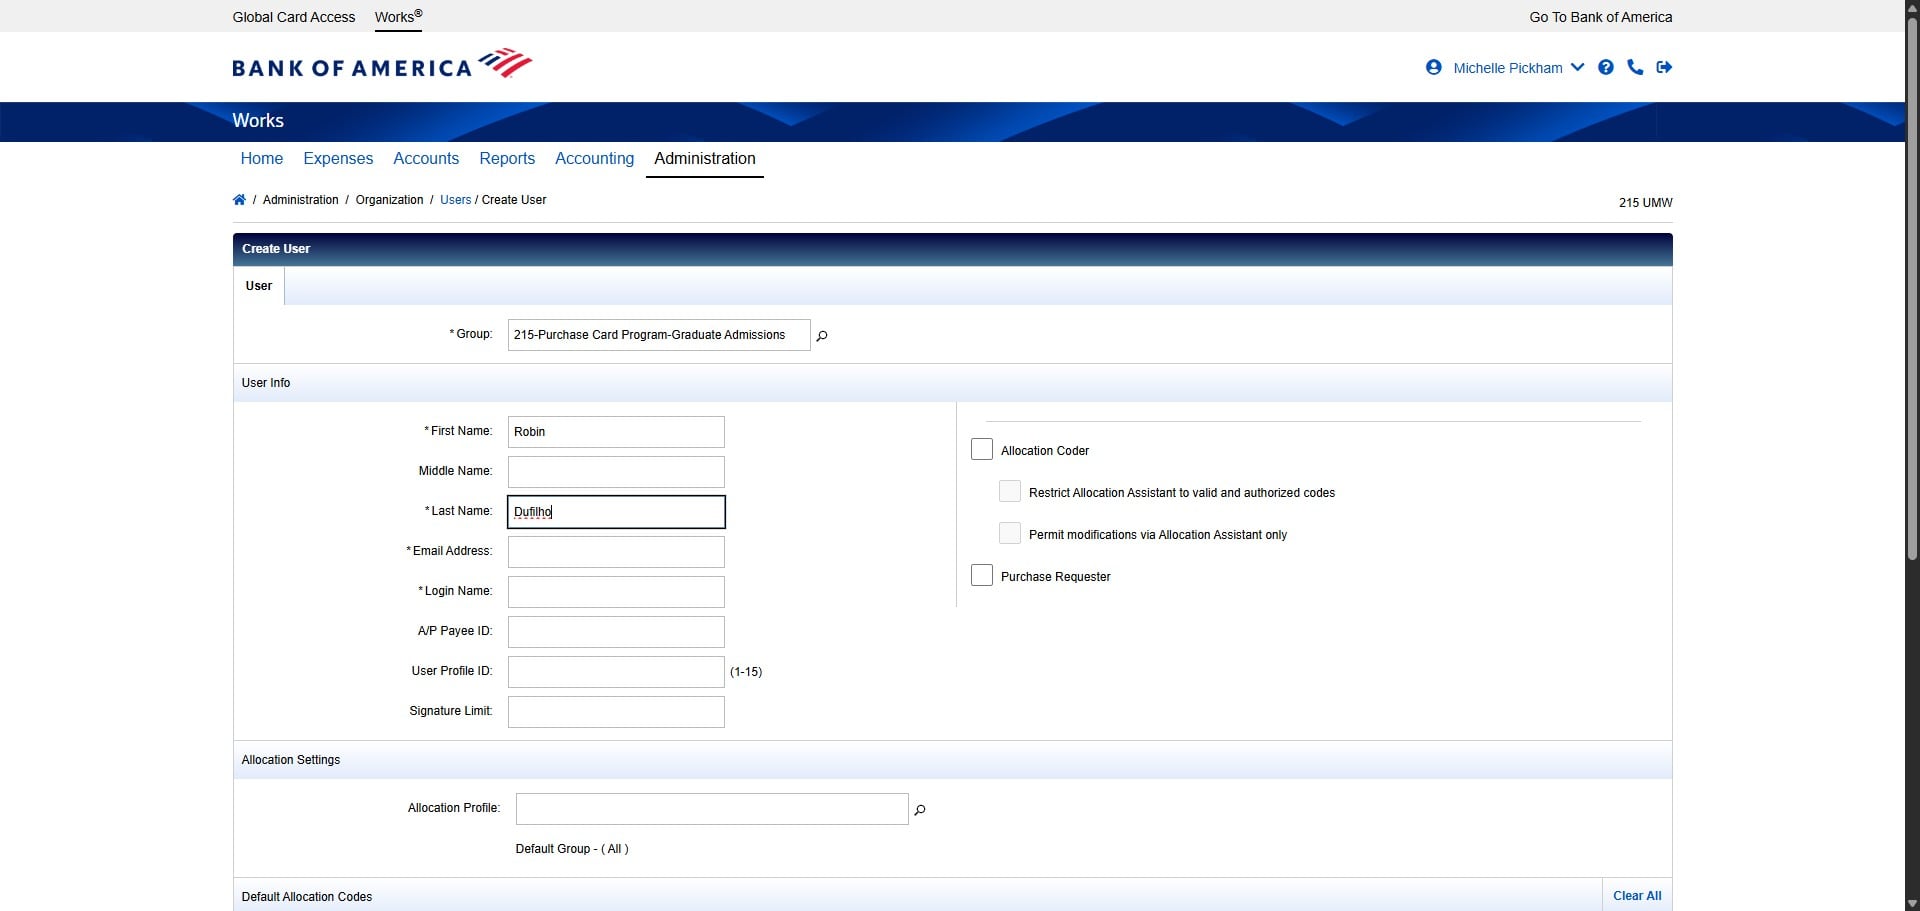
Create the Cardholder's Login Name by the formula umw+netID. In this case, Robin Dufilho's email address (her netID) is rdufilho, so the Login Name would be umwrdufilho.

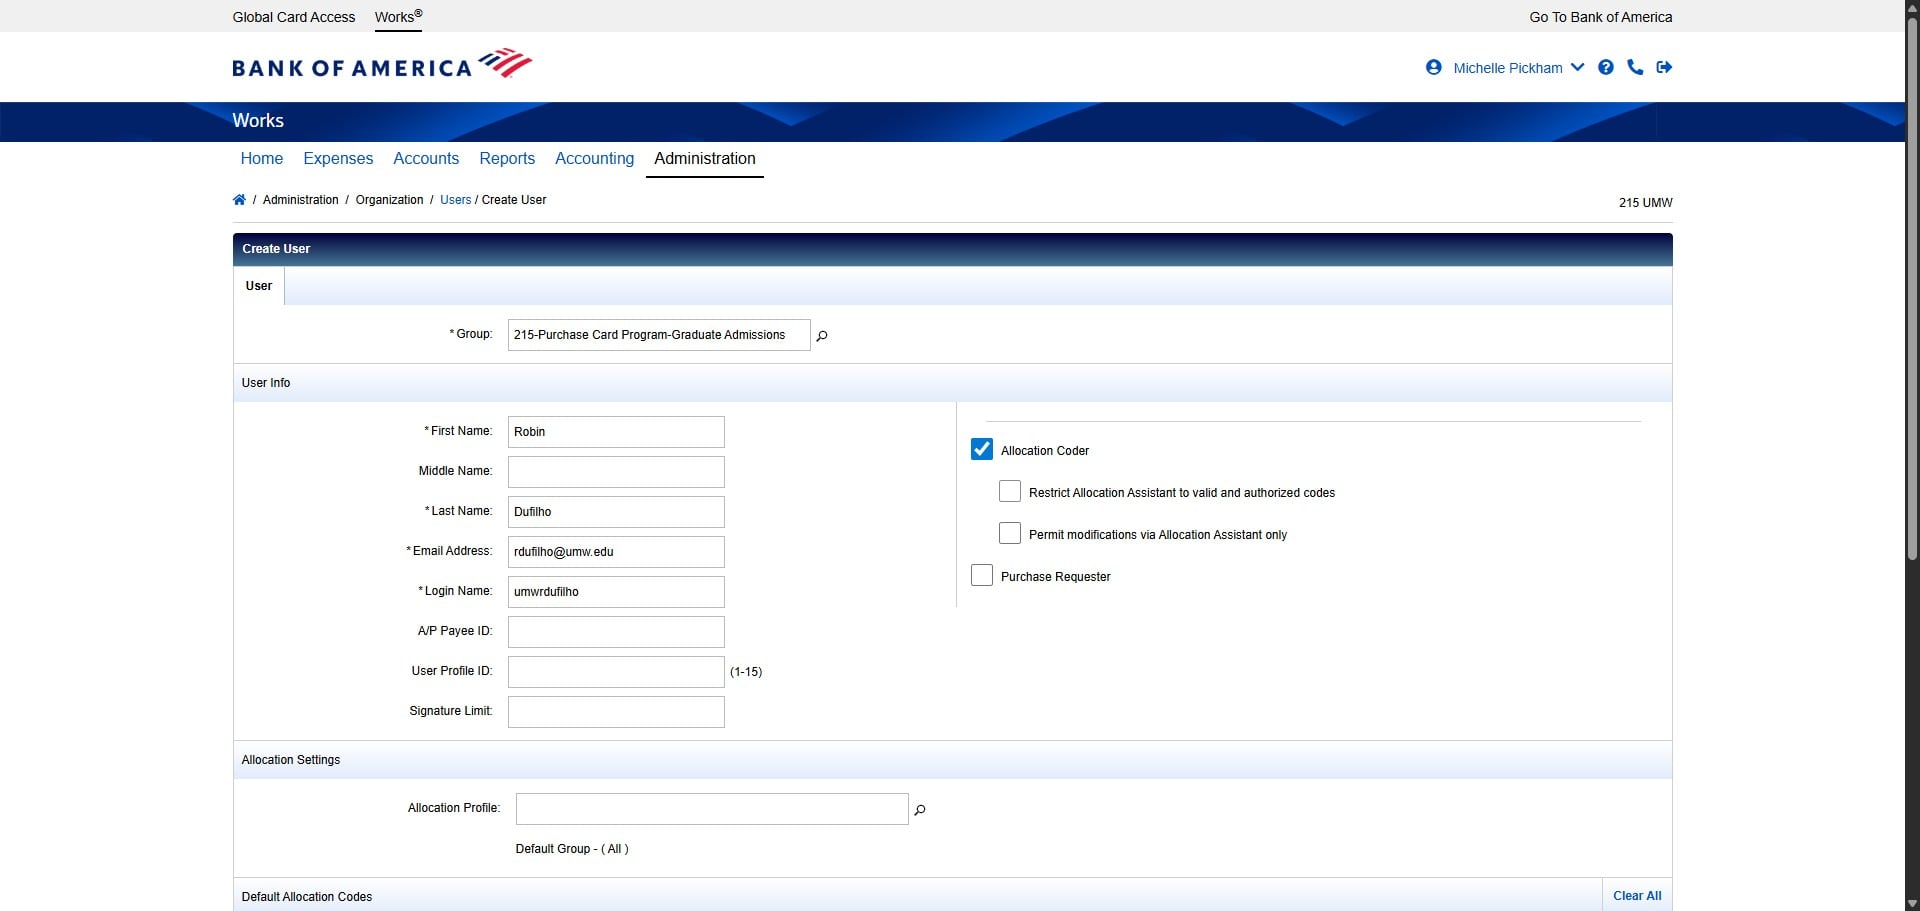
Check the box next to Allocation Coder.
Check the box next to Restrict Allocation Assistant to valid and authorized codes.
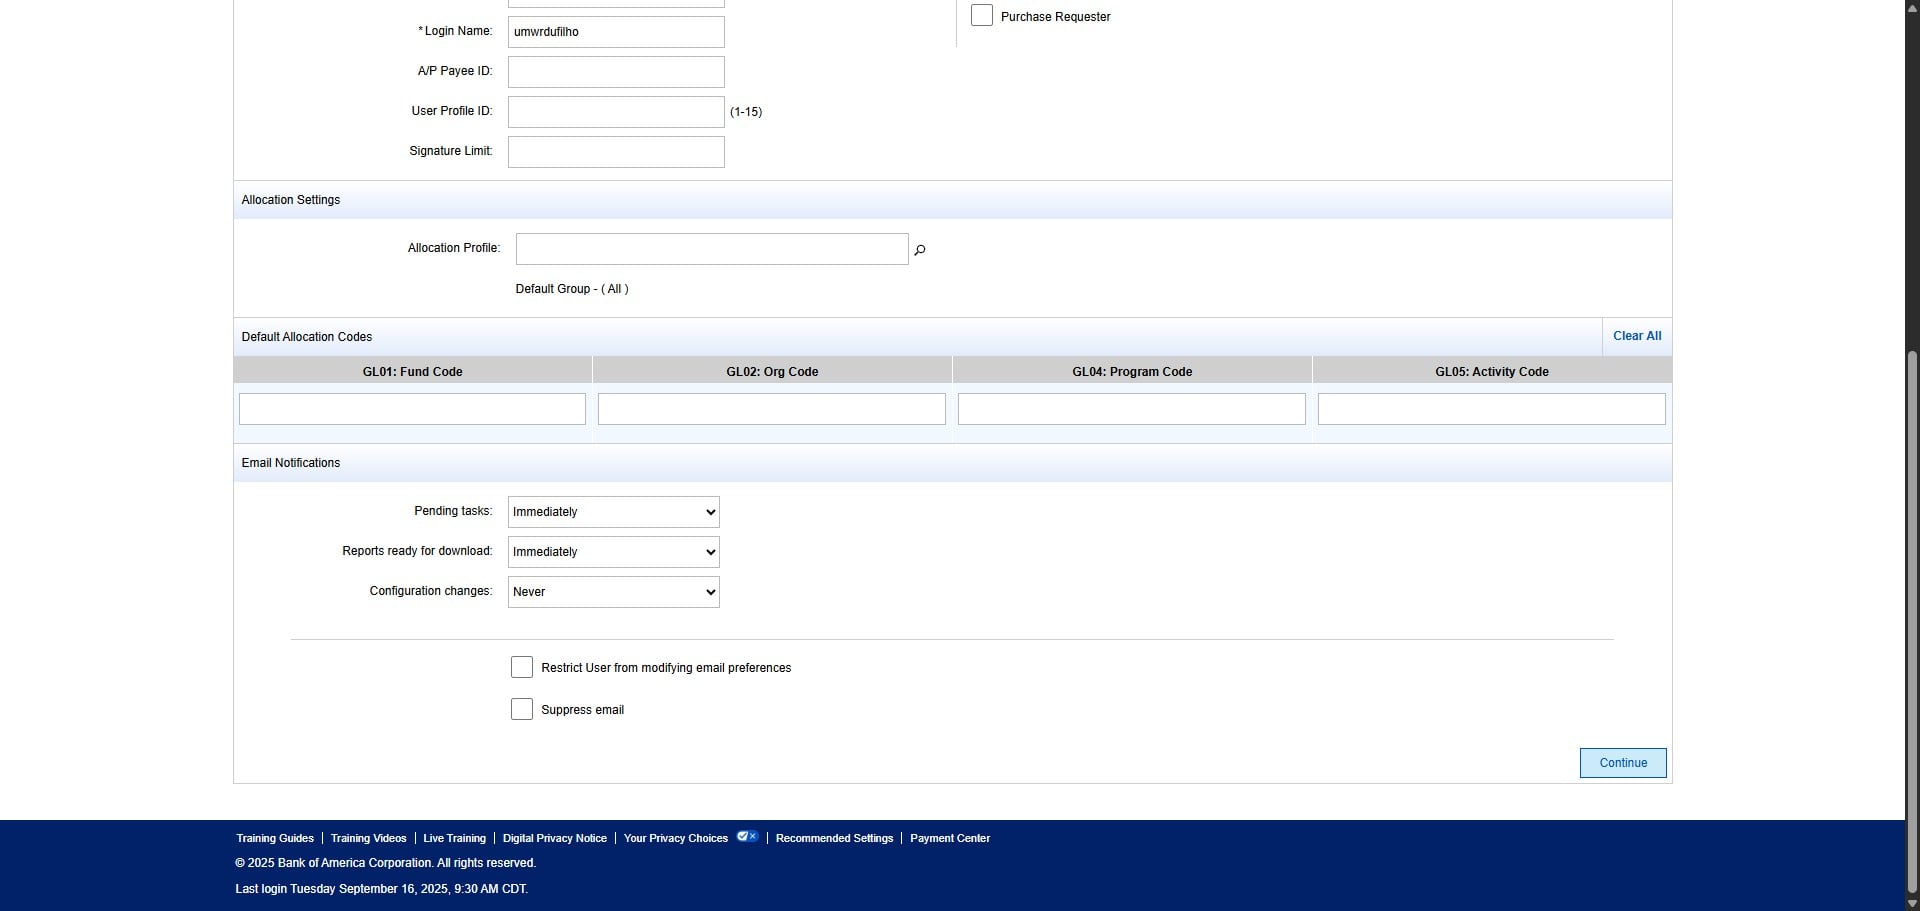
Scroll down and change the email notifications for Pending tasks from Daily to "Immediately"
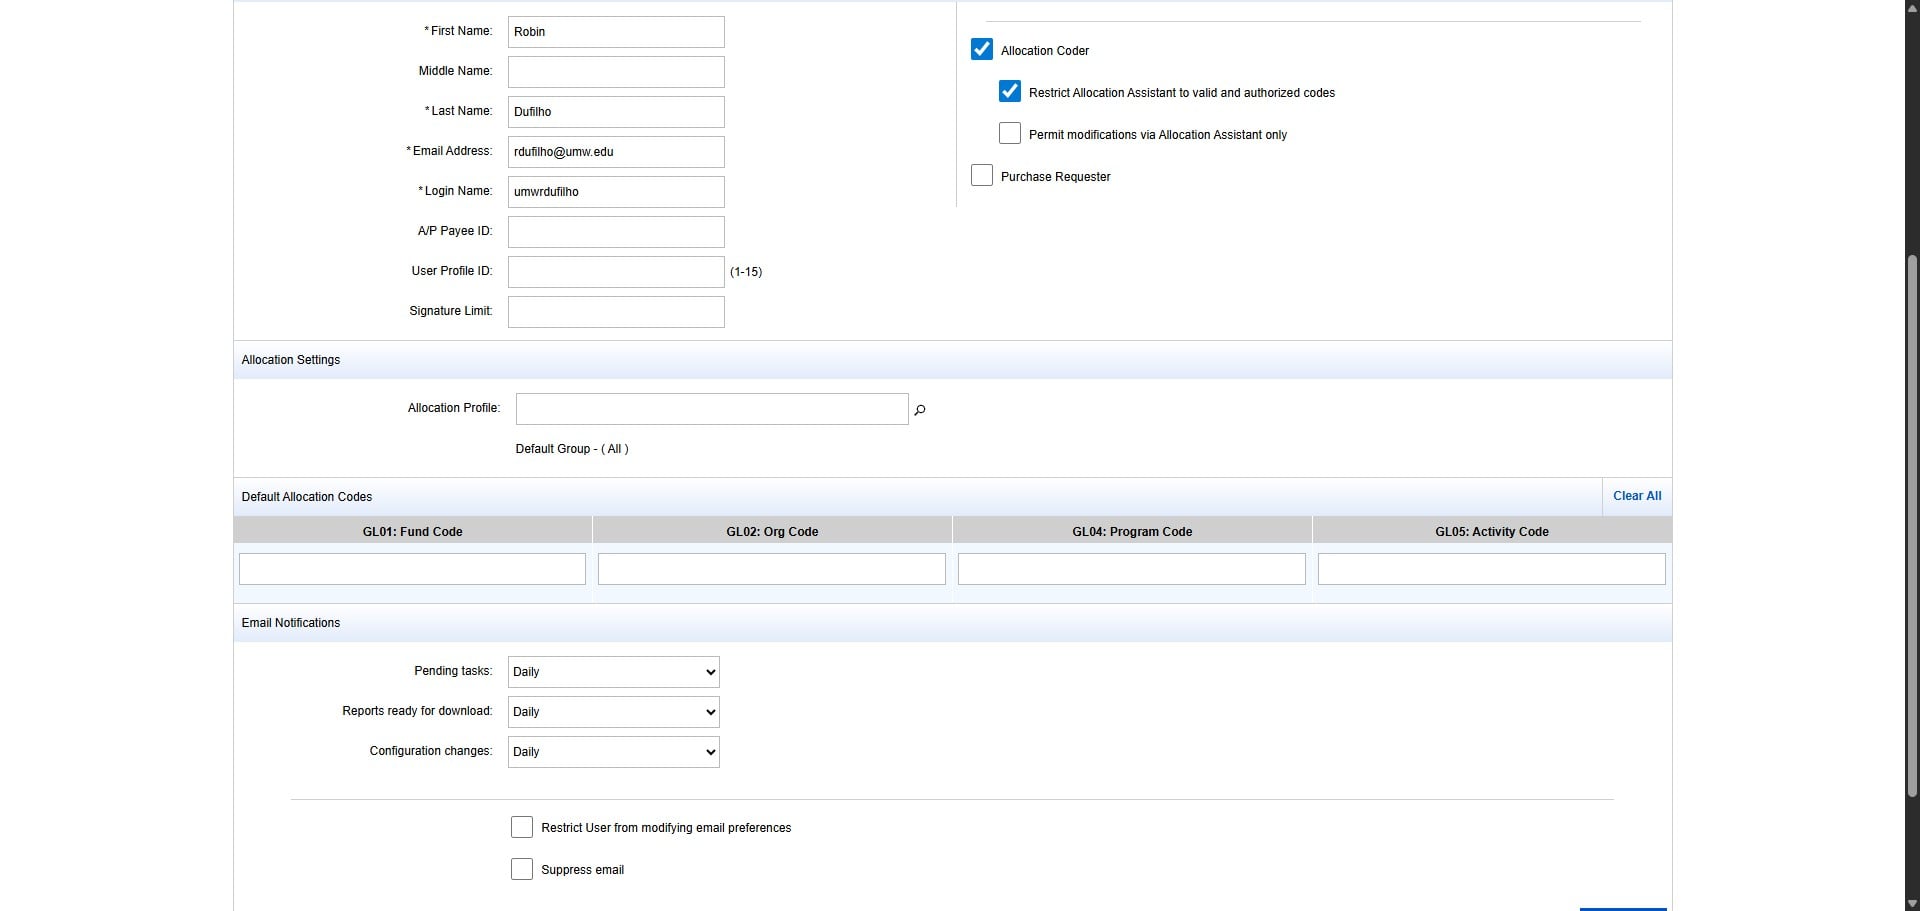
Change the Reports ready for download from Daily to "Immediately"
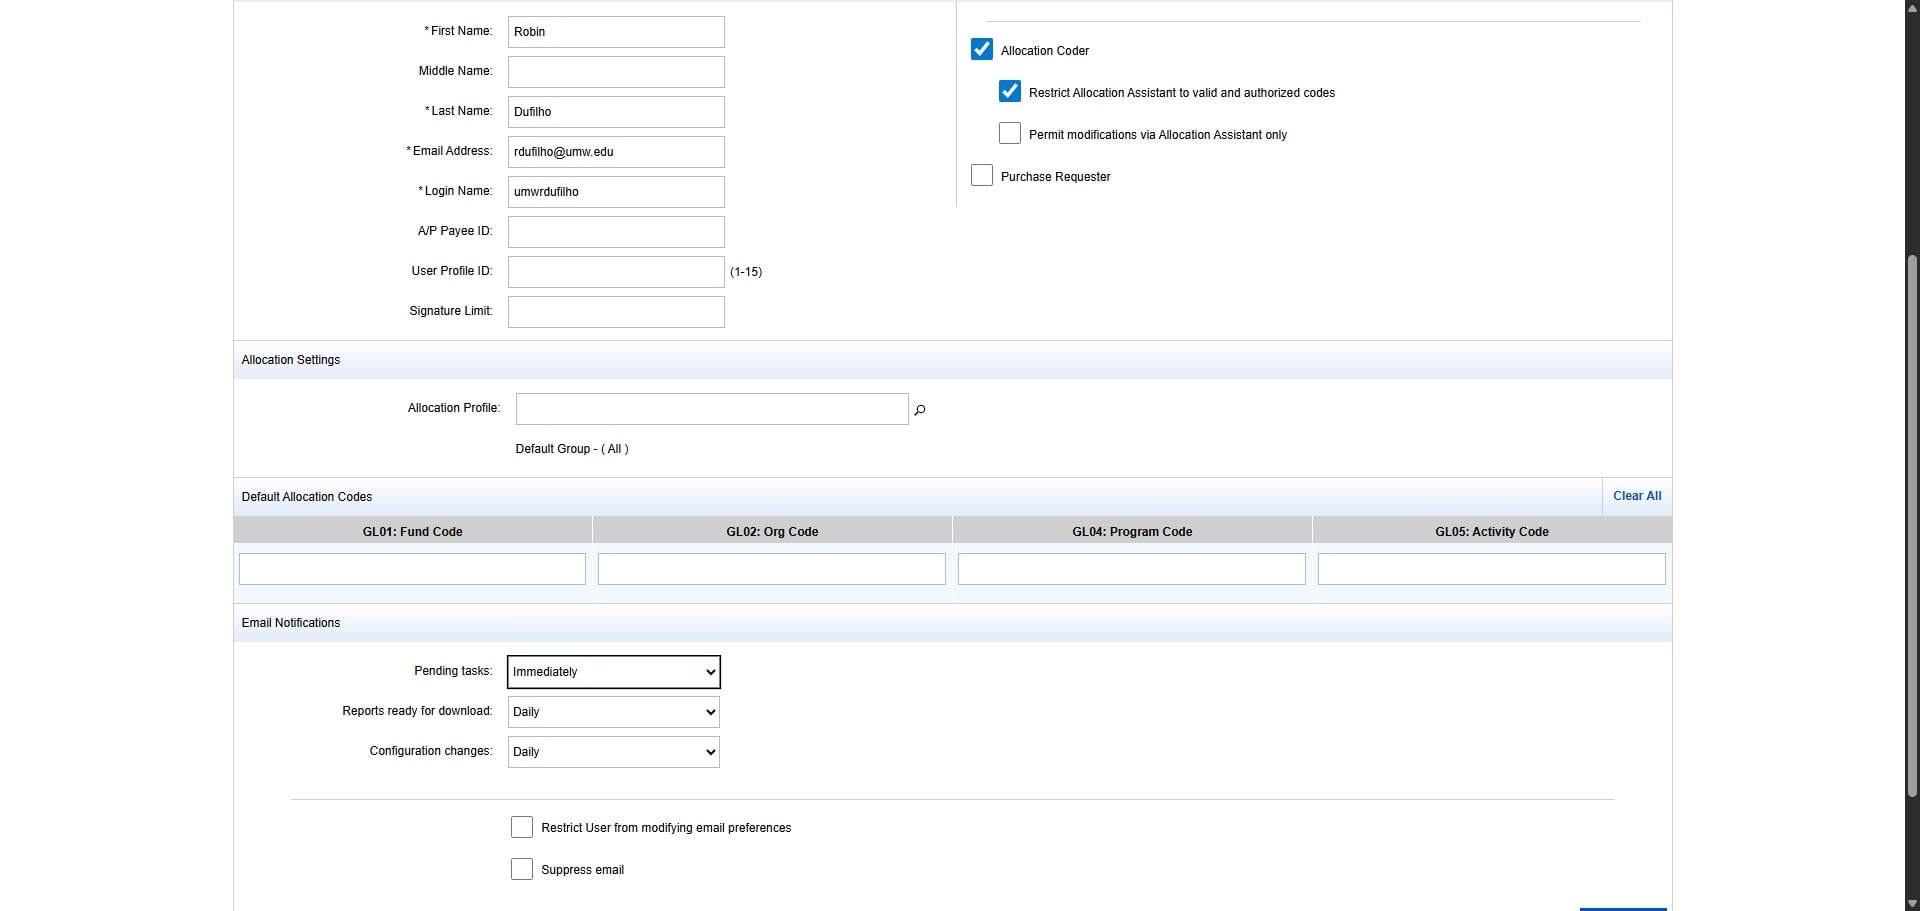
Change Configuration changes from Daily to "Never"
Then Click Continue.
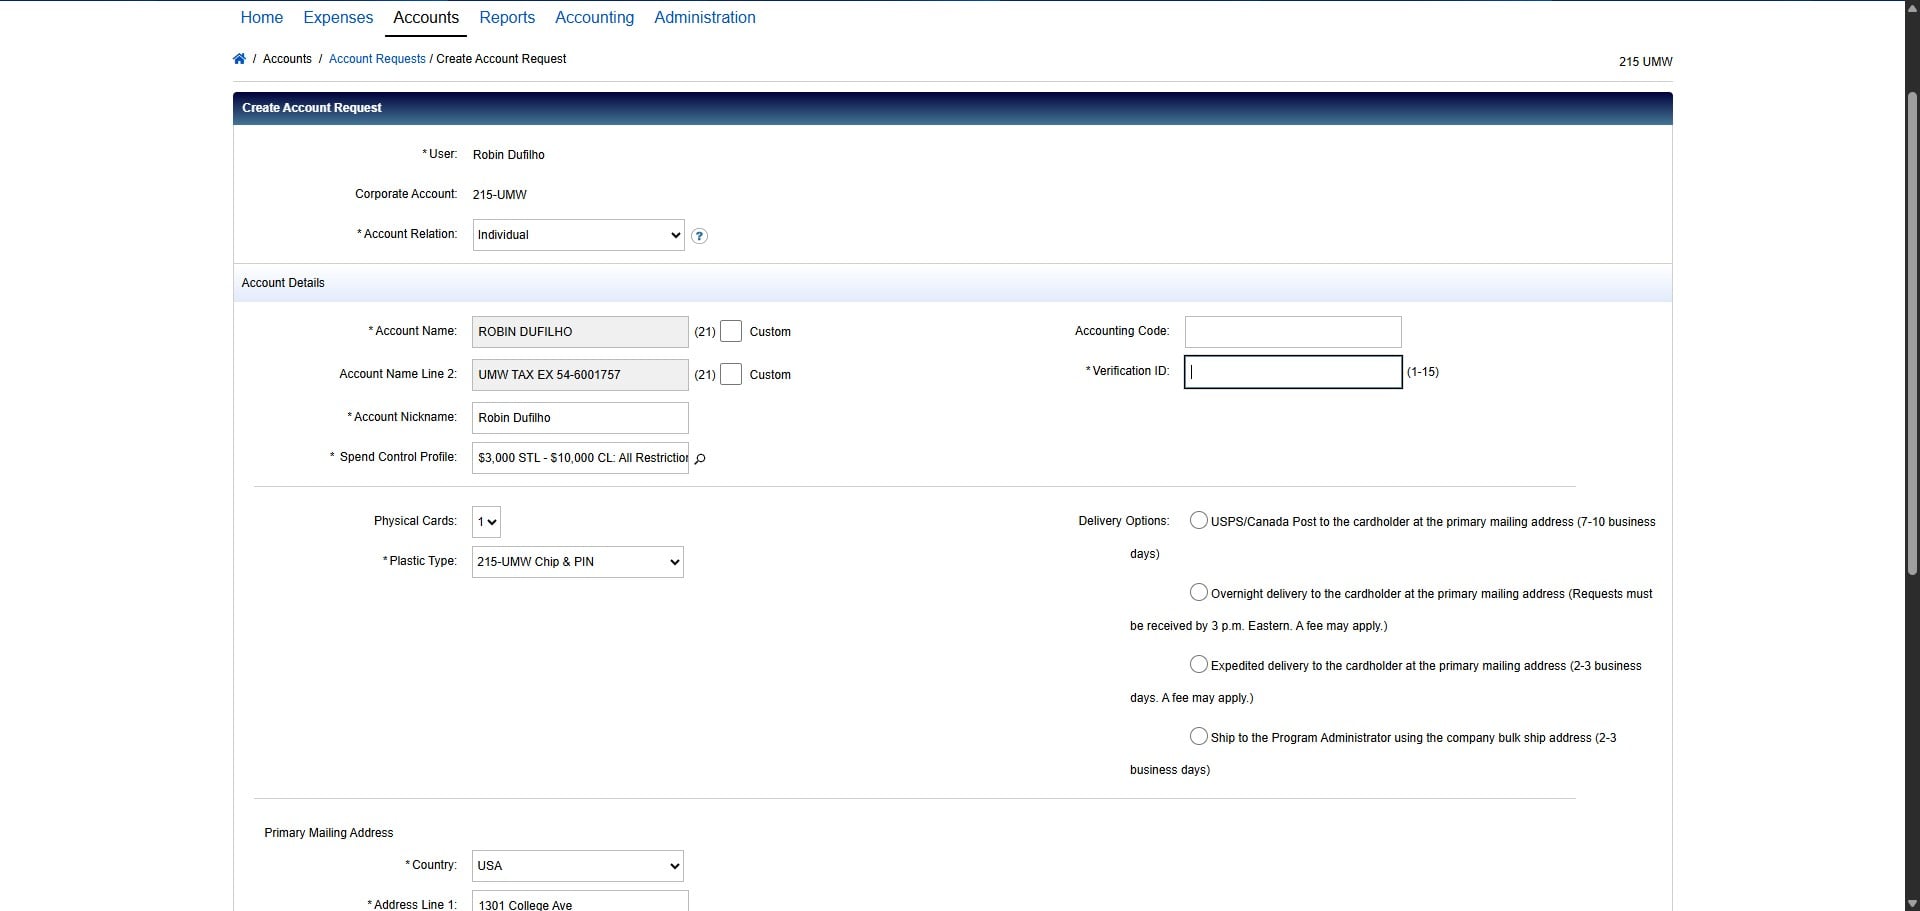
Change Account Relation to Individual.
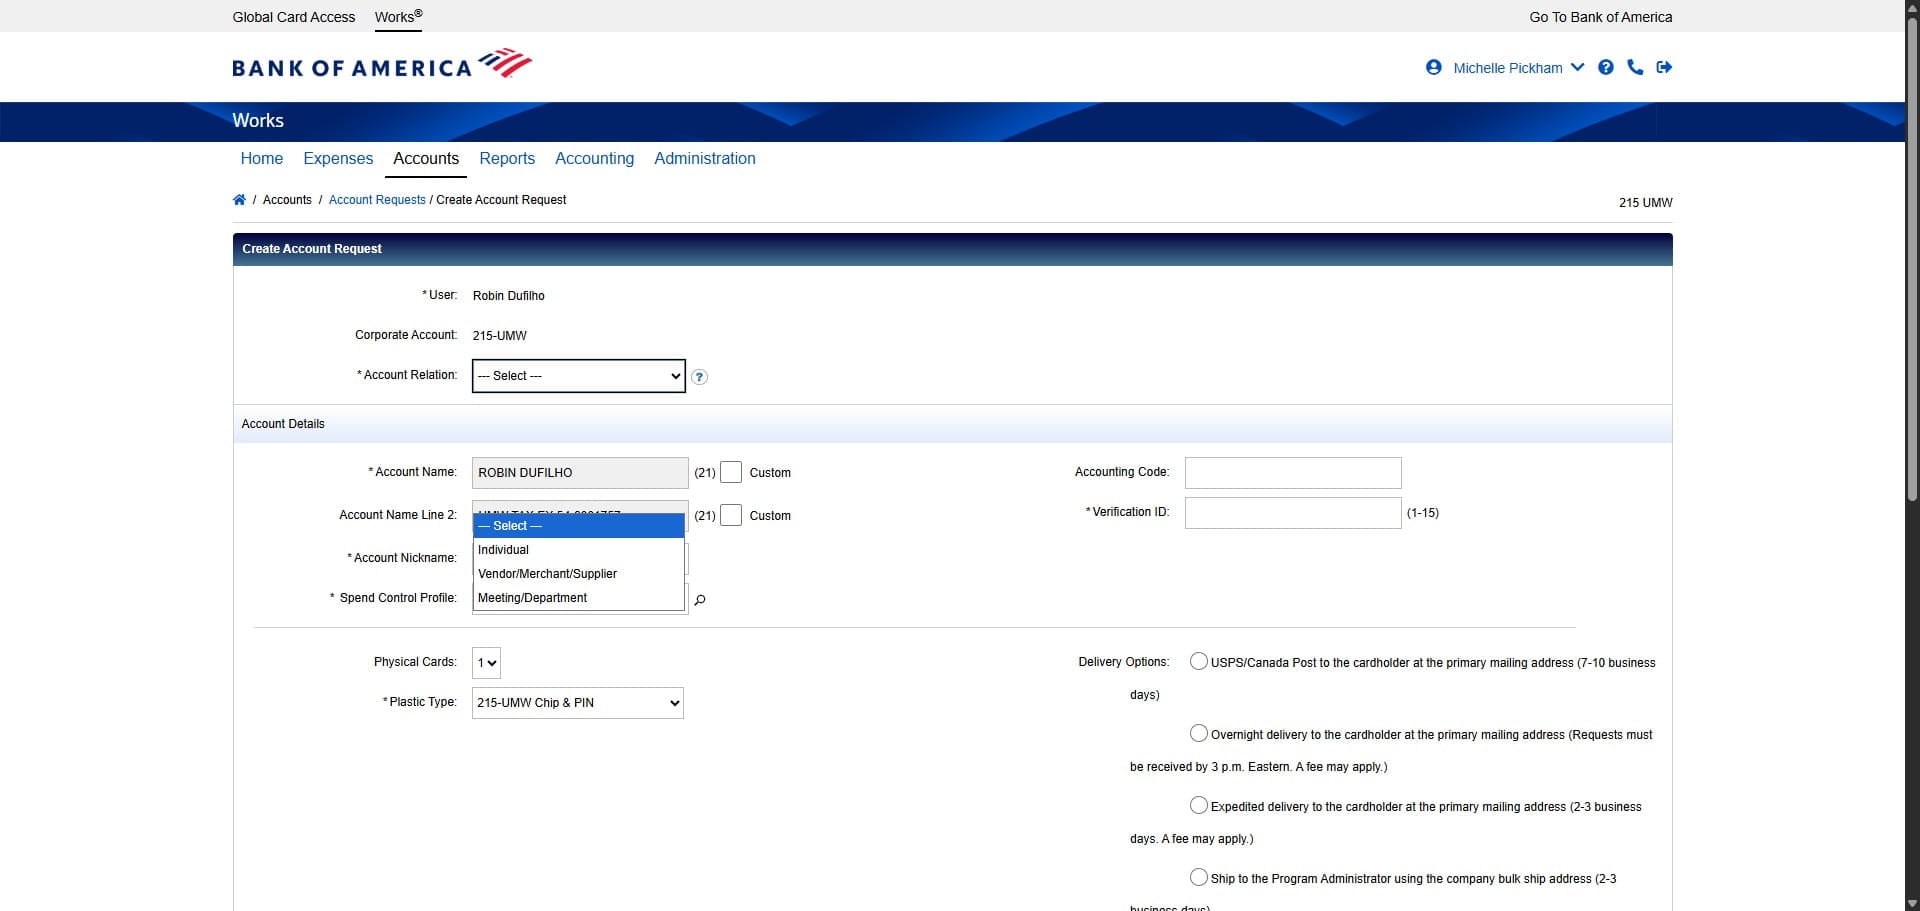
Change the Spend Control Profile to the appropriate setting for that Cardholder.
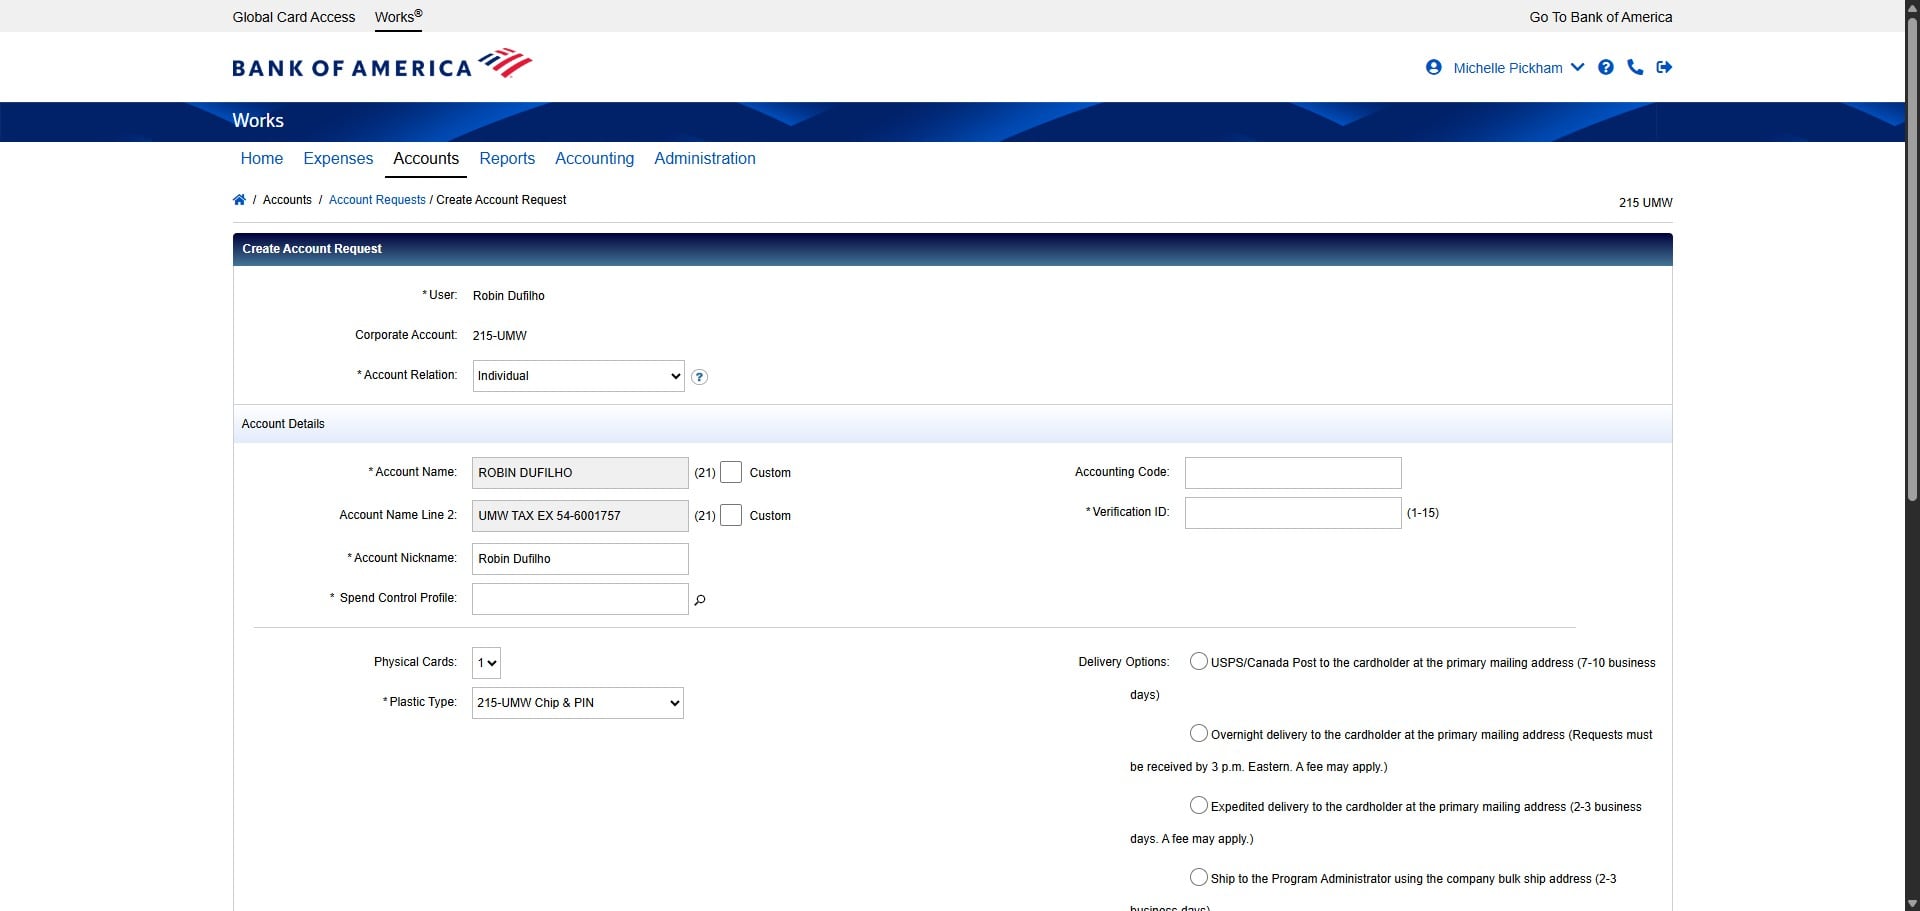
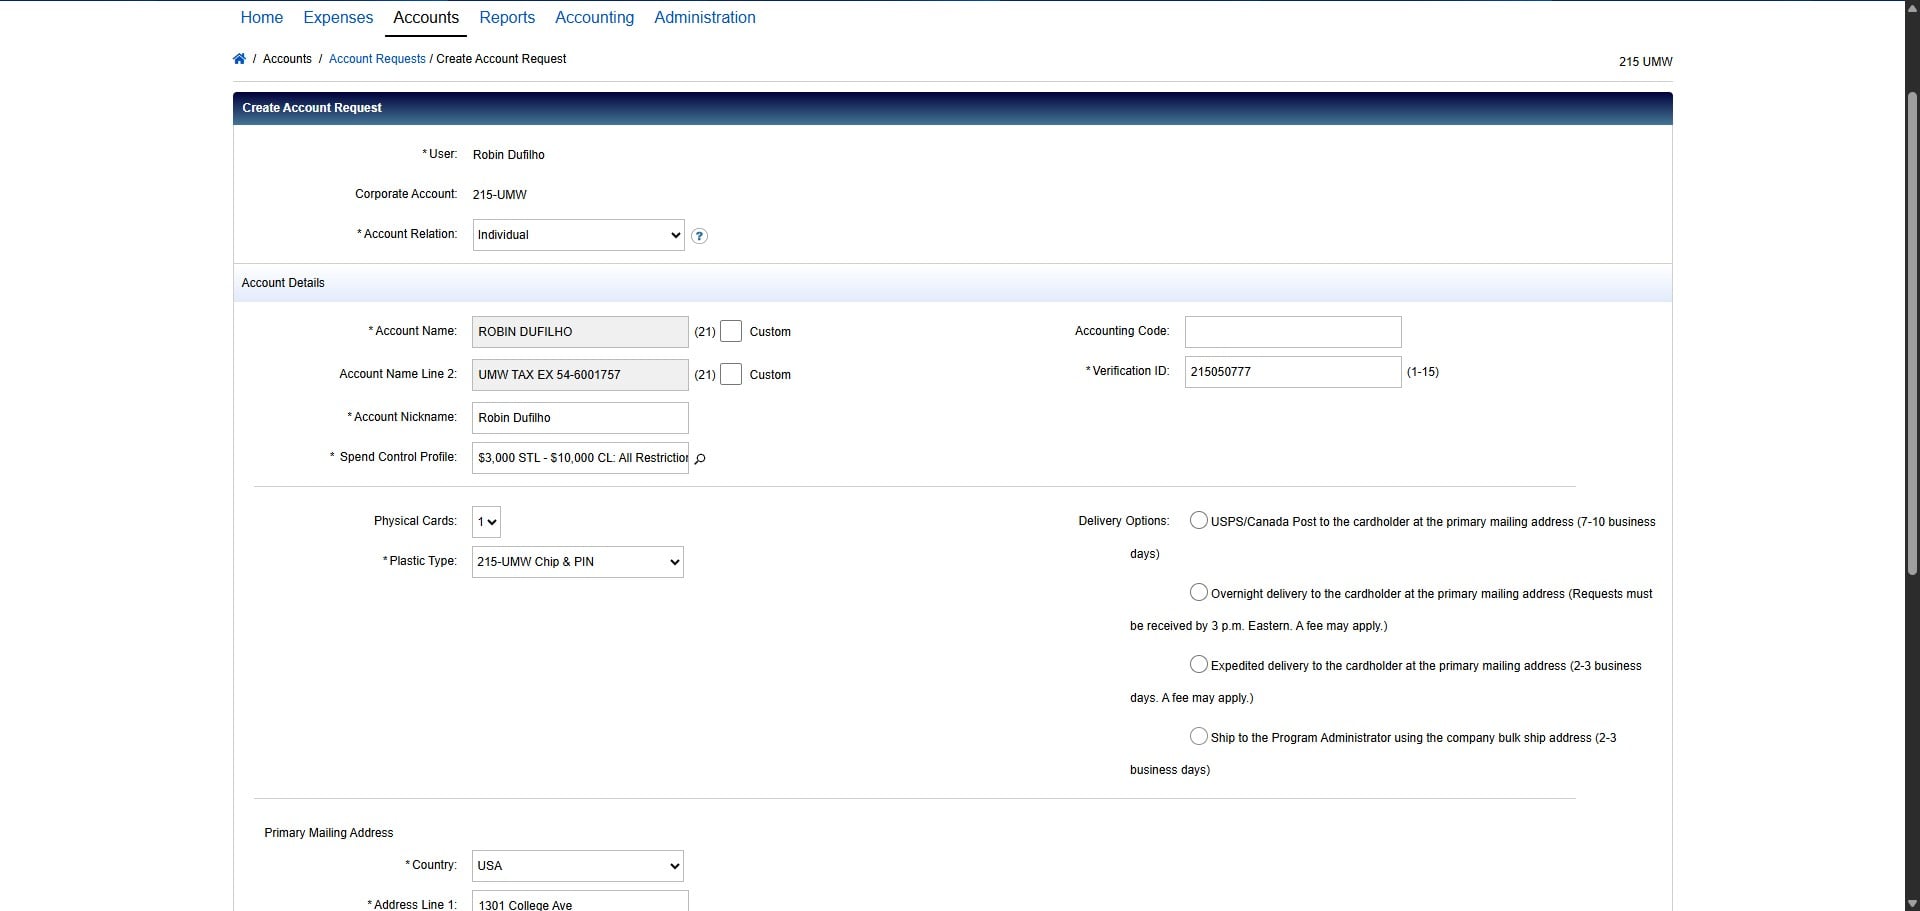
Create the Cardholder's Verification ID by using the formula 215+MMDDYY of birth date. In this case, Robin's birth date is 05/07/1977 according to the information on the SPCC Request Form, so the Verification ID would be 215050777.
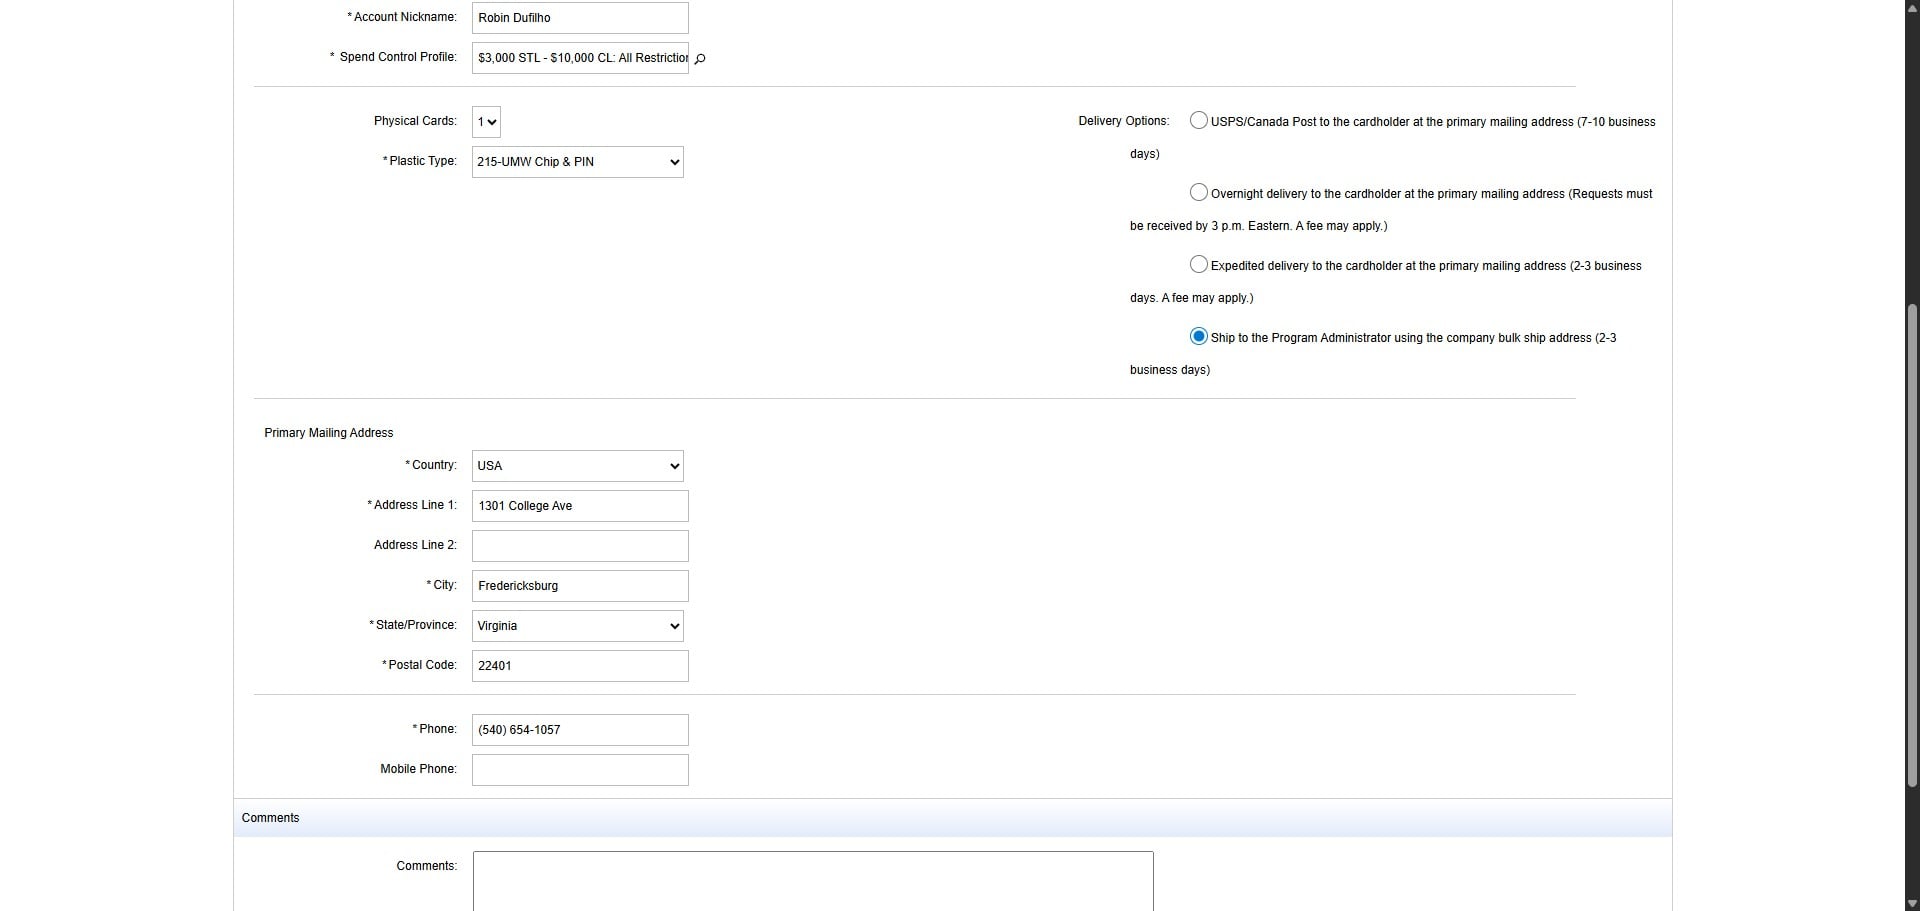
Select the shipping method to "Ship to the Program Administrator using the company bulk ship address (2-3 business days)
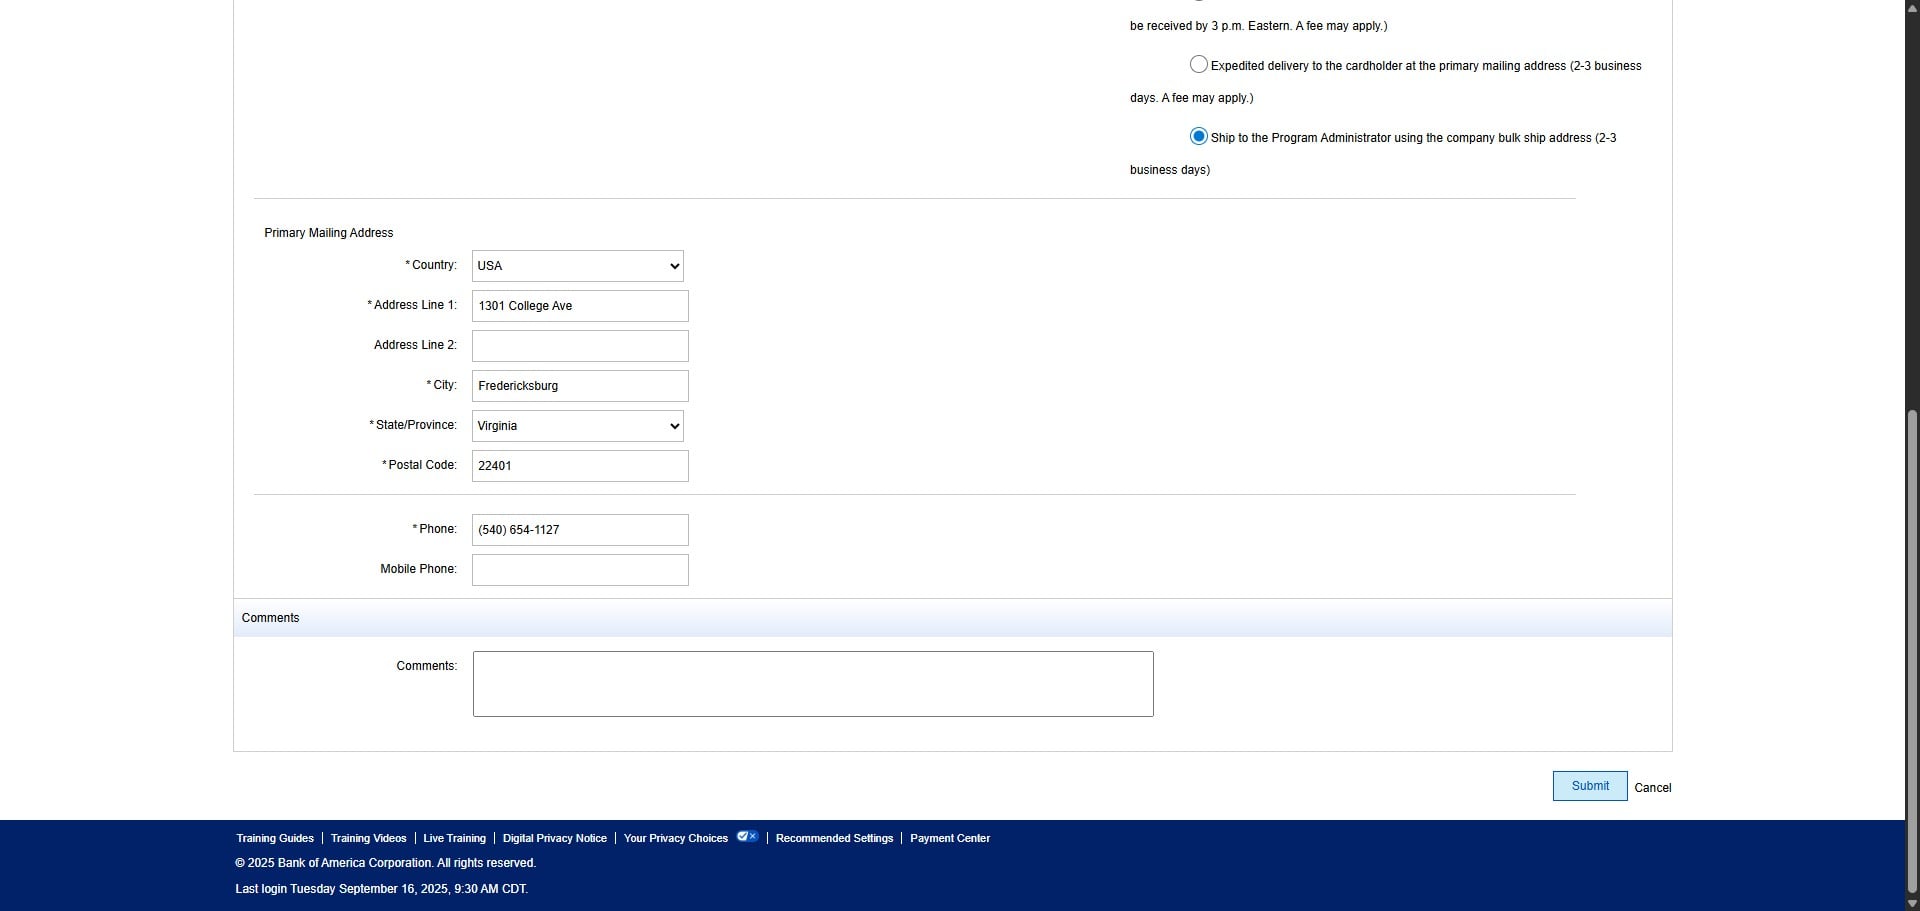
Scroll down and change the Phone Number on the Primary Mailing Address from 1057 to 1127.
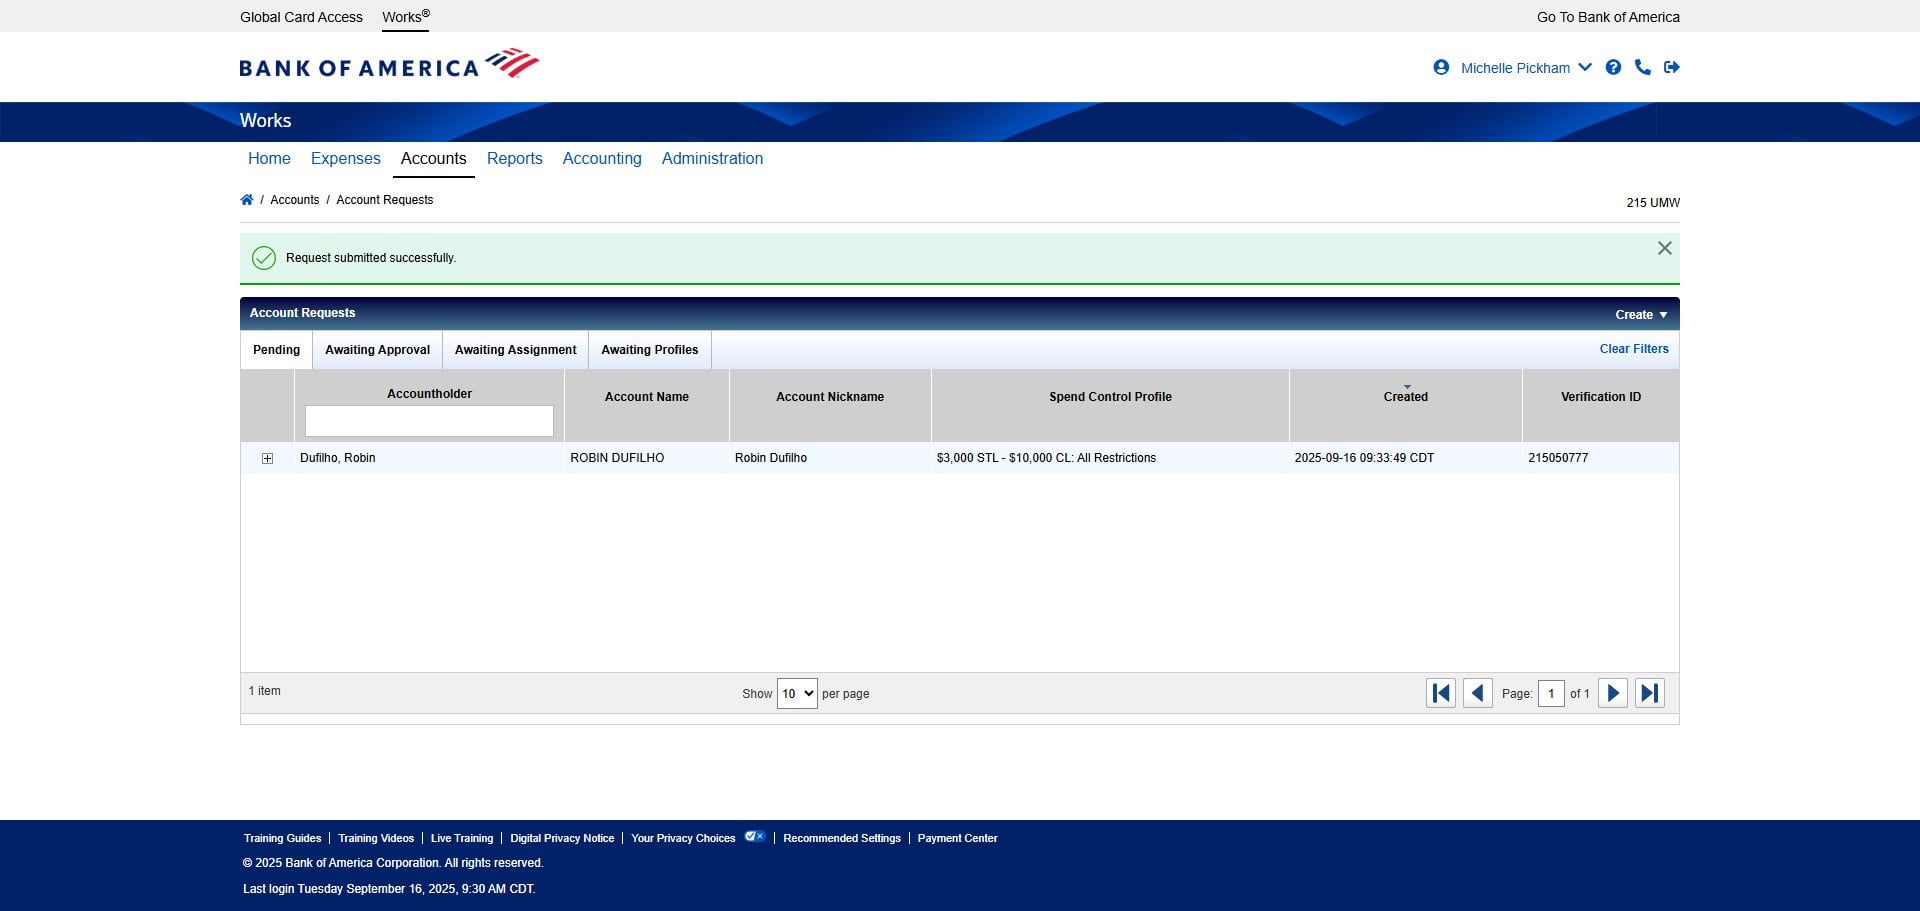
Then click on "Submit"
Done 🚀. It will take up to a few hours for Works to refresh with a card number for the new account. Make sure to update any tracking lists and spreadsheets with the new account number.