
Technology Request eVA Requisition Entry: Non-Catalog
This guide will walk through the steps of making a Non-Catalog Technology Request eVA Requisition. This guide can be used for both Standard OR Non-Standard technology purchase requests.
Navigate to https://eva.virginia.gov/ and log in.
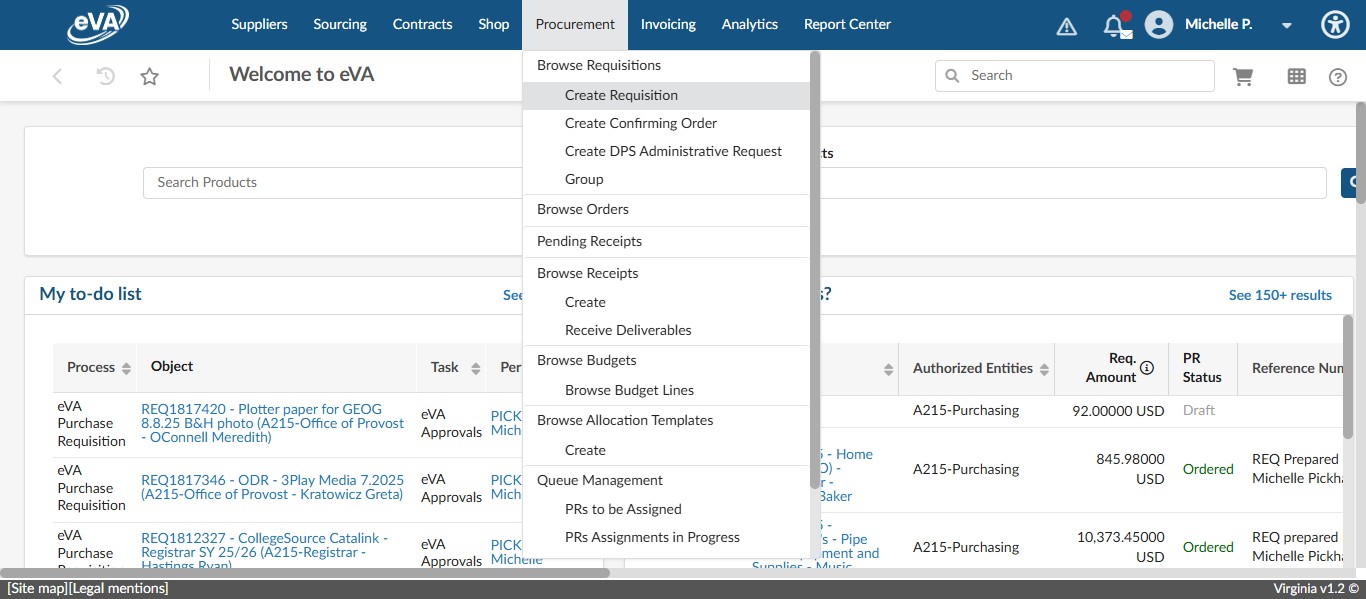
To create the non-catalog requisition, Go to "Procurement".
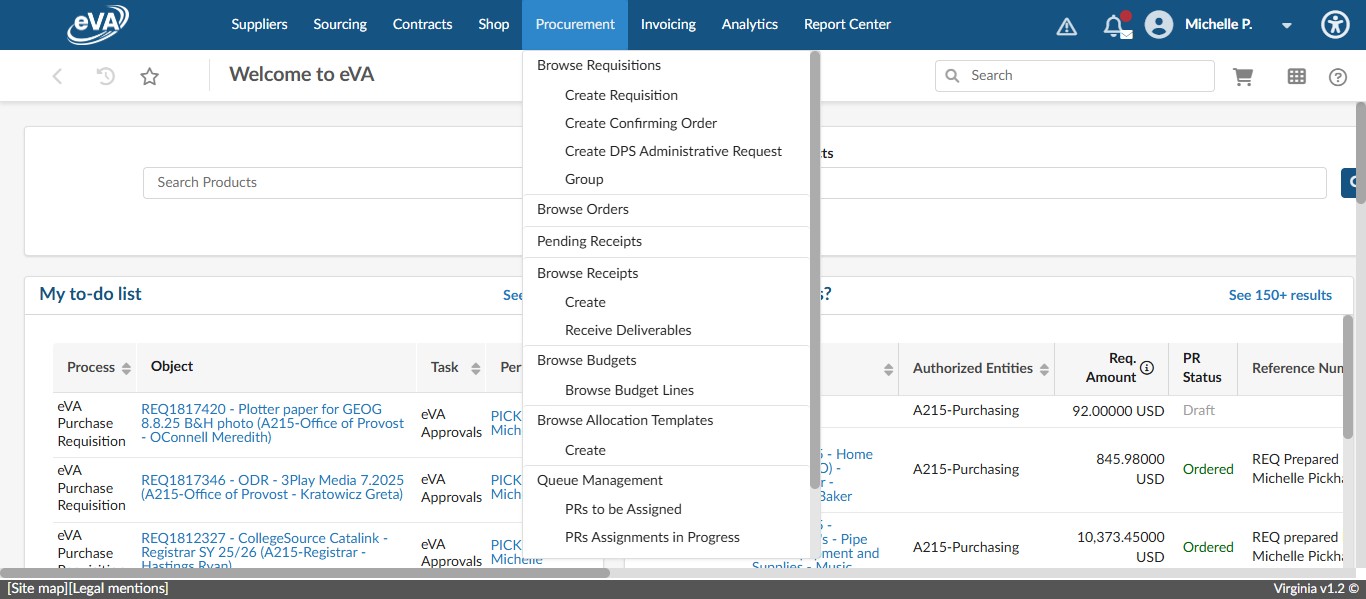
Click on "Create Requisition"
Enter the Title of the Requisition in the Name field within the Header section. The preferred formula for titles is "date - vendor (OBO) - brief item description - recipient/department". In this example "08.08.2025 - CDWG (OBO) - 11in iPad 128GB - M.Pickham/Procurement."
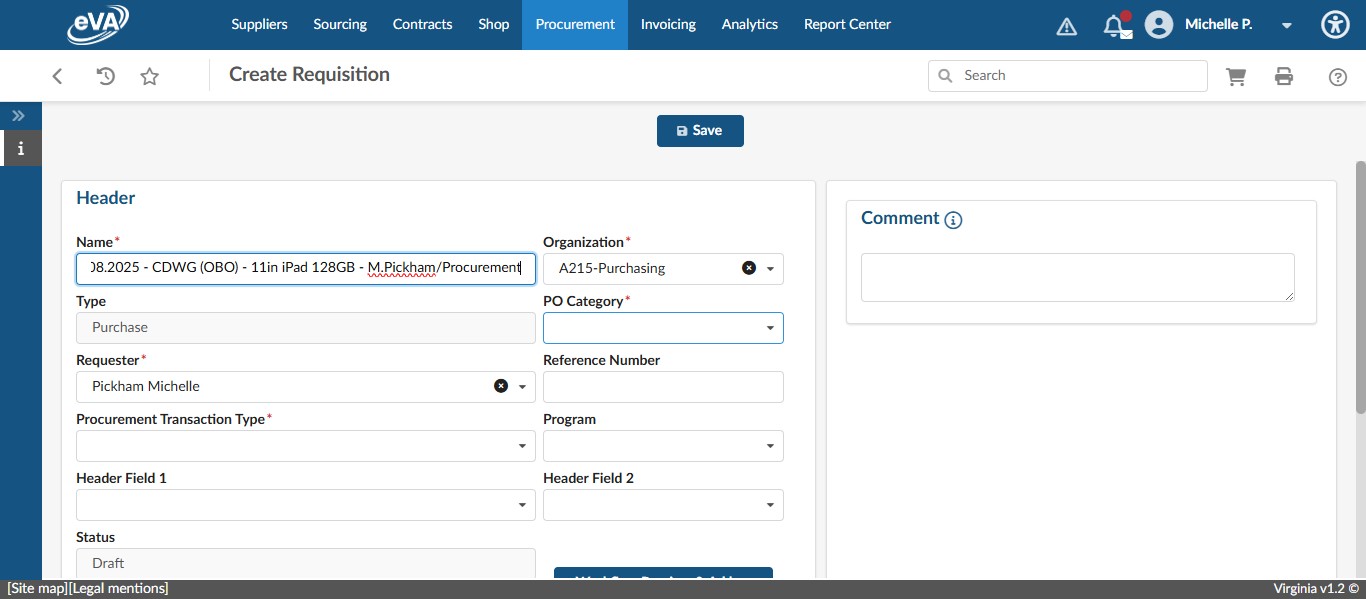
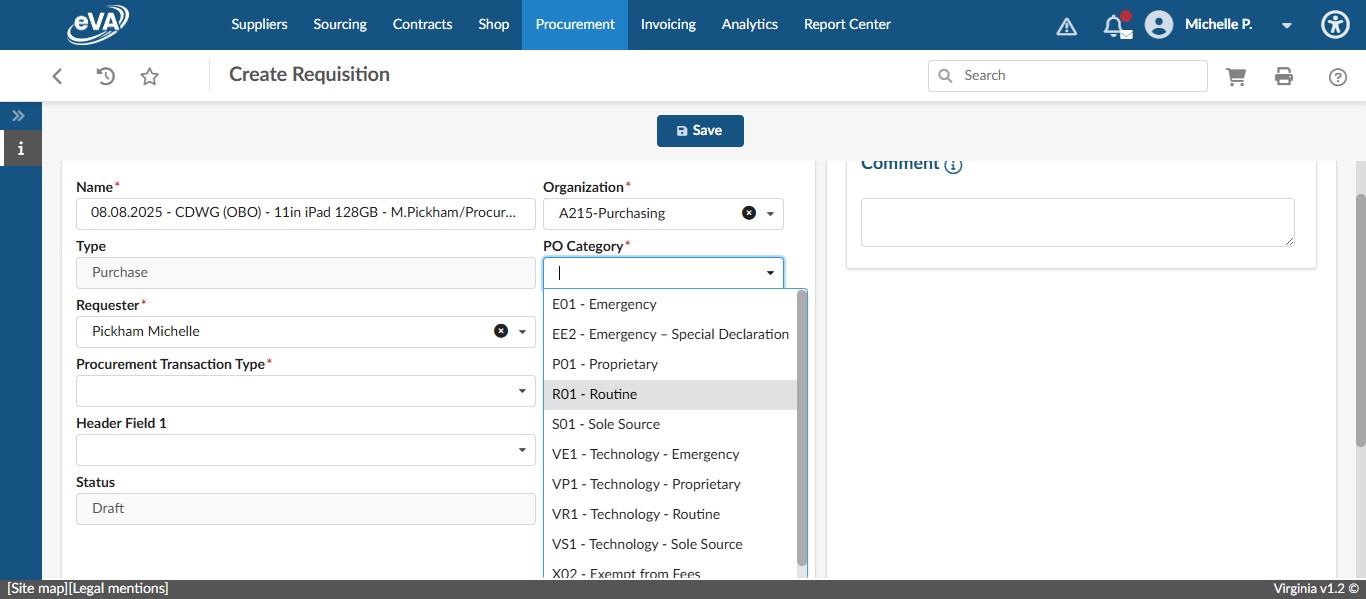
Select the PO Category: "R01 - Routine"
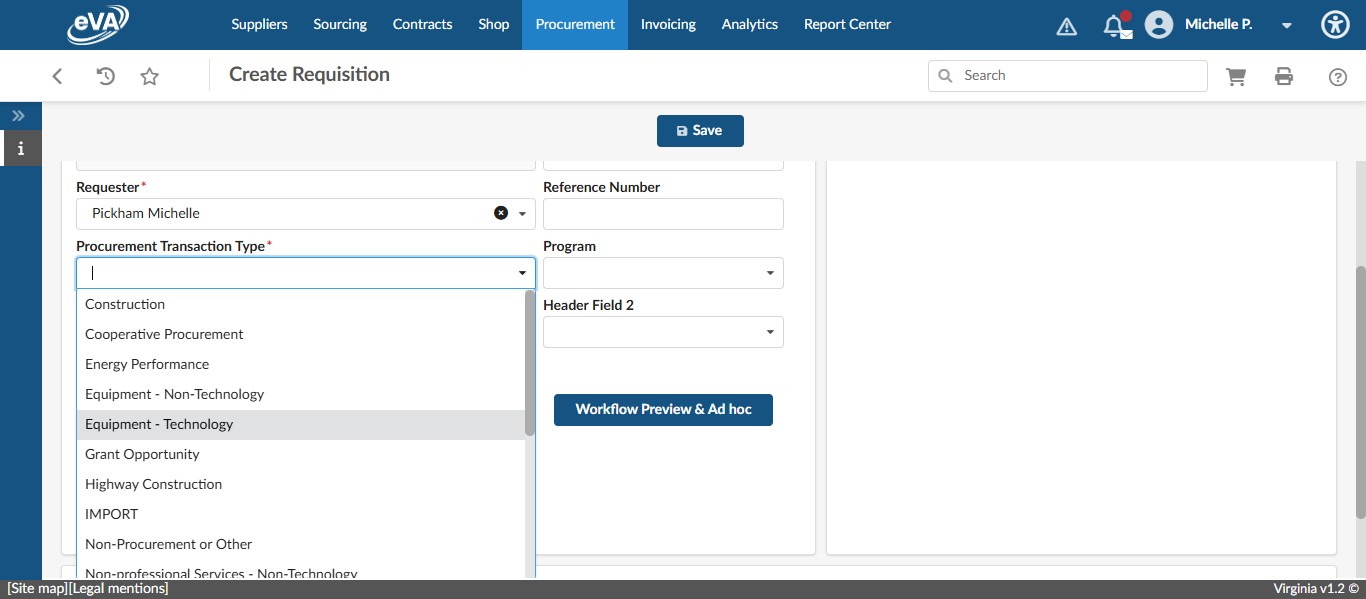
Select the Procurement Transaction Type most related to what you are buying. In this case, "Equipment - Technology"
In the Reference Number field, enter some identifier that you created the requisition.
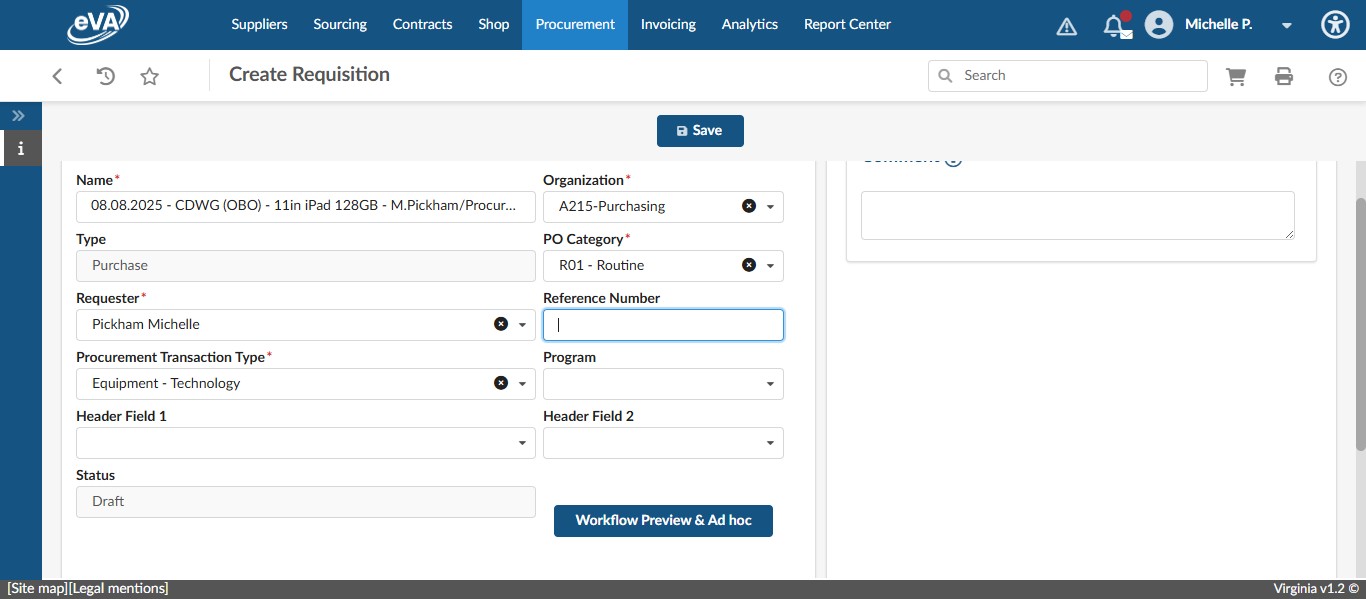
Click on "Save"

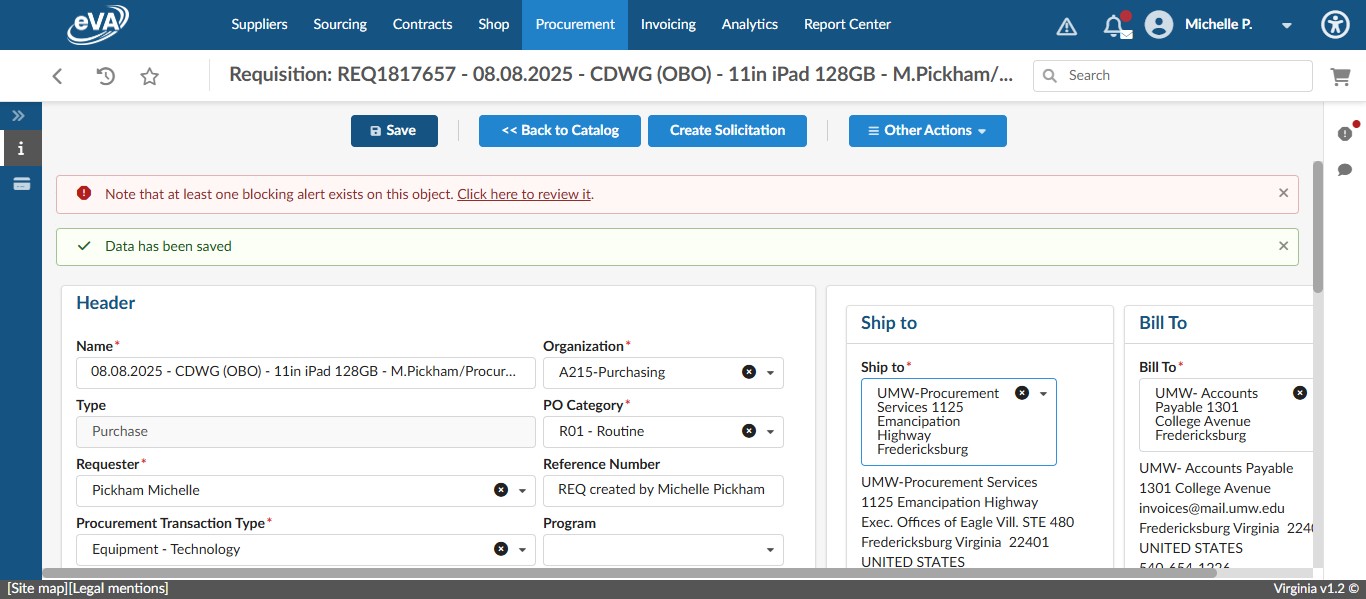
If the item is a computer, printer, or anything that IT needs to "touch" prior to the end user being able to use it, change the shipping address to the IT Business Office. If the item is anything that is "plug-and-play" an easily installed by the user, change the shipping address to the recipient department address. In this case, we are shipping to the IT Business Office.
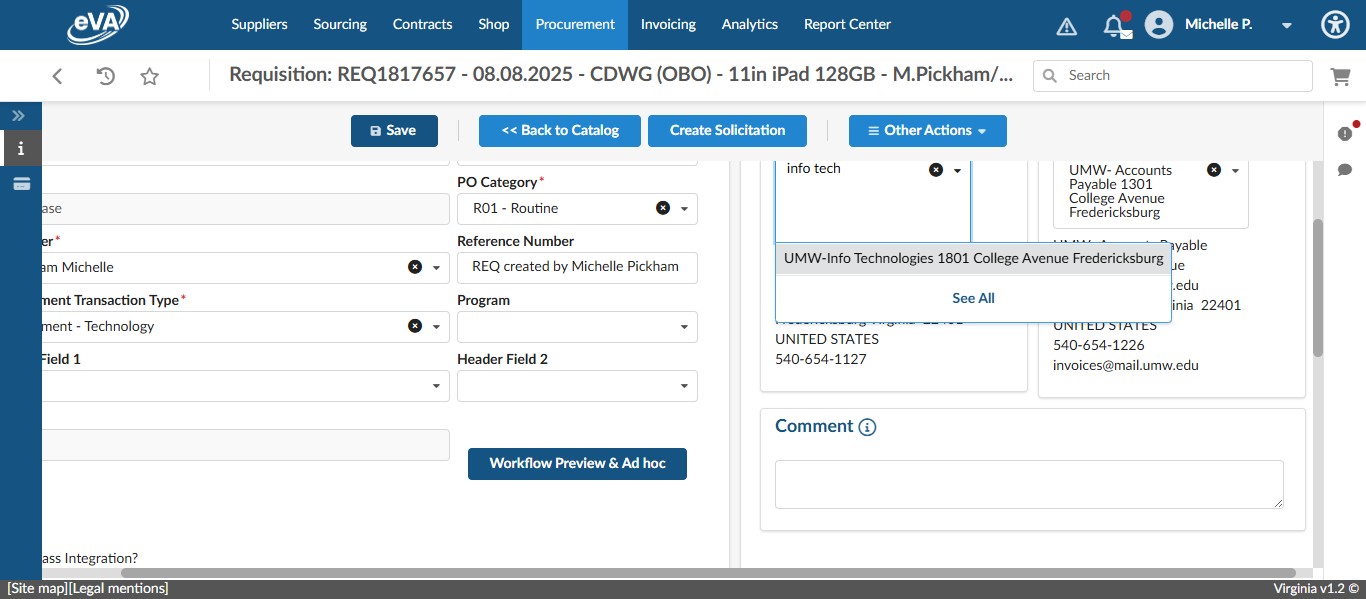
Click on "UMW-Info Technologies 1801 College Avenue Frederic"
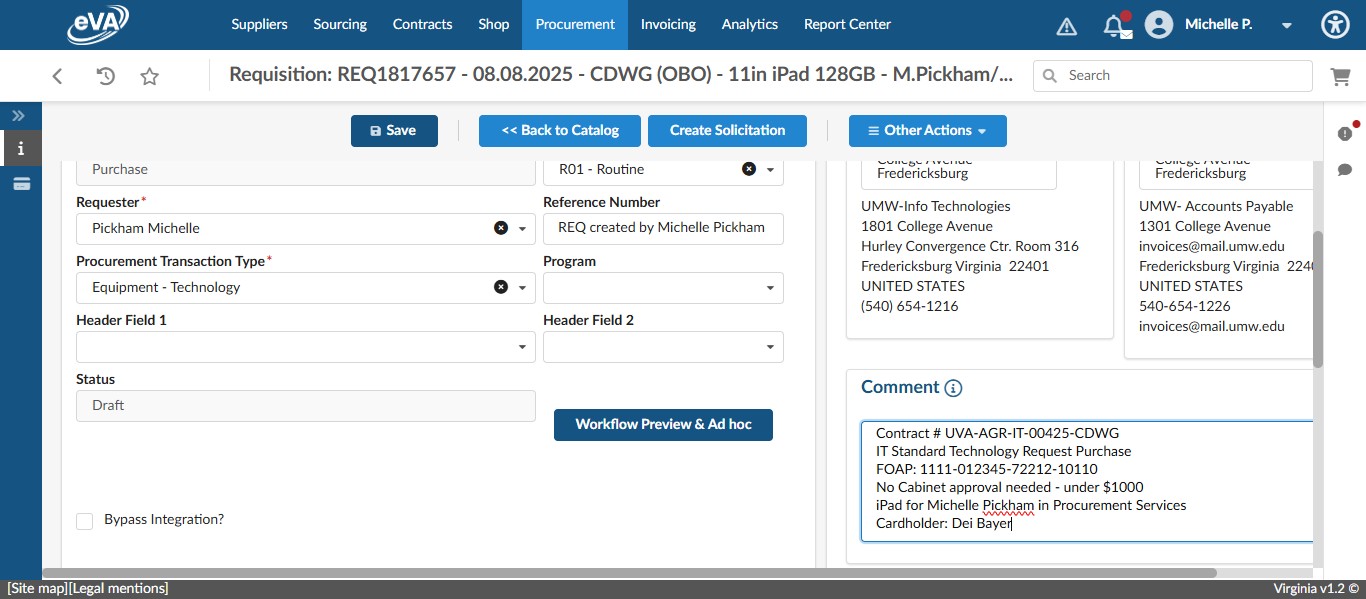
Enter the following information in the Supplier Comment field: Contract #, Quote #, IT ticket# or reference to standard purchase, FOAP, cabinet approval, who the item is for, the cardholder for the purchase, and any other information you think is necessary to convey to the vendor or have on record for the purchase.
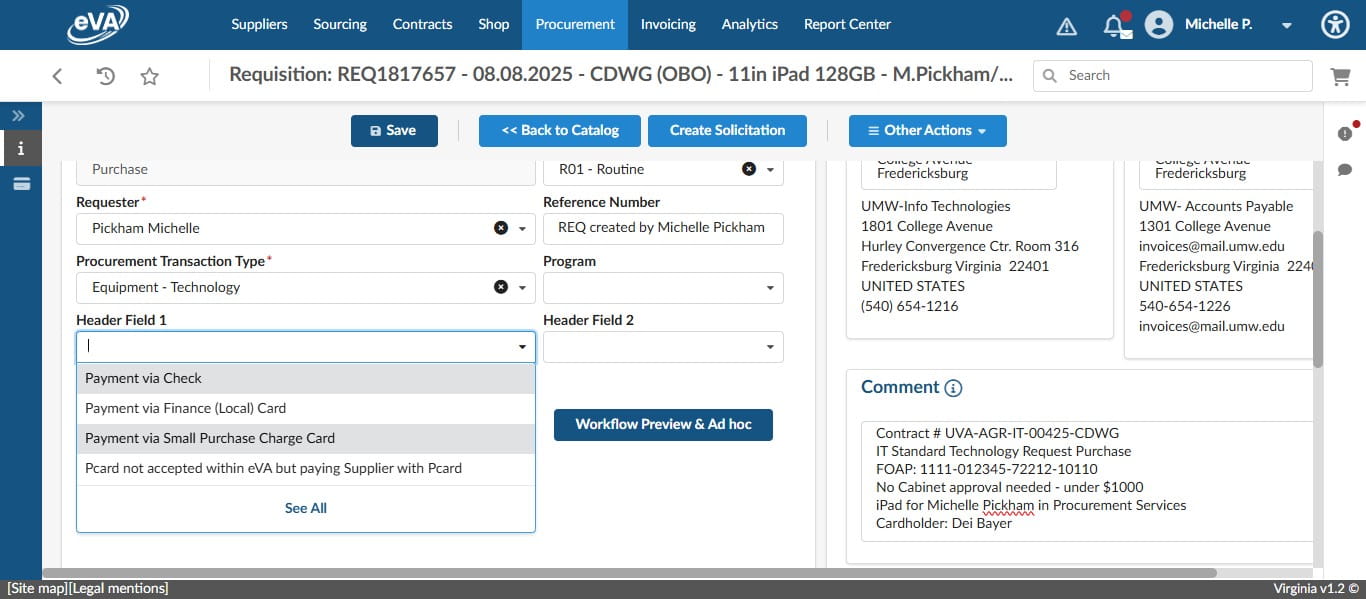
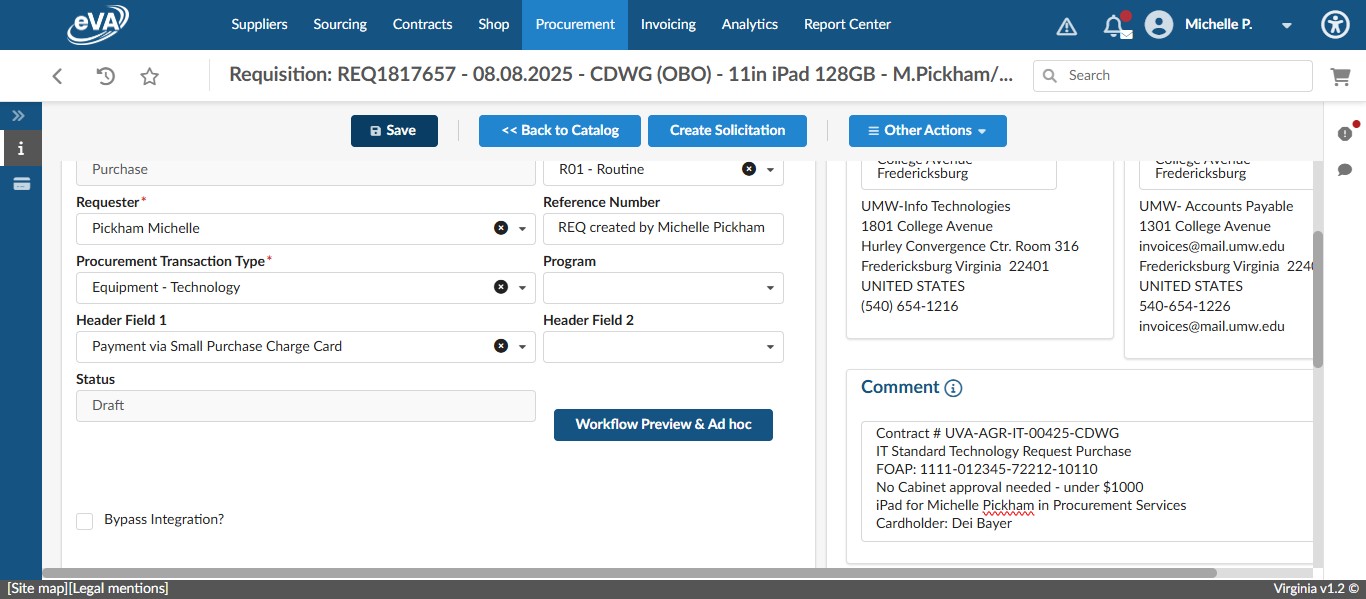
Under the Header Field 1 drop down, Click on "Payment via Small Purchase Charge Card" for purchases being made on the SPCC. If the Fund code being used is a non-state fund, select payment via Finance (Local) Card. In this case, the SPCC is being used.
This completes the top header portions, so Click on "Save"
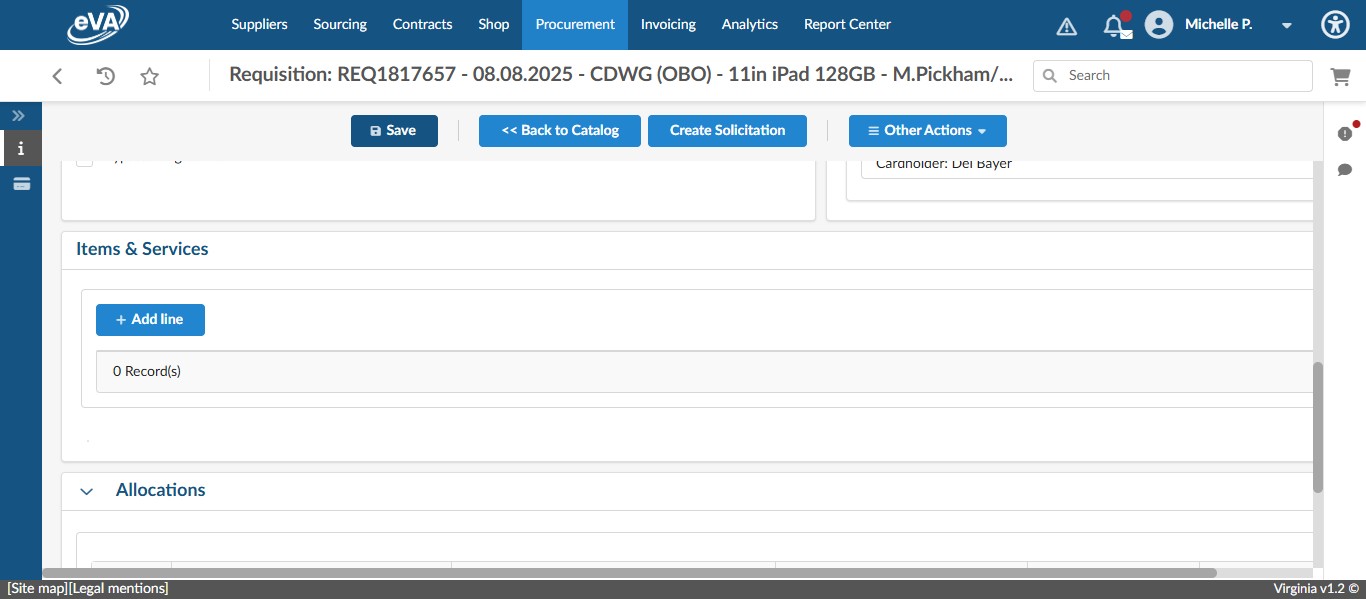
Scroll down to the Items & Services section. Click on + Add line to begin adding a line item.
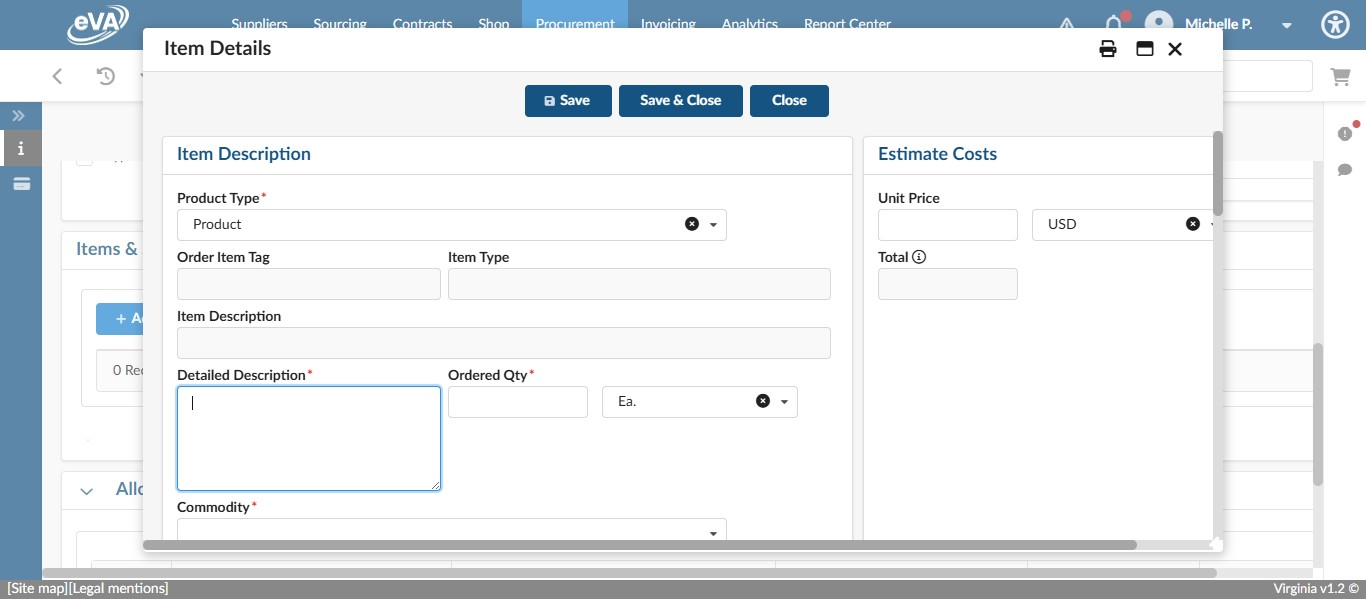
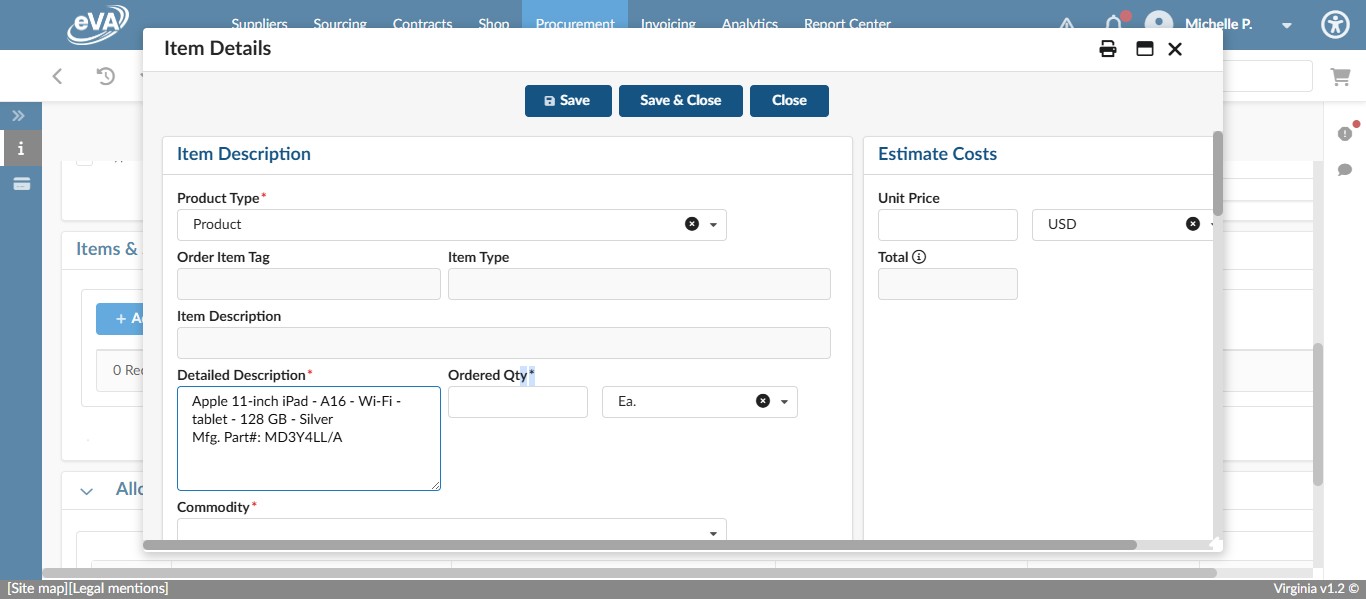
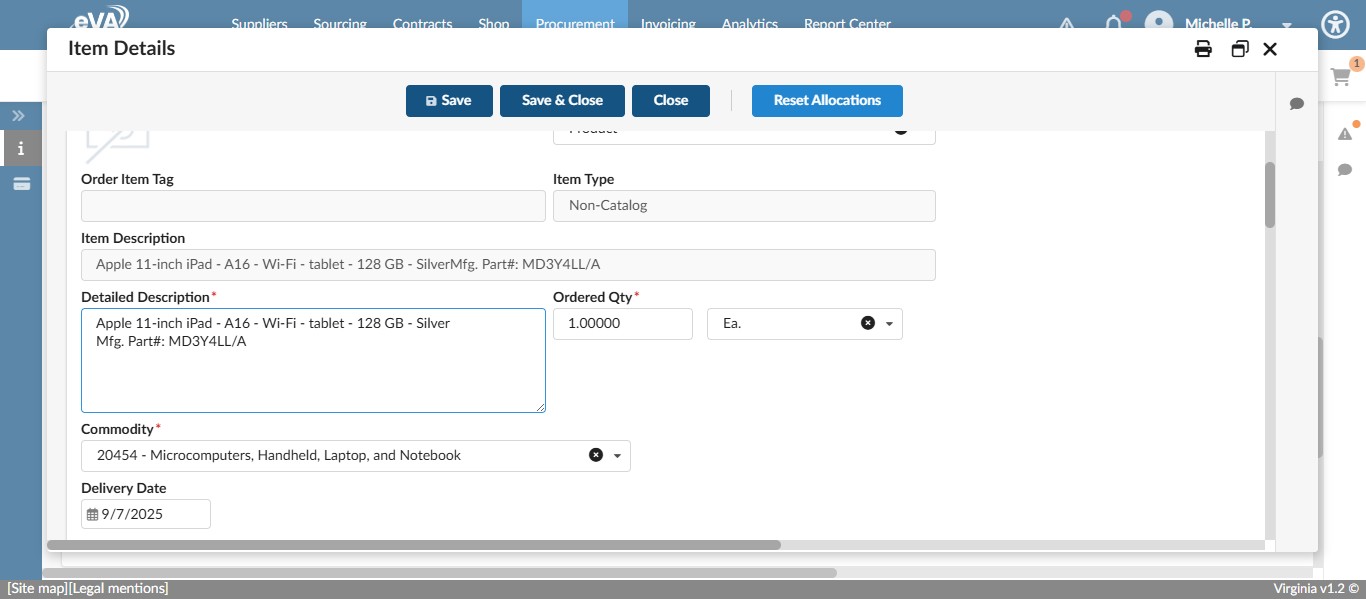
Enter a detailed description for the item being purchased. You can copy and paste from a quote or type in the information. It's helpful to have any manufacturer's part numbers, notes from the vendor, etc. in the description field. The information must be detailed enough for the vendor and any reviewers to understand what is being purchased.
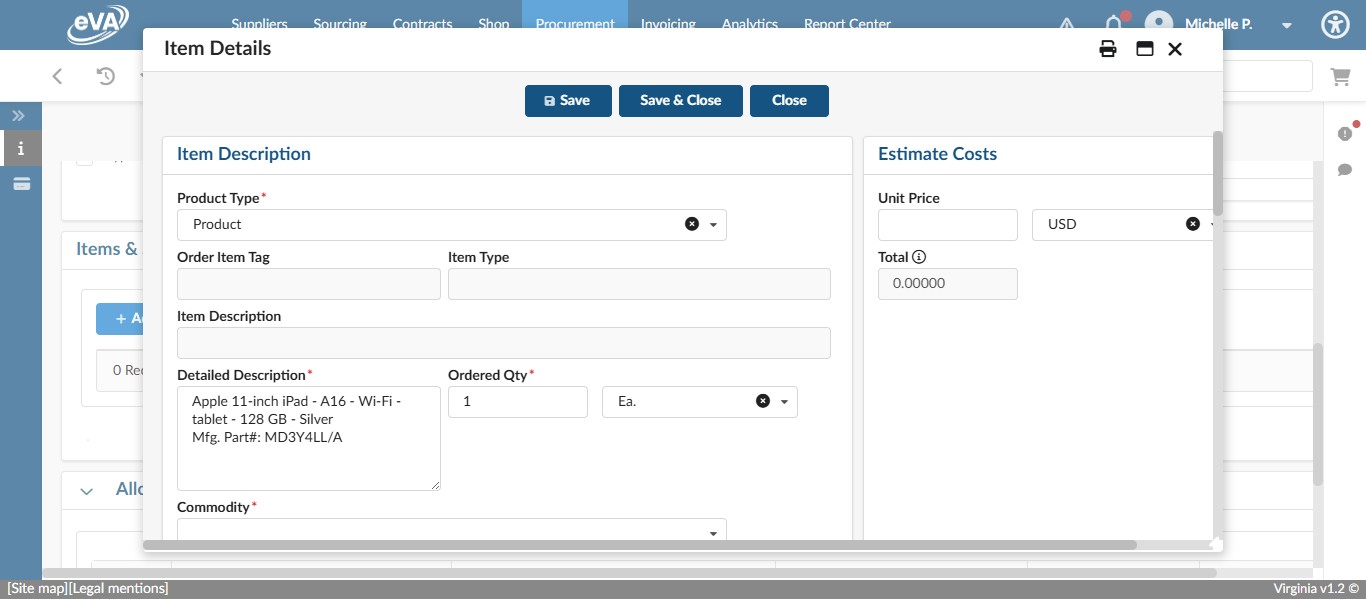
Enter the quantity of the item you are purchasing in the "Ordered Qty" field.
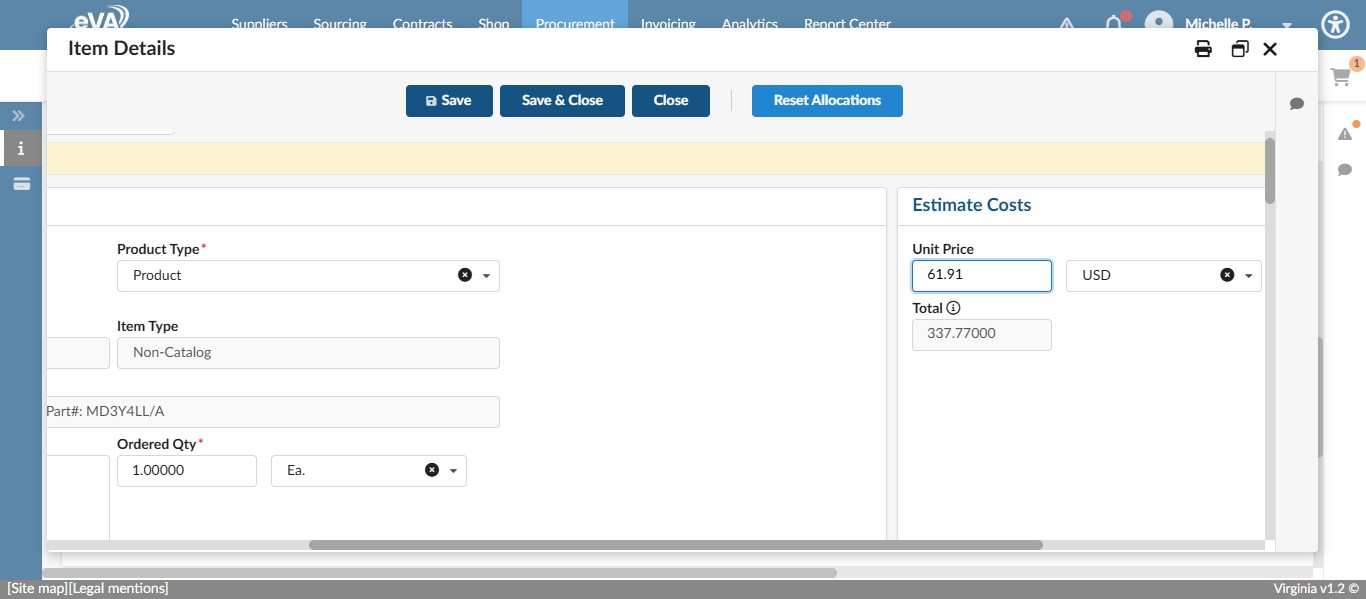
Scroll right if needed to access the Unit Price field and enter the cost of the item you are purchasing.
Press ctrl + v
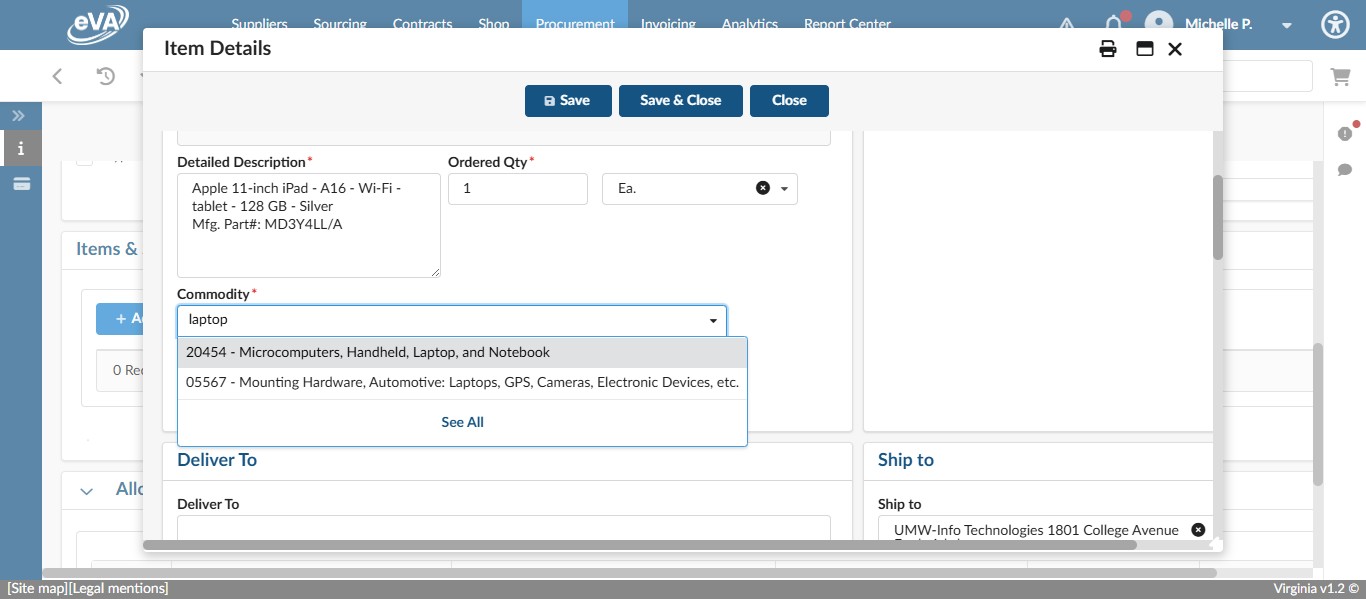
Select the Commodity code from the drop down that most closely relates to the item you are purchasing.
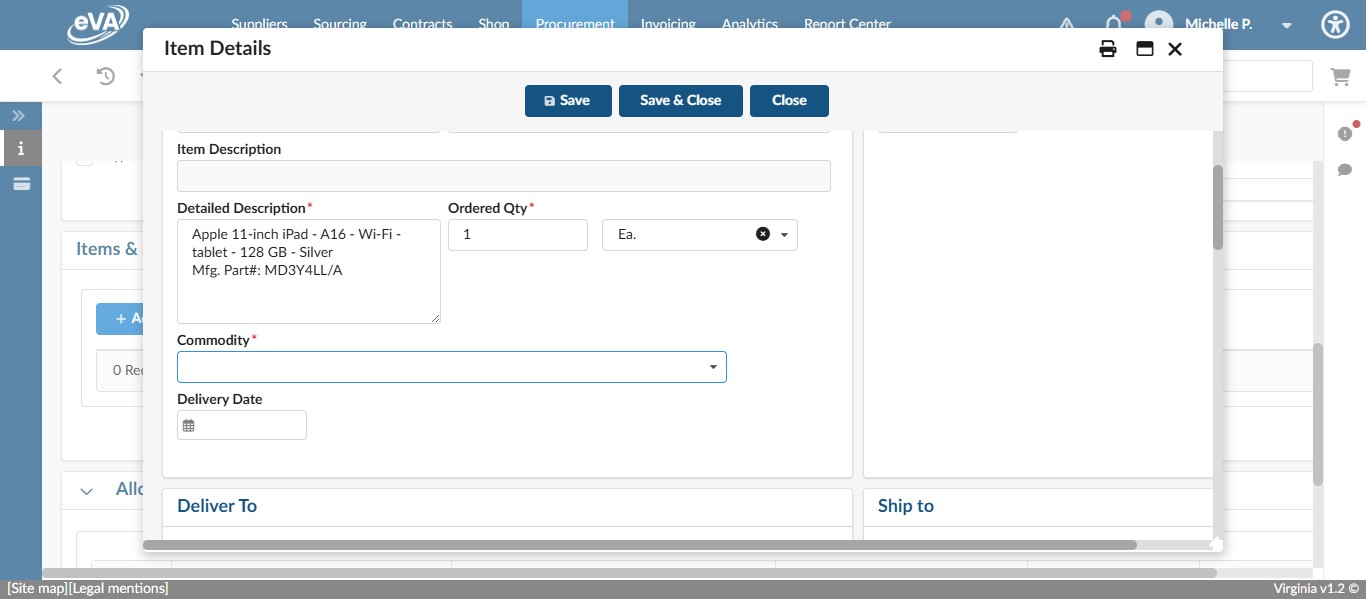
In this case, select "20454 - Microcomputers, Handheld, Laptop, and Notebook"
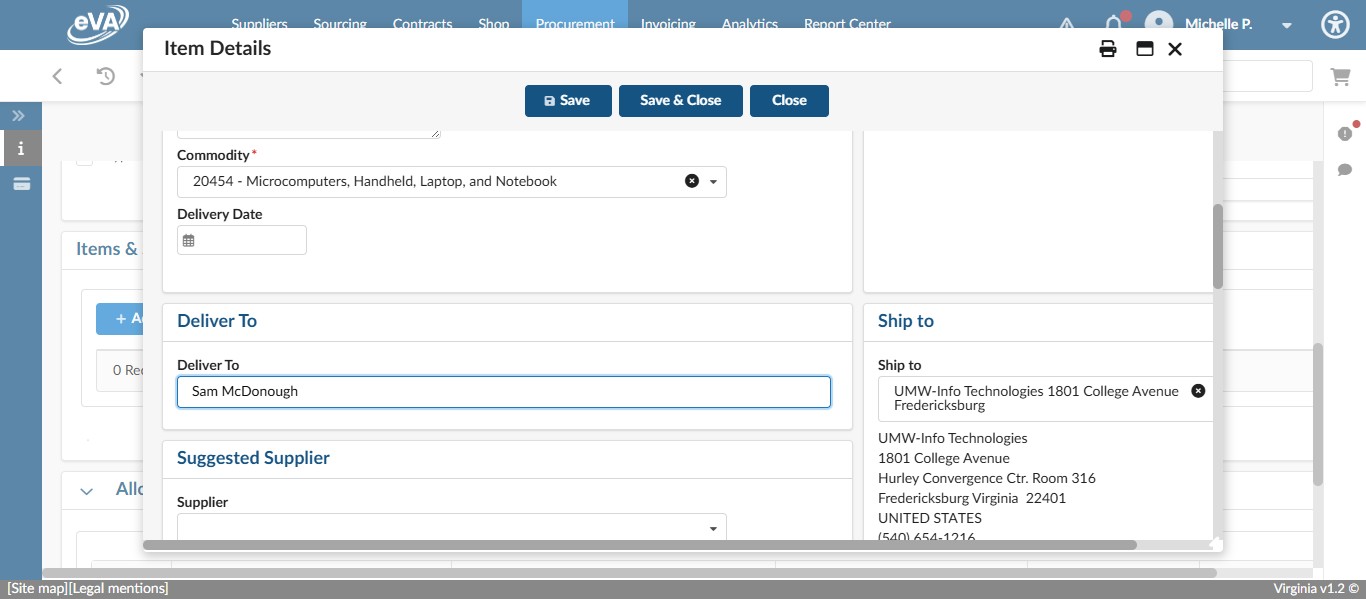
Enter the person's name the item should be shipped to.
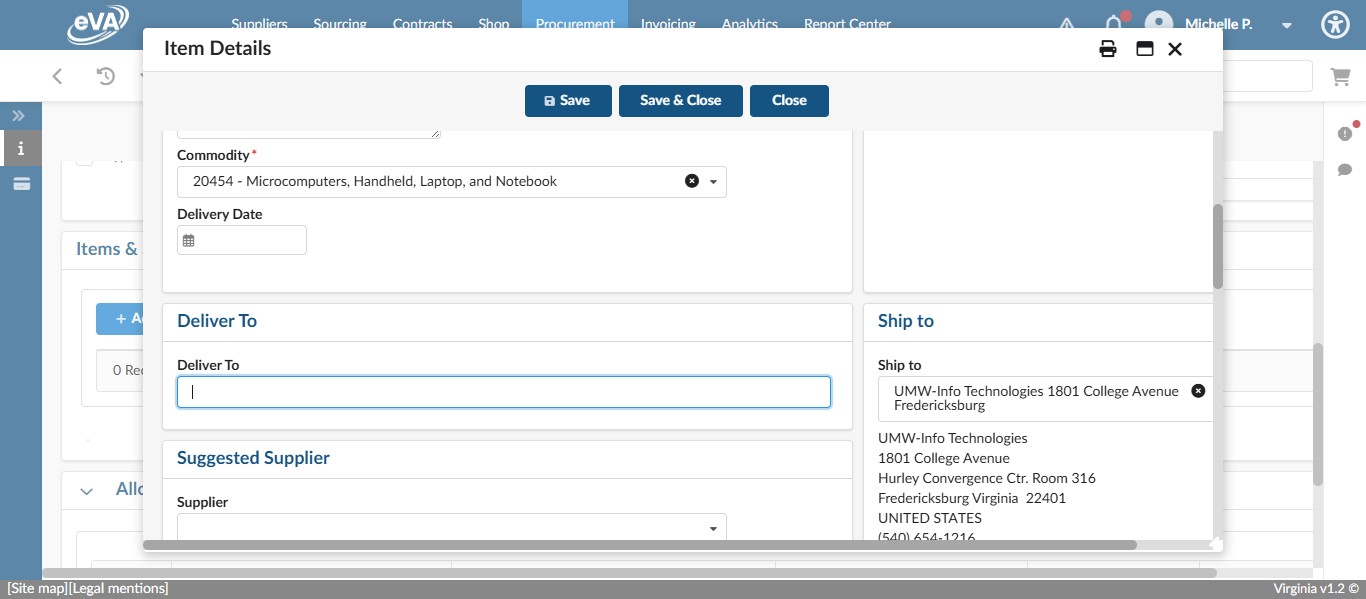
In this case, since we are shipping to the IT Business Officer, the Deliver To contact is Sam McDonough. Also ensure that the address you selected in the Requisition home screen Ship To is what is selected in the "Ship to" address in the line item. If not, change it accordingly.
Scroll down to the Suggested Supplier section.
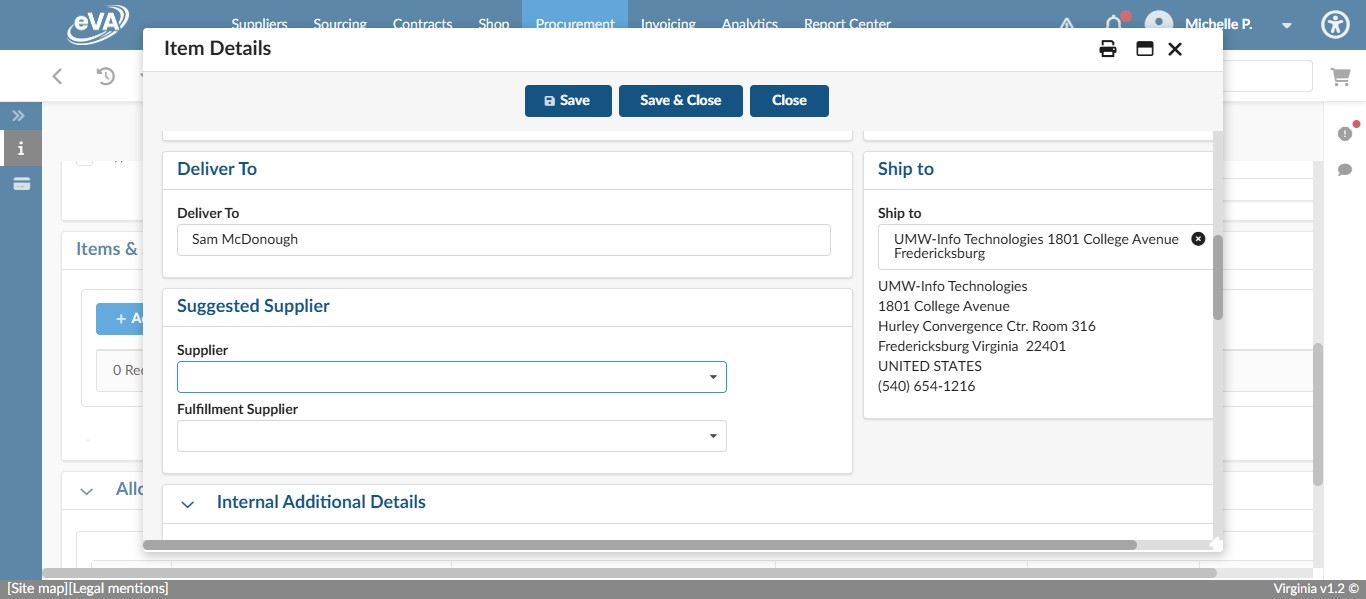
To access your Favorited Suppliers, Click on "See All". Otherwise, you can begin typing the name of the vendor you wish to select.
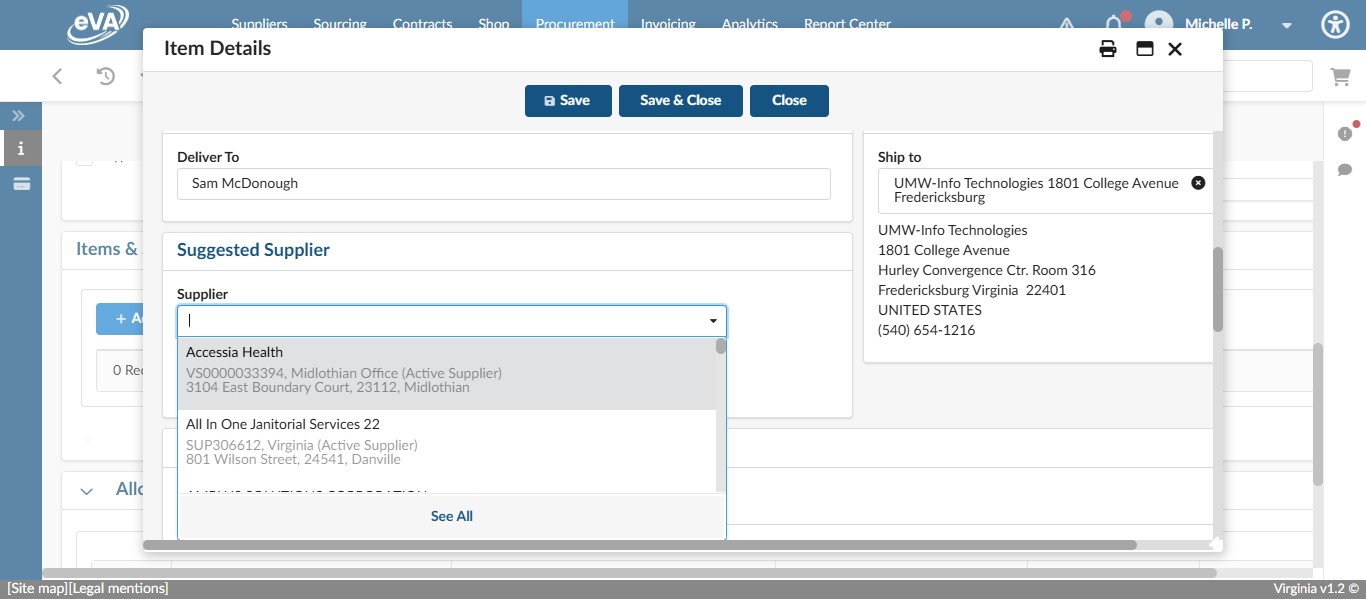
Often, it is helpful to click on See All for all requisition instances when selecting a Supplier to ensure you select an active supplier entry. Suppliers can have several registrations, so you always want to make sure you are selecting the correct one.
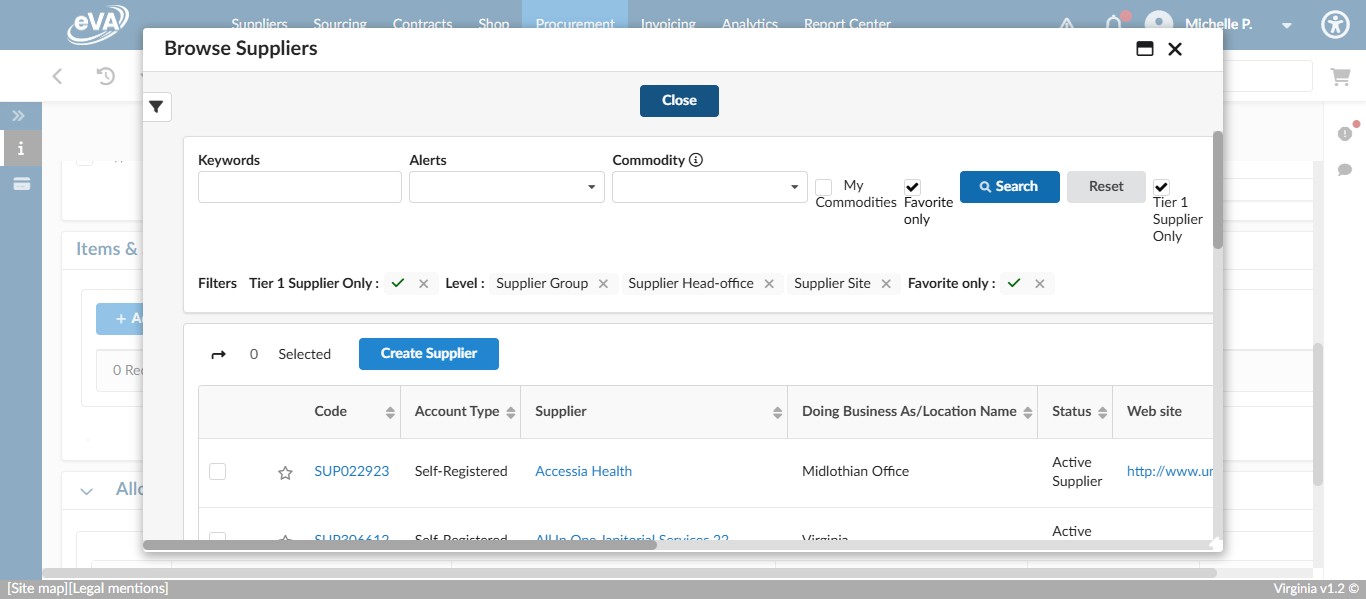
To access your Favorited Suppliers list, click on the check box for Favorite Only.

Click on "Search"
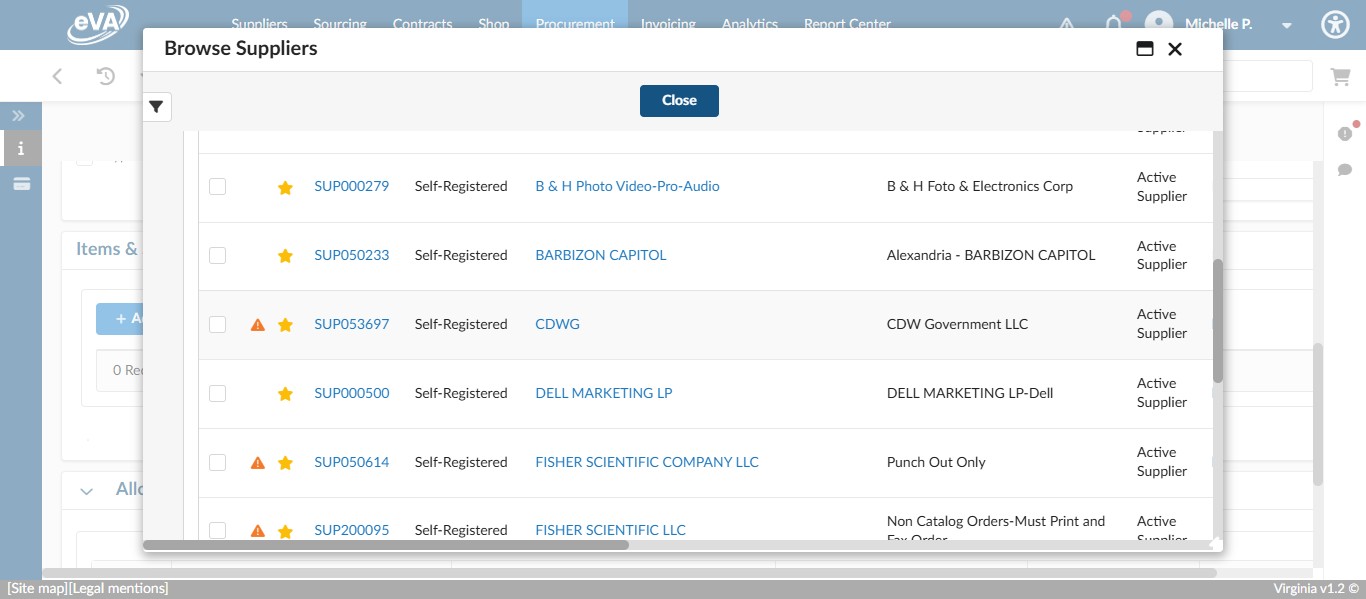
Find the Supplier in your list of favorites and select the check box by their name.
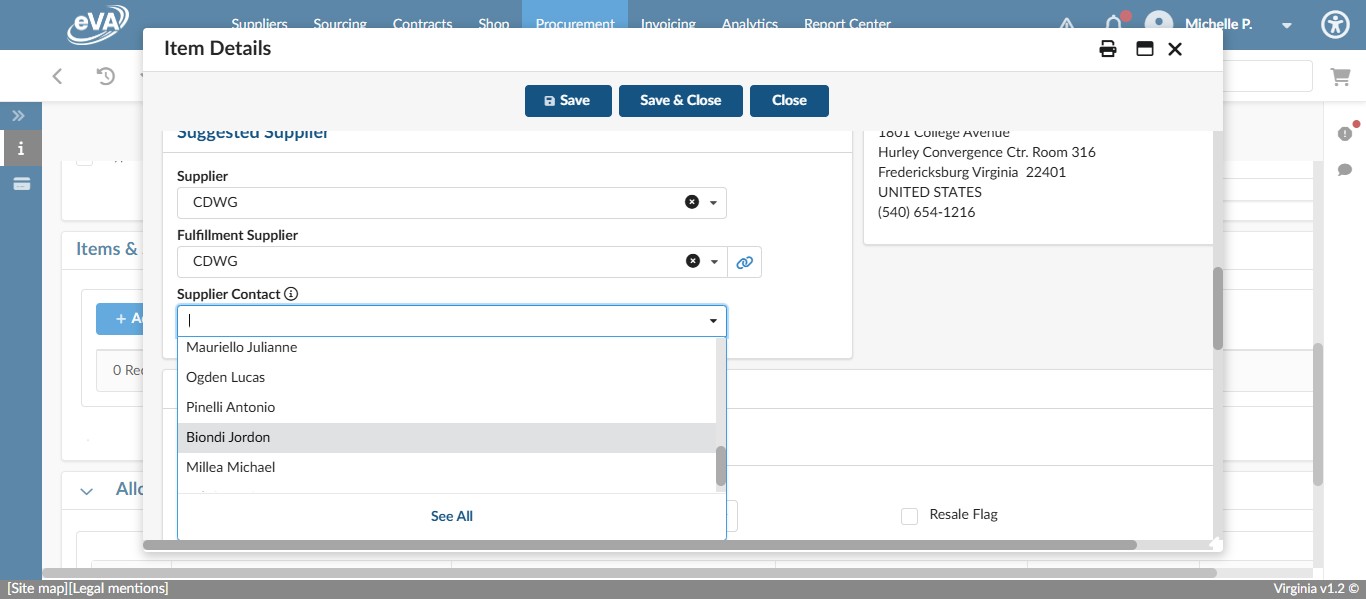
If the Supplier being used has Supplier Contacts listed, select the most appropriate one.
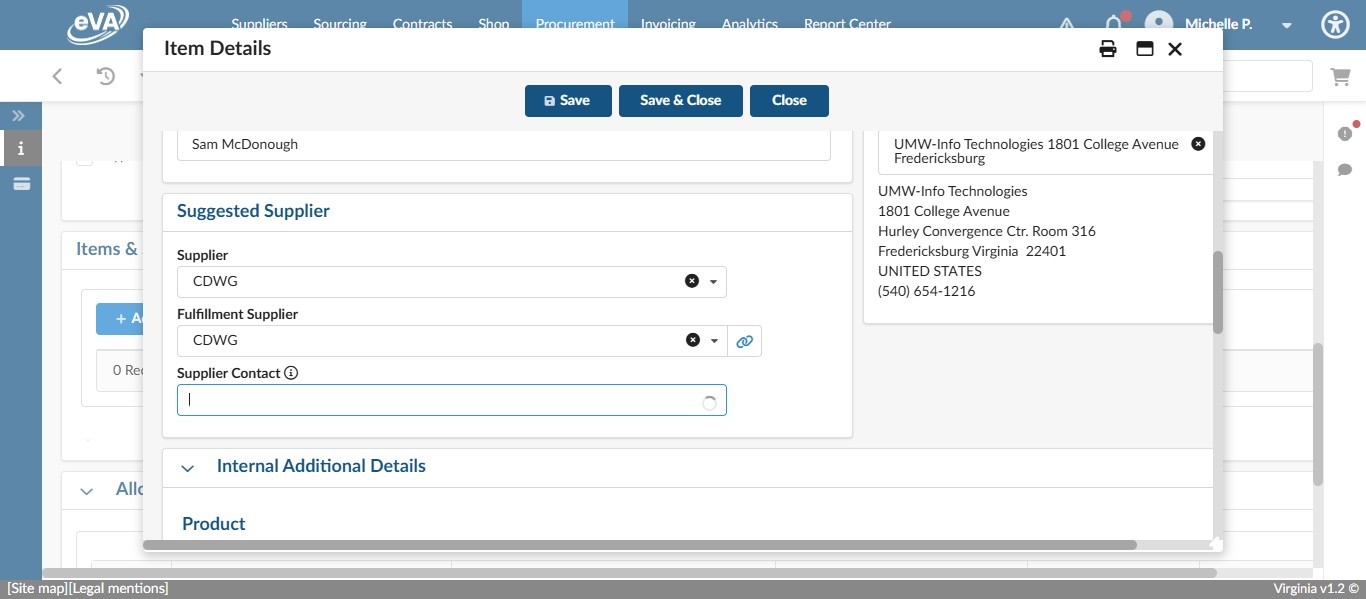
In the case of CDWG, that is our account representative, Jordon Biondi.
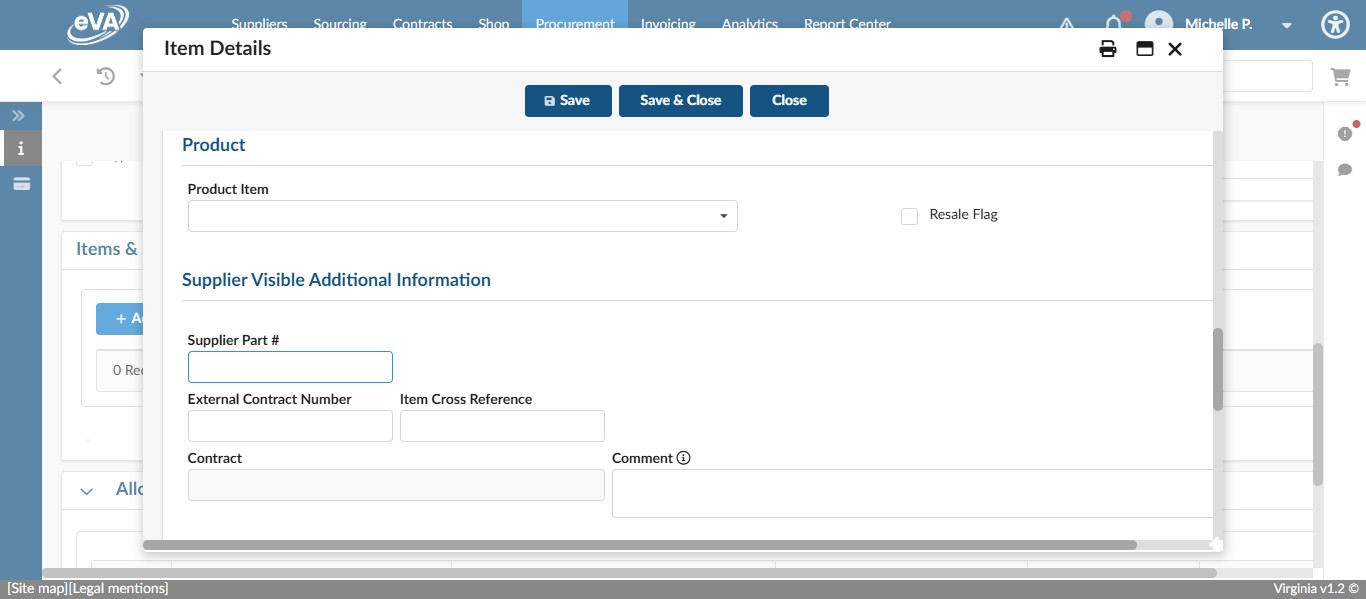
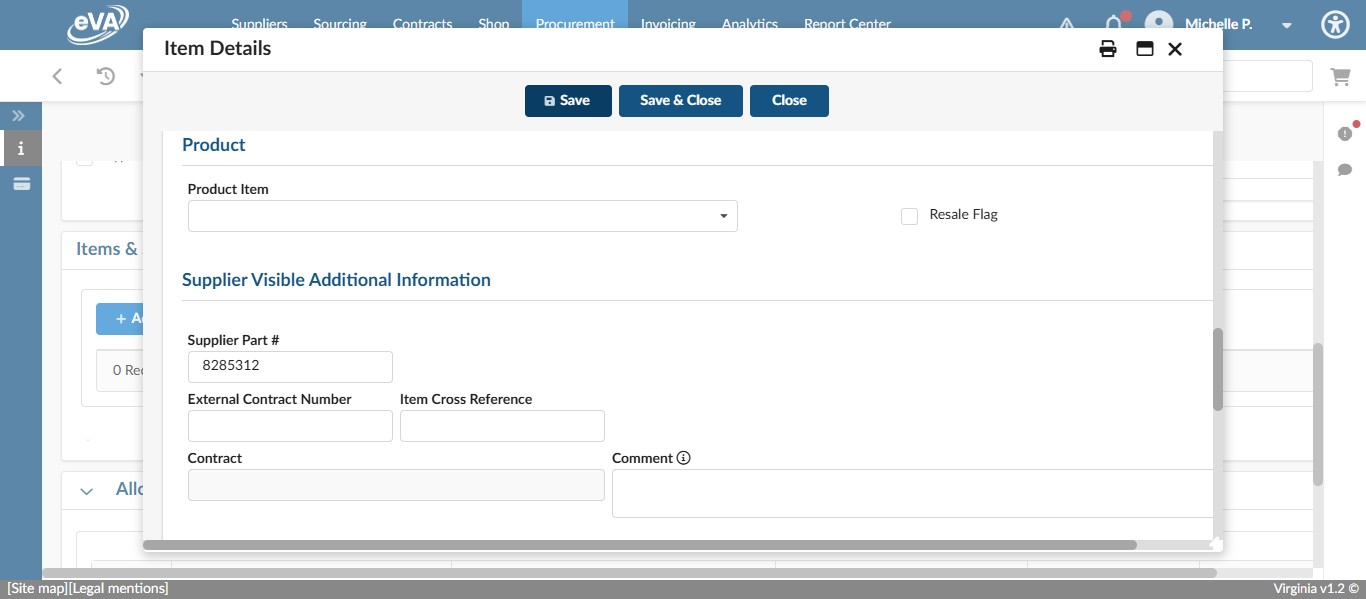
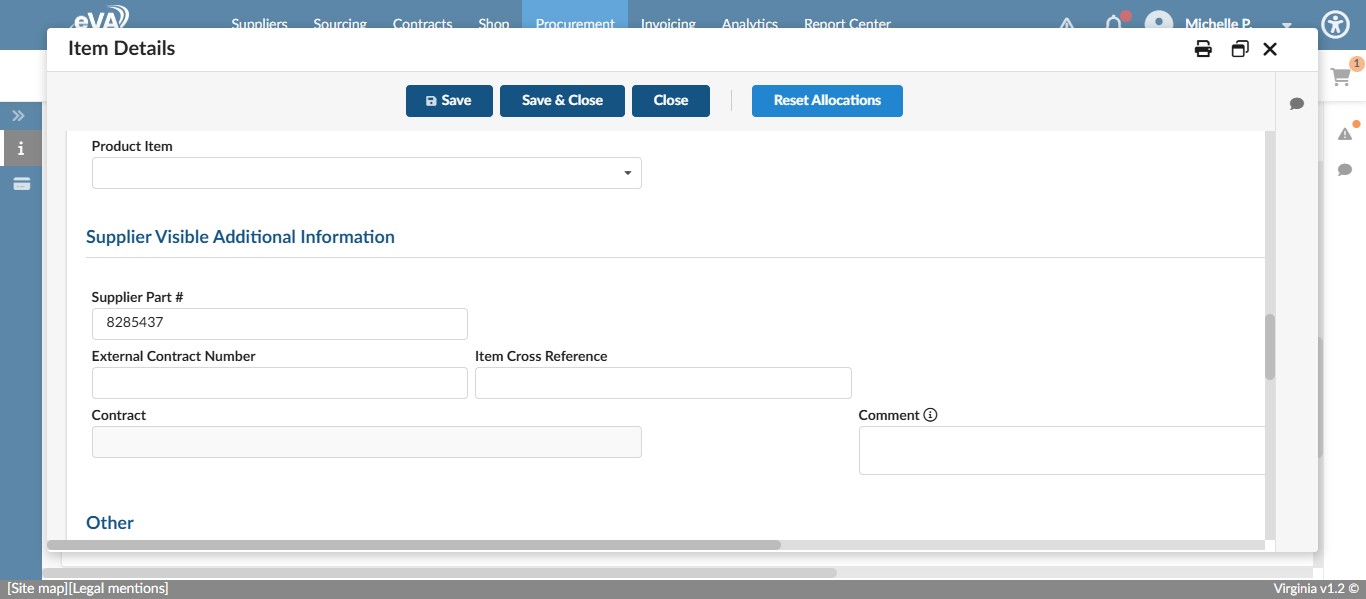
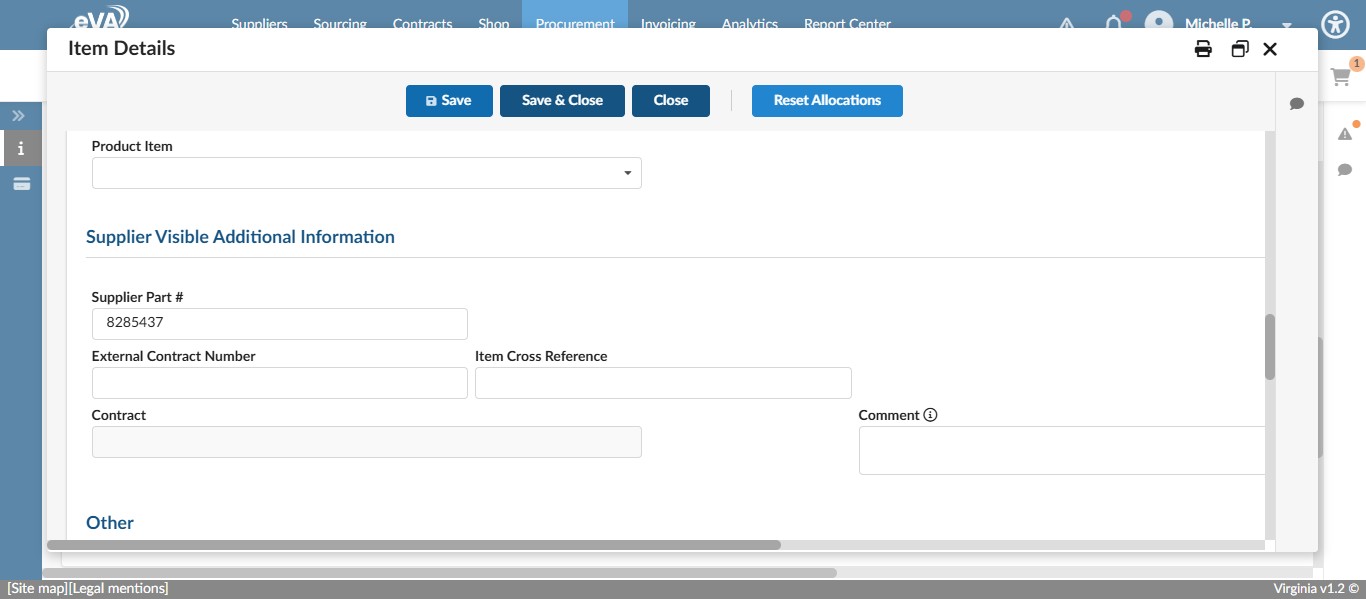
If what you are purchasing has a supplier part number listed, it's helpful to enter that in the Supplier Part # field in the Supplier Visible Additional Information section.
Once entered, click Save.
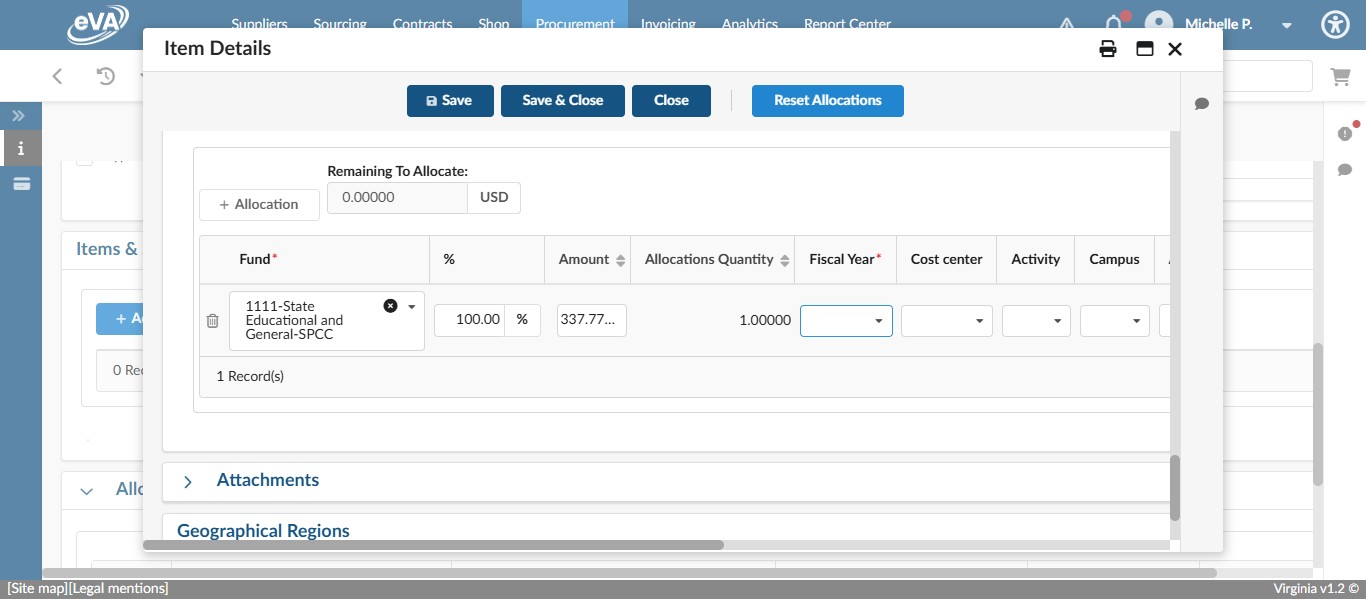
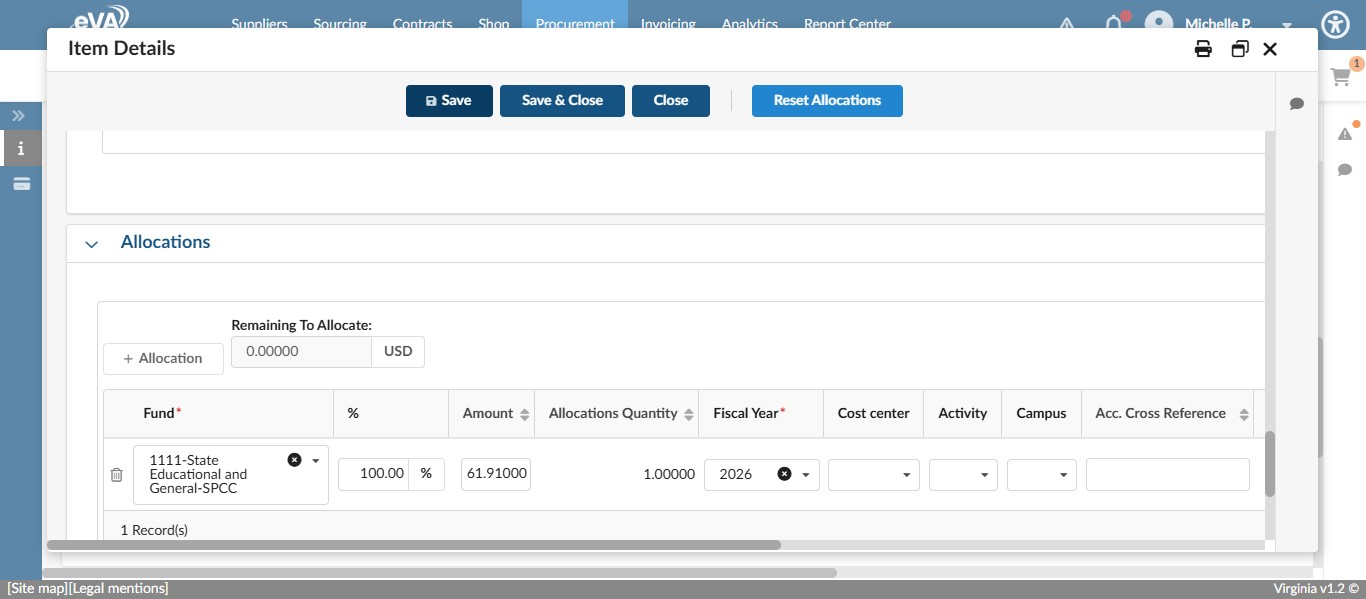
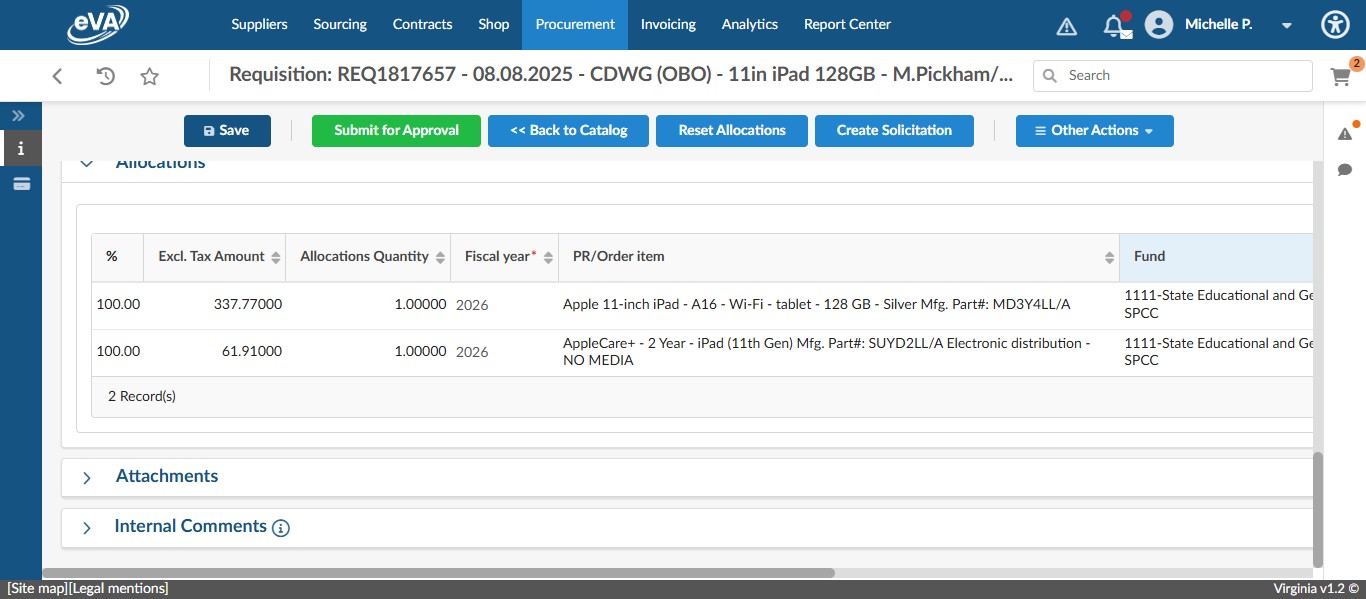
Once Saved, the Allocations section will become available. Enter the Fund Code.
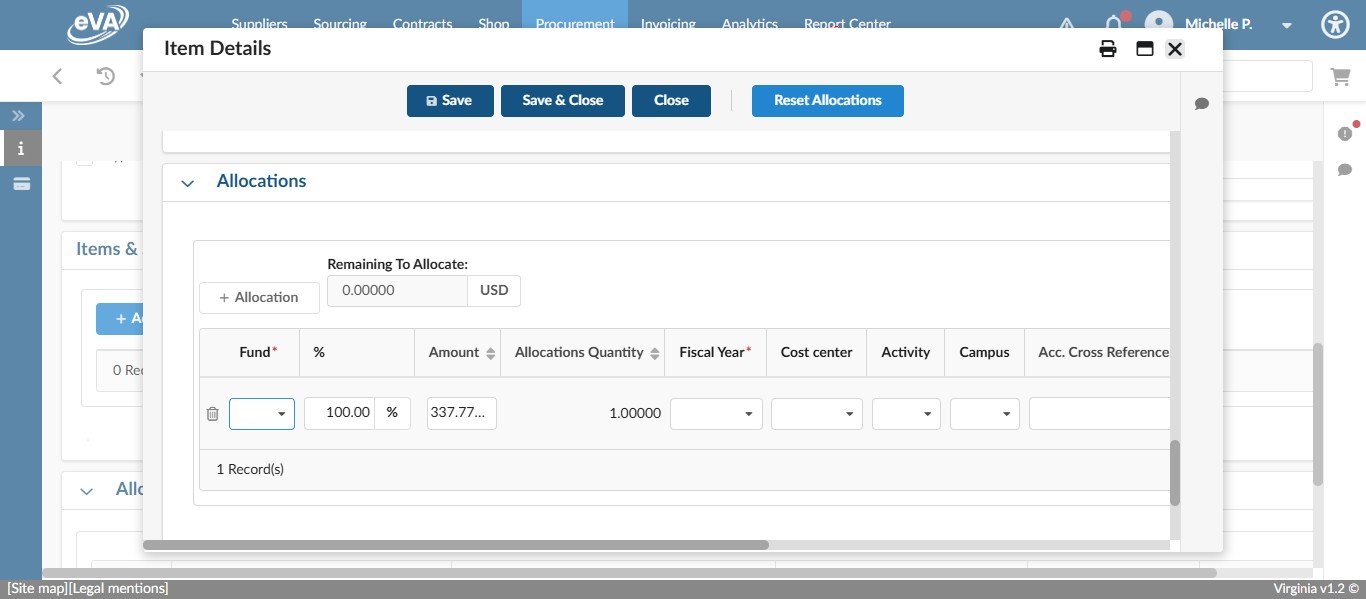
Enter the Fiscal Year.
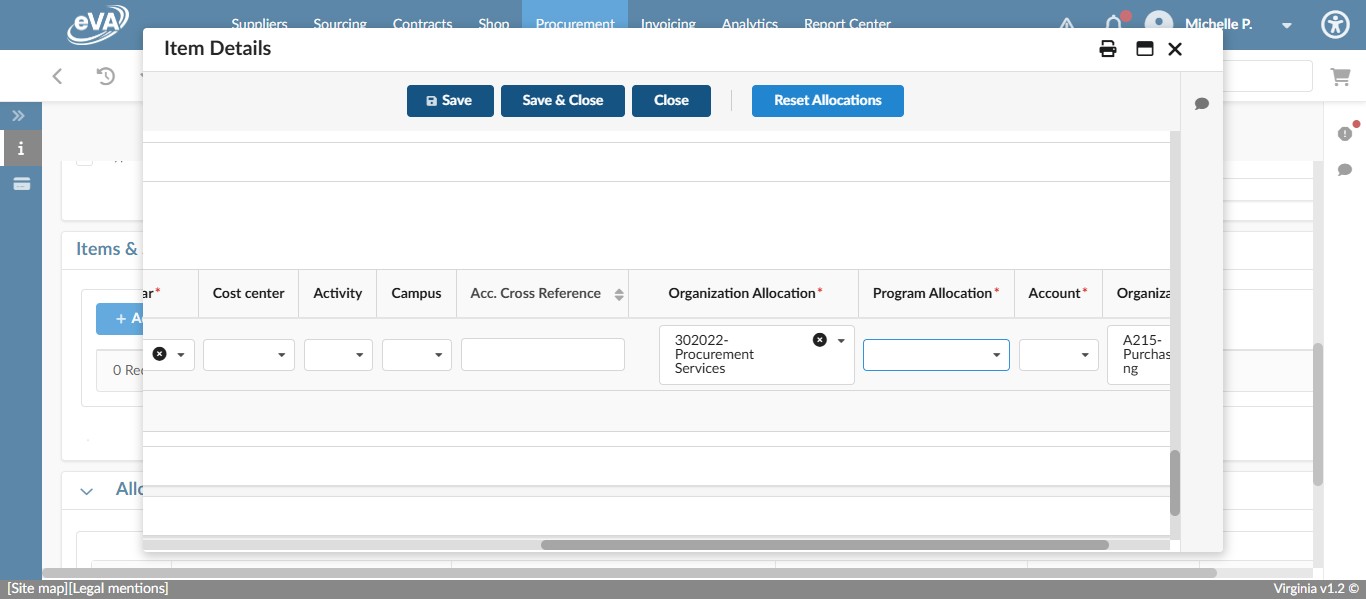
Enter the Organization Code.

Enter the Program Code.
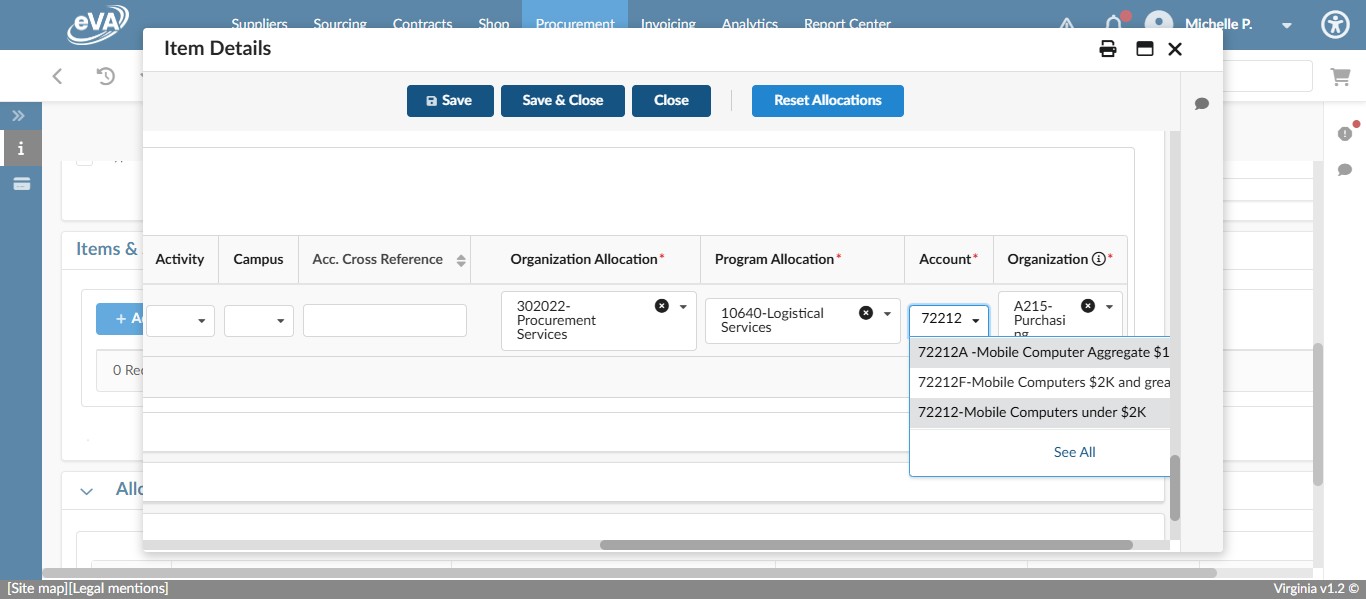
Enter the Account Code.

Account Codes are specific to the item being purchased. For technology items, see the list of frequently used technology item account codes on the Technology Purchases Account Codes webpage.
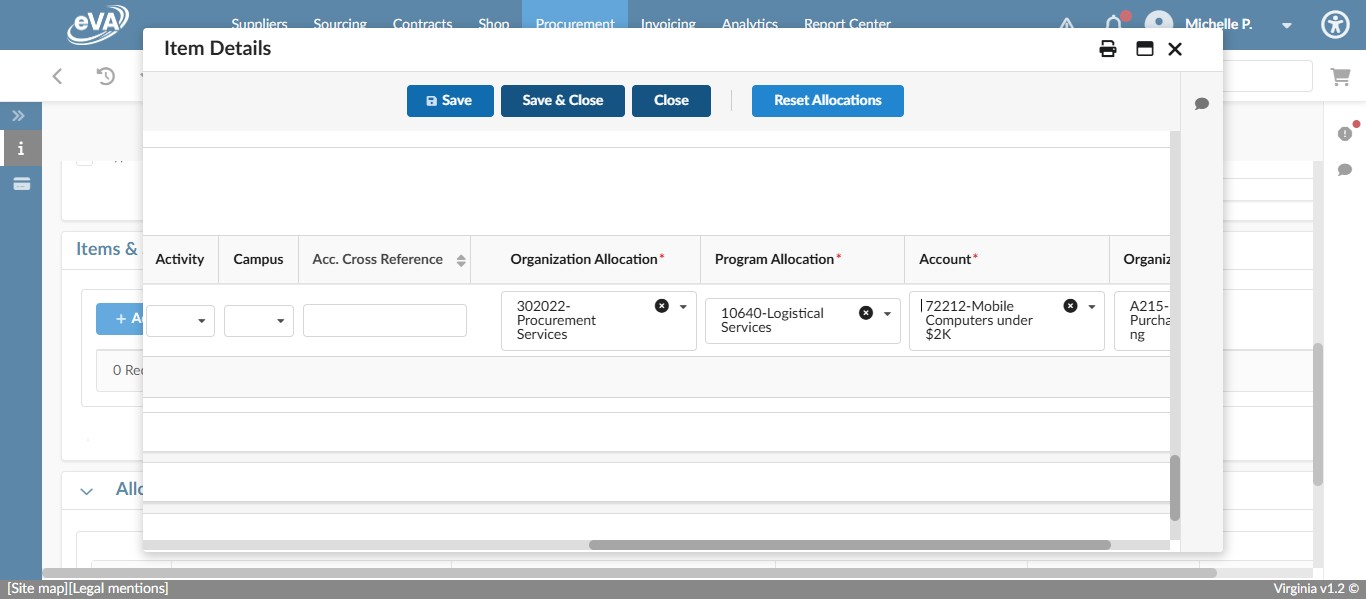
For this example, we are using "72212-Mobile Computers under $2K".
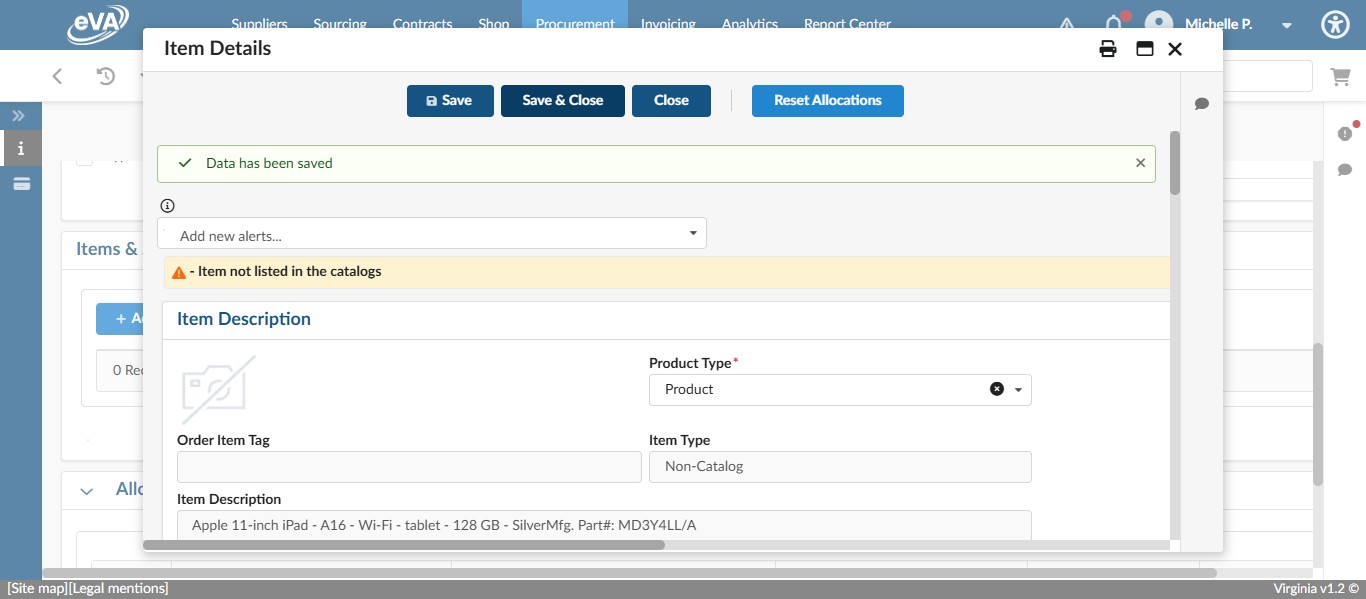
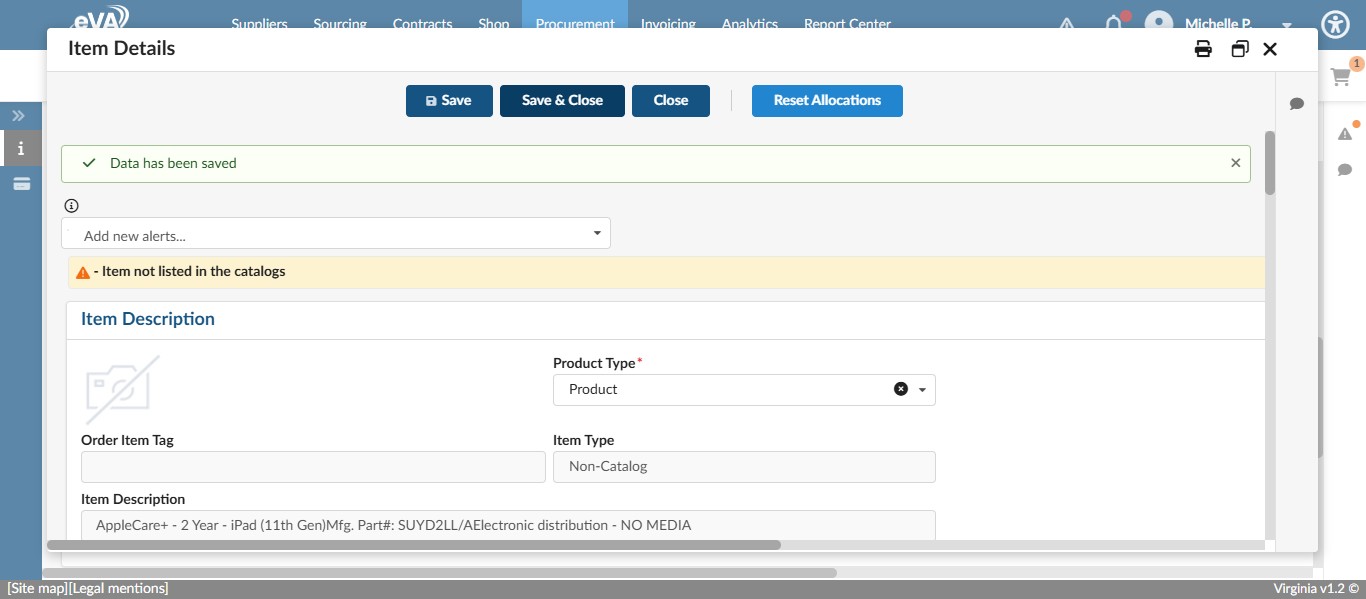
Click on "Save"
Click on "Save & Close"
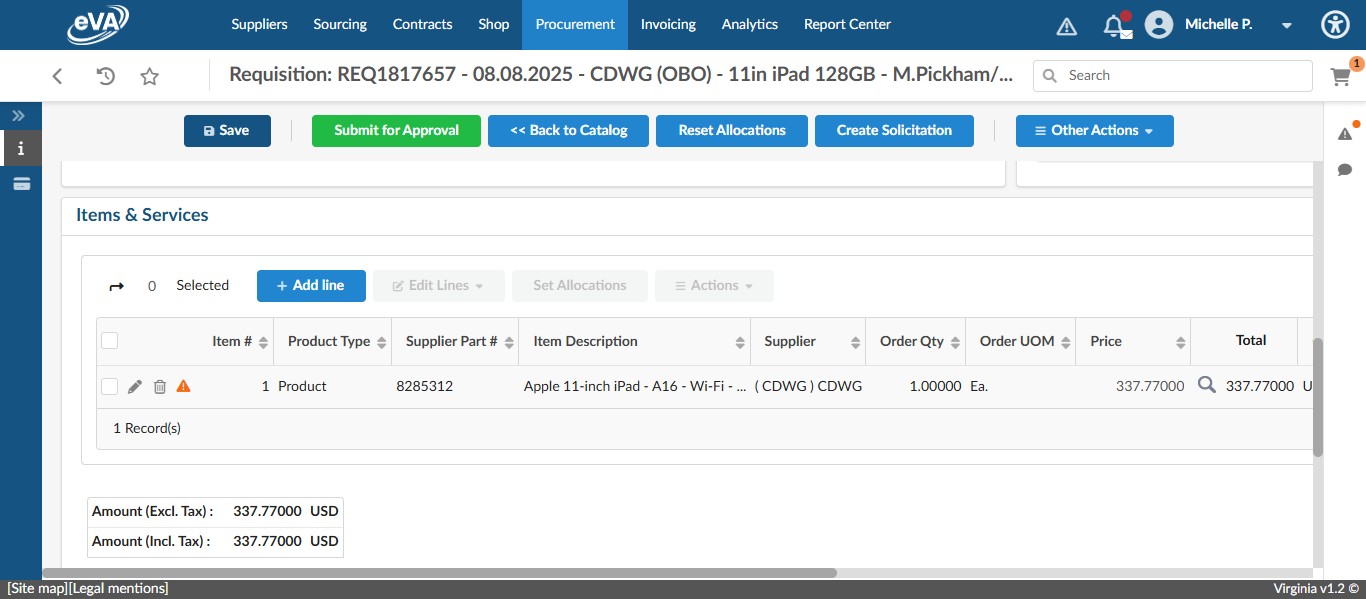
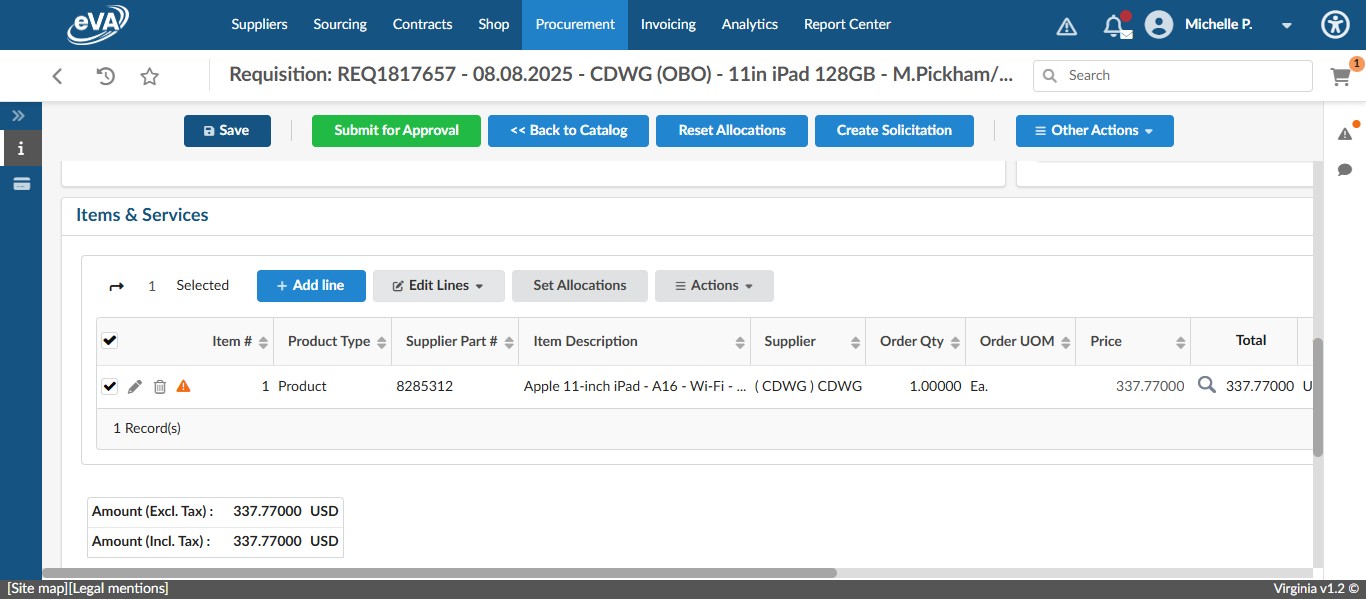
If you have more than one line item, you can copy your completed line item and edit the pertinent information to save time. To do this, select the check box next to the line item you want to copy.
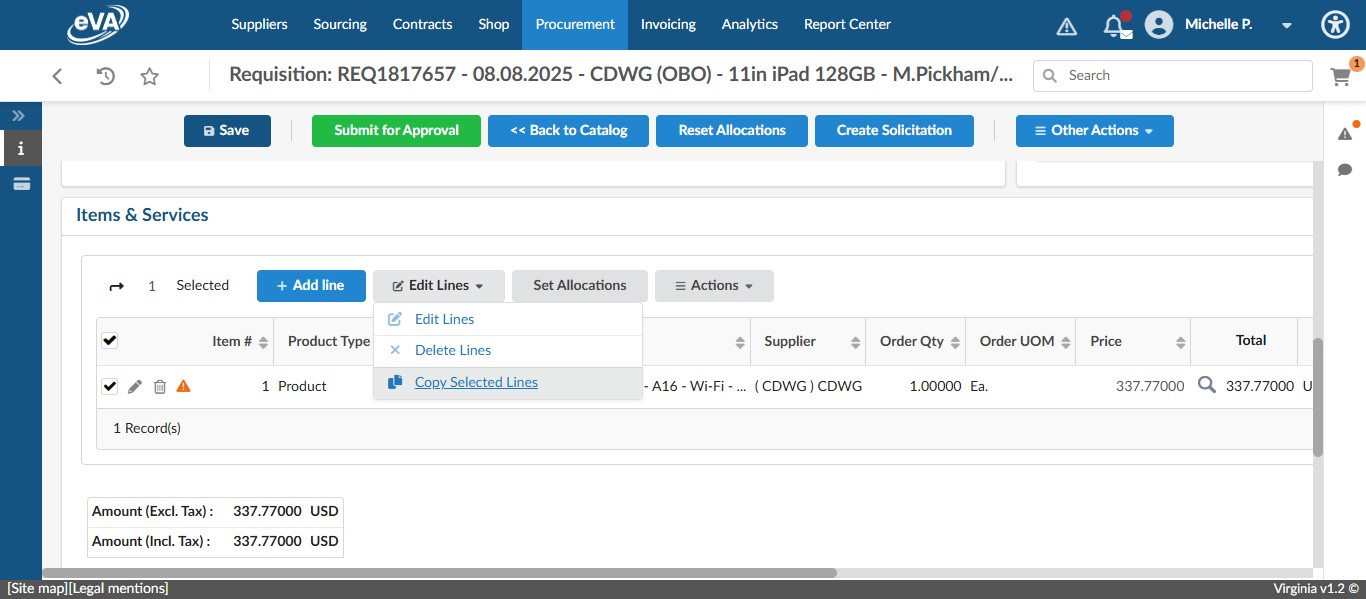
Click on "Edit Lines"
Select Copy Selected Lines.
Click on the pencil next to the newly copied line item to edit.
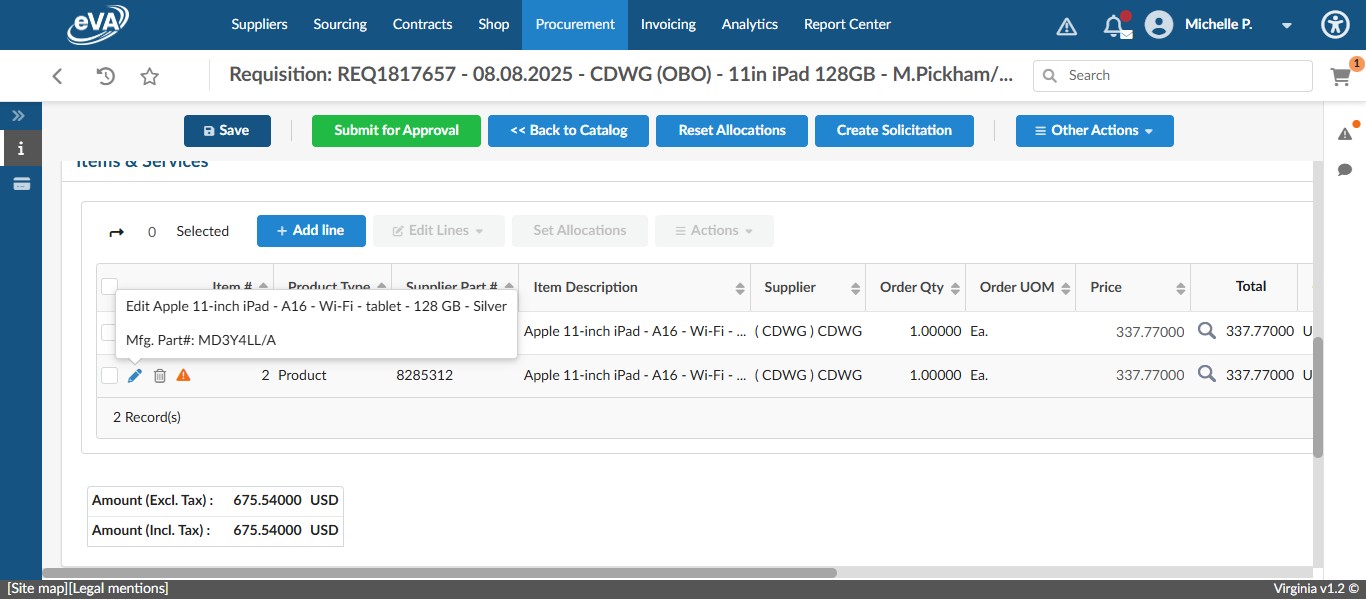
Edit the Detailed Description to include the next item being purchased.
Change the order quantity if required. In this case, it's not.
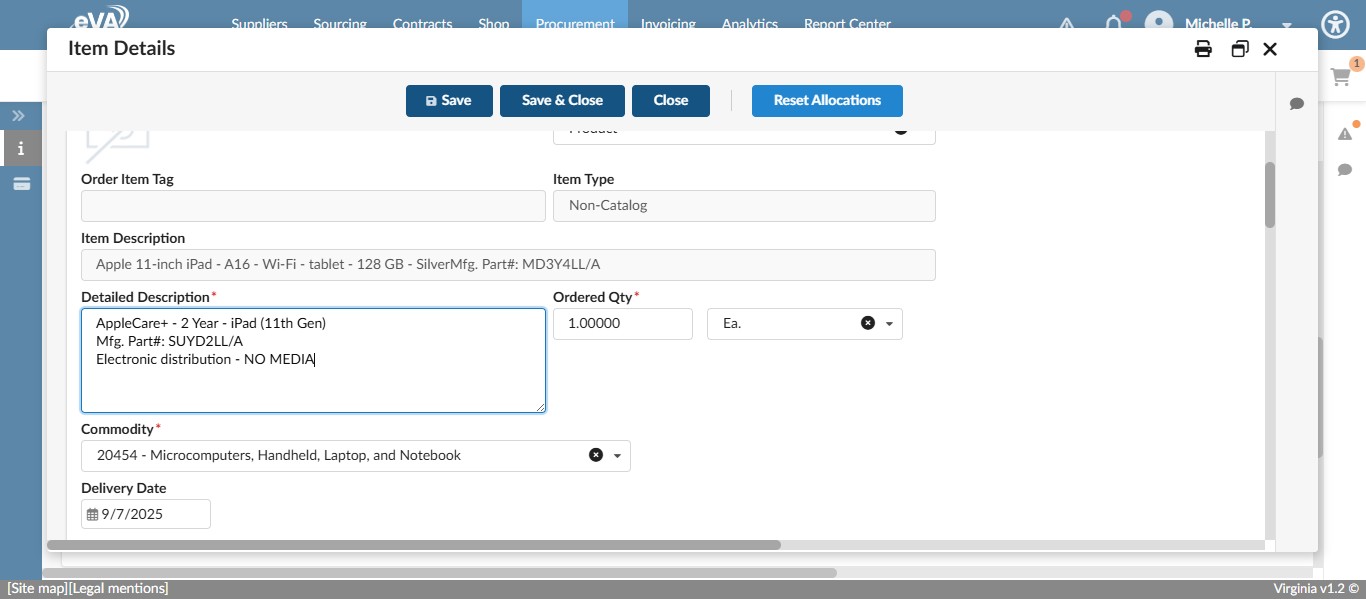
Edit the Unit Price.
If your item has a supplier part #, scroll down to change the part #.
Click Save.
If you have to change the Account Code or FOAP information for the item, do so before saving again. In this case, we don't have to as warranties get coded to the same account as the item being purchased.
Click on "Save & Close"
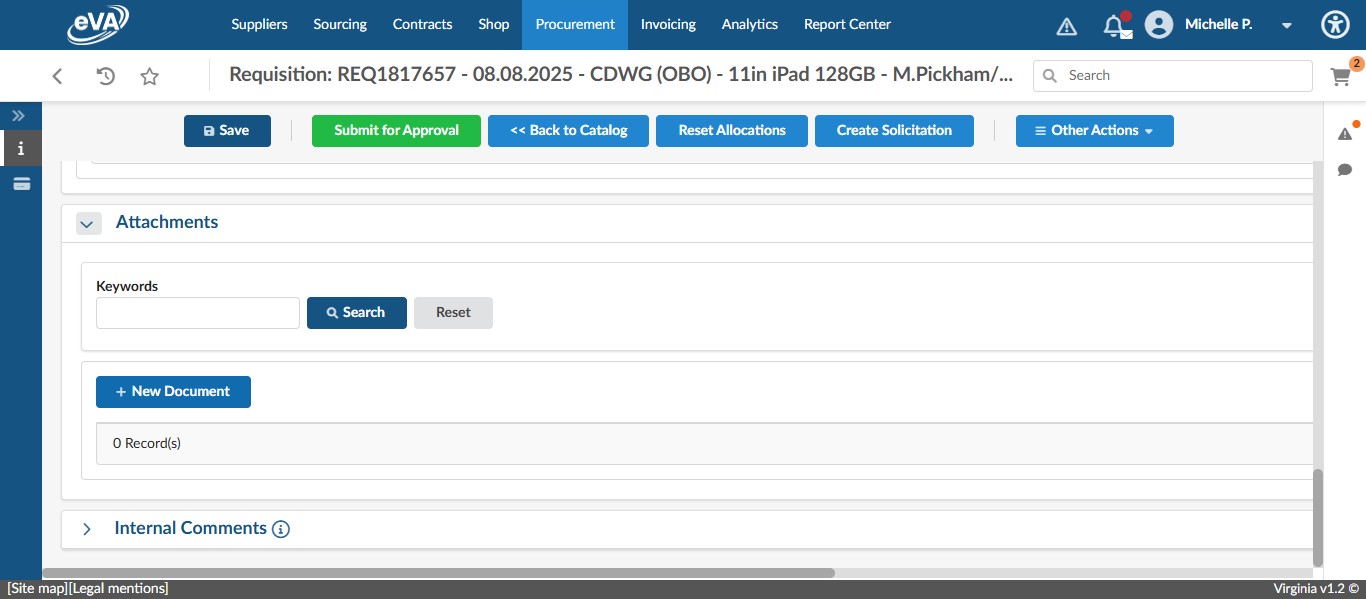
If possible, you want to attach a quote you are working from. To do this, scroll down to the Attachments Section and click on the drop down for Attachments.
Click on "New Document"
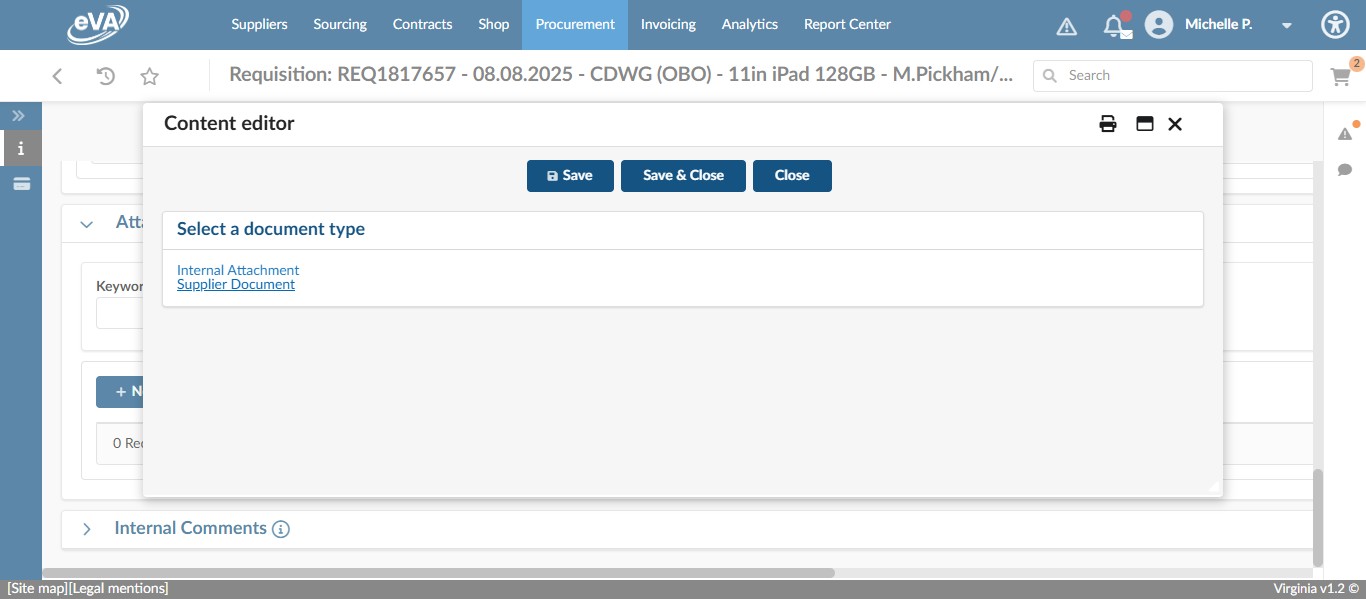
Click on "Supplier Document"
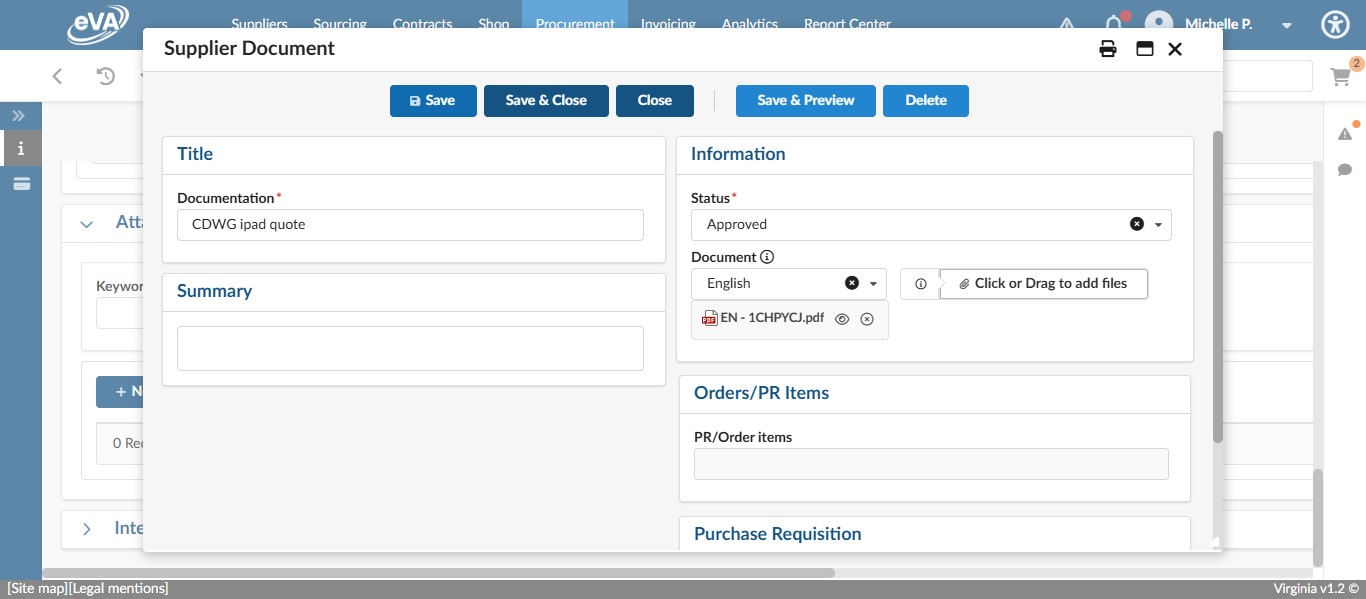
Enter a name for the quote you are attaching.

Click on "Click or Drag to add files" and select the file you want to add.
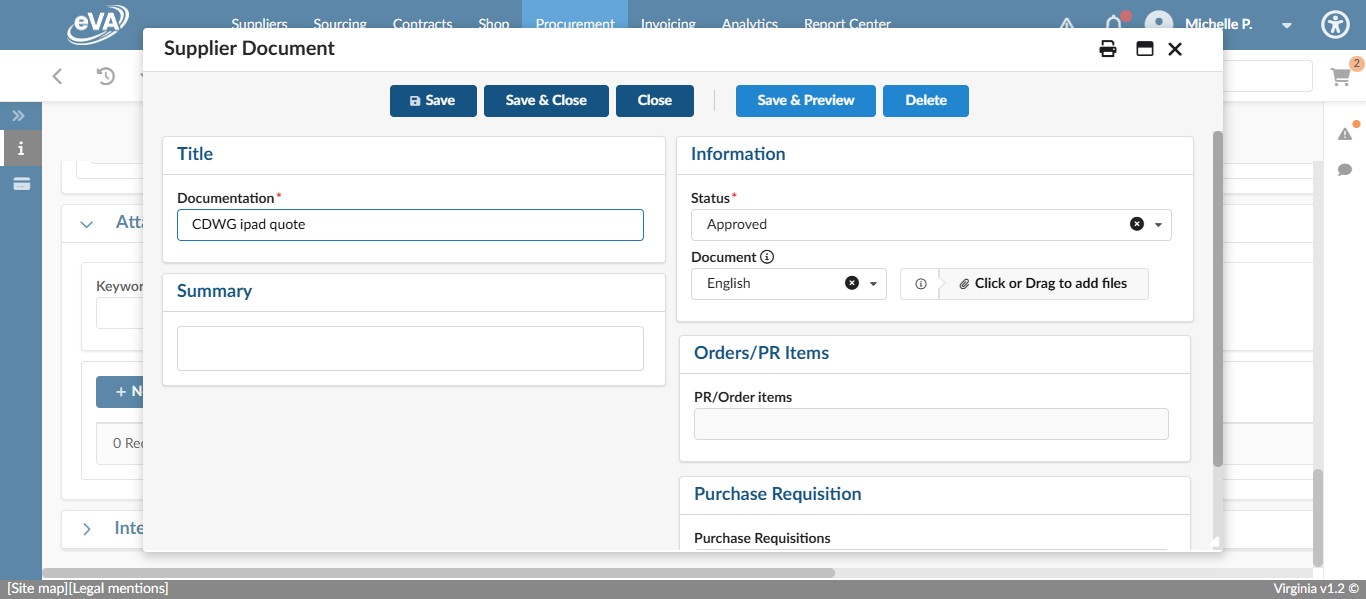
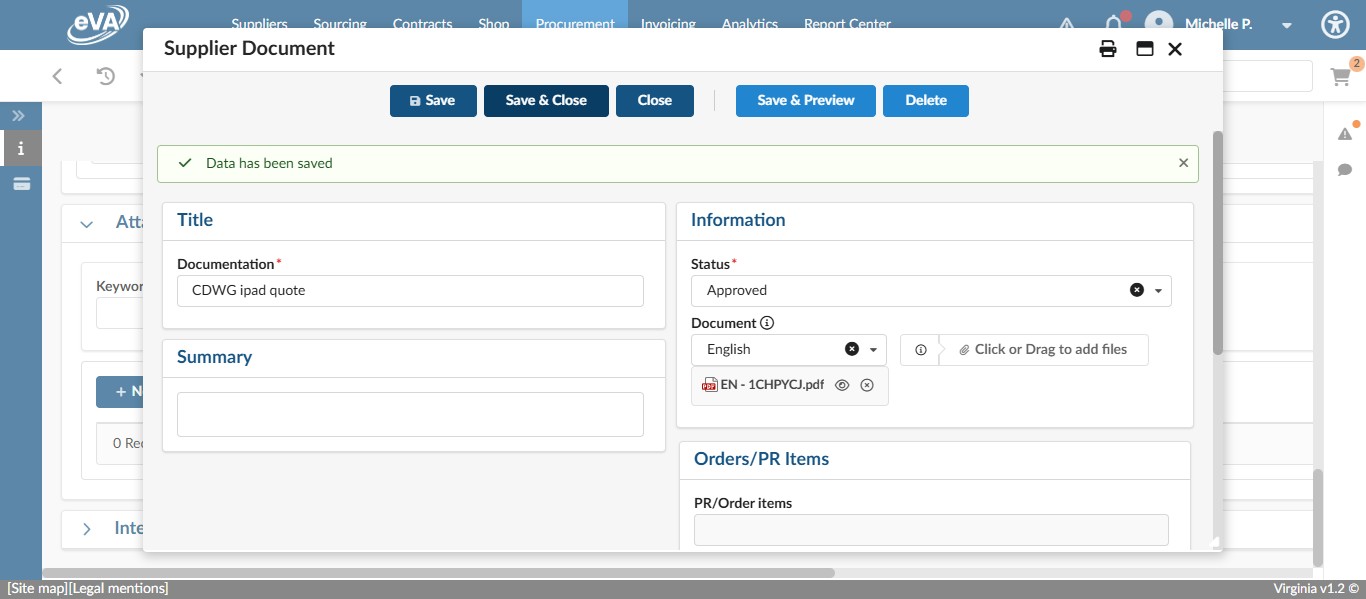
Click Save.
Click on "Save & Close"
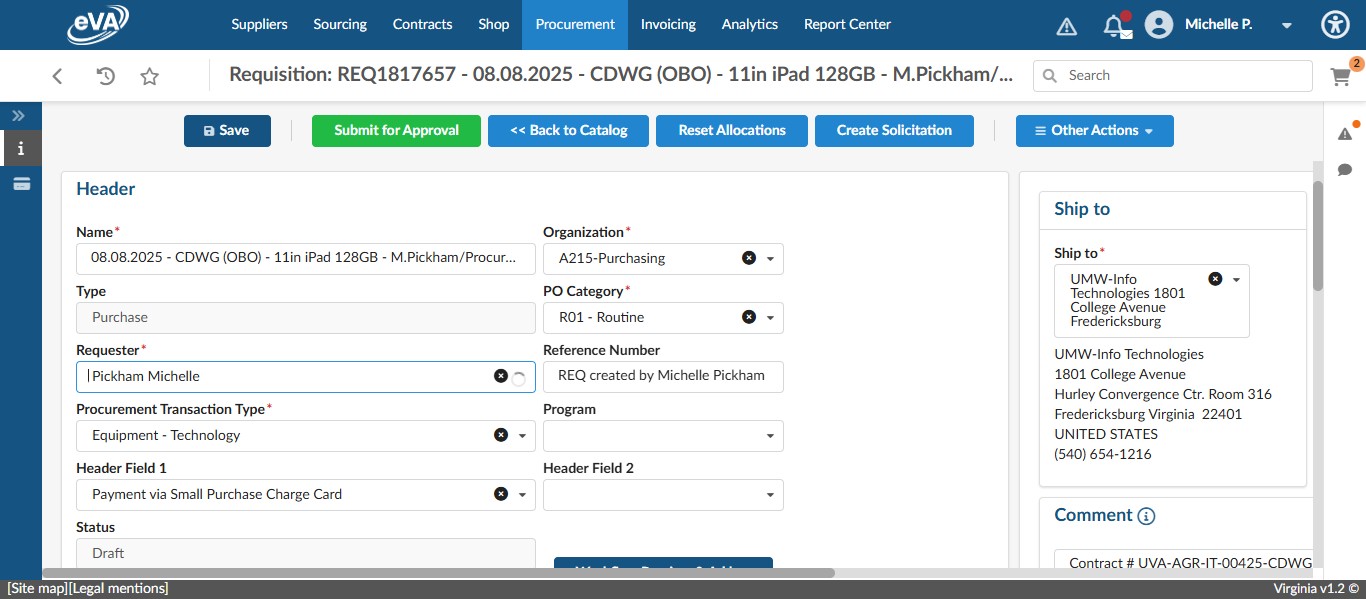
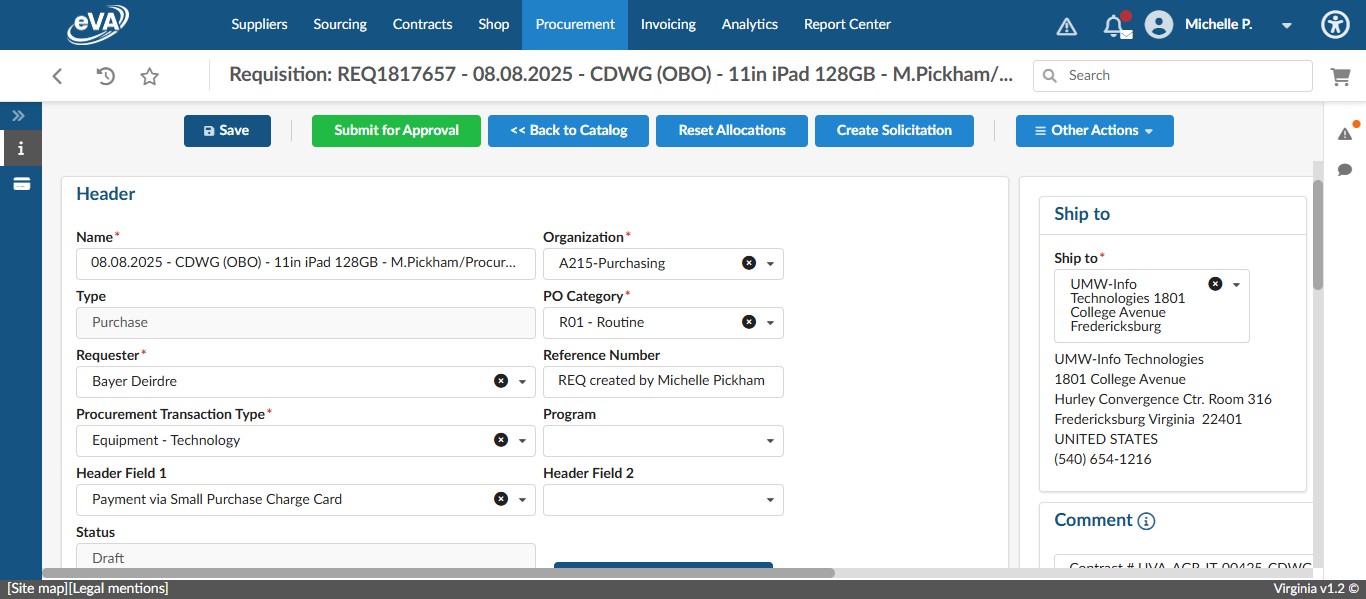
Review the requisition information. If everything is correct, to complete the "on behalf of" or OBO process for ordering technology items, change the Requester to the Cardholder listed on the form.
In this fake example, Click on "Bayer Deirdre"

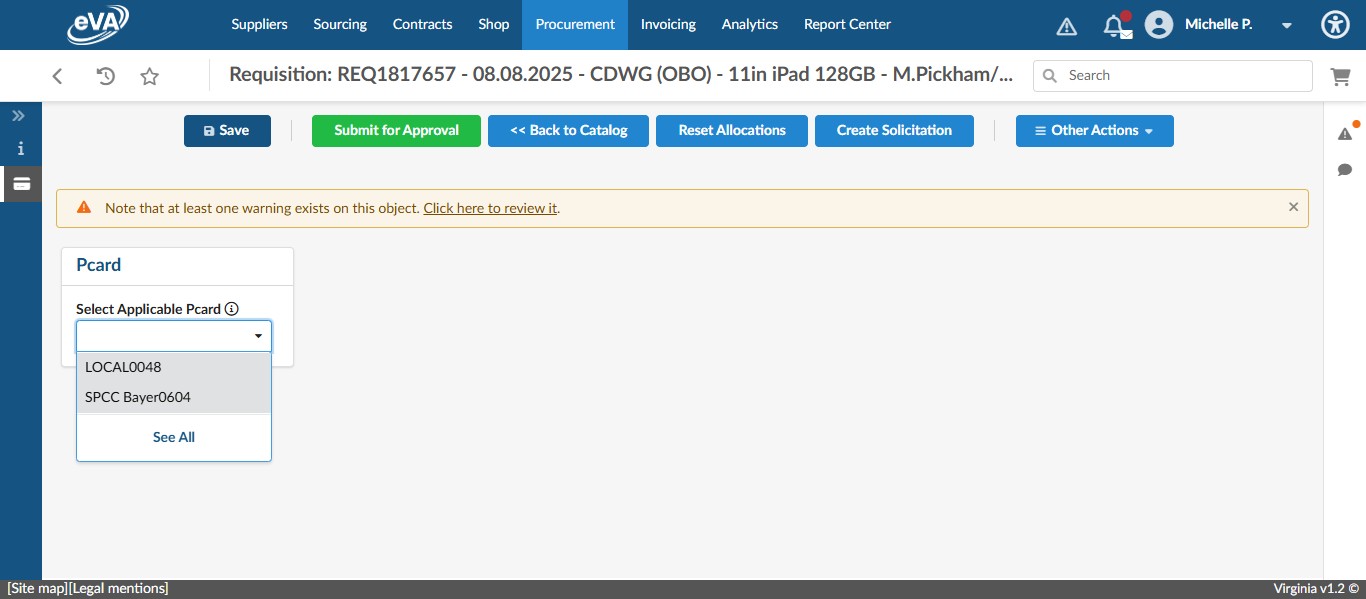
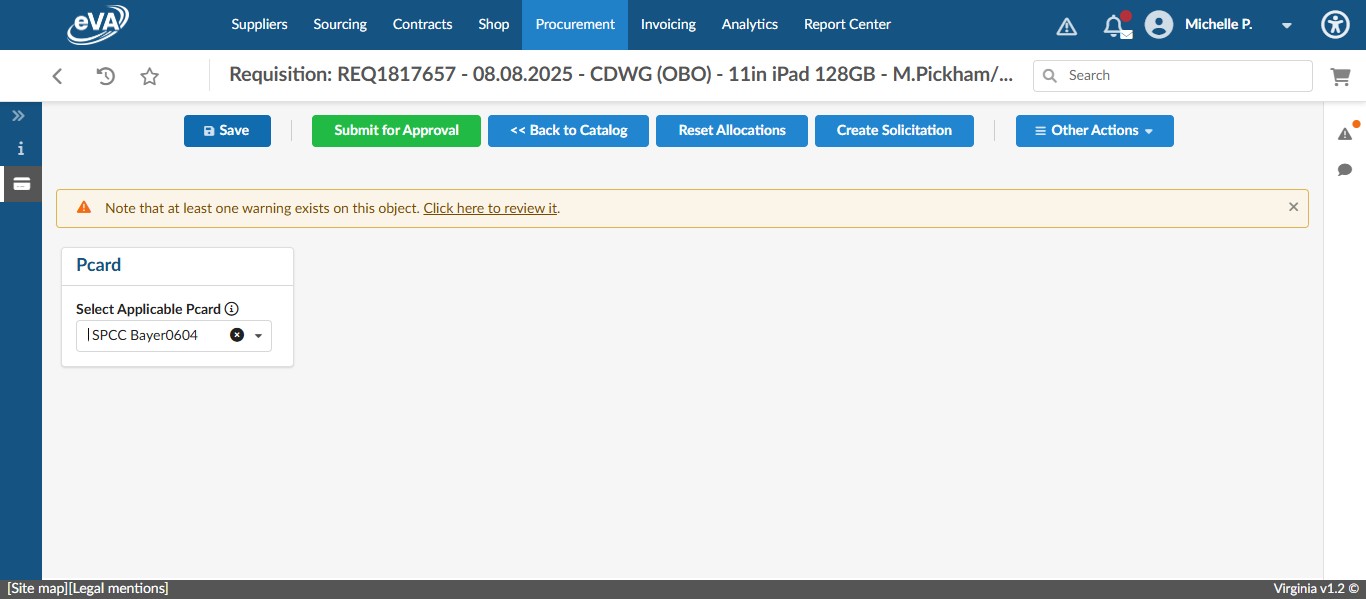
Once the Cardholder is selected, you need to select the appropriate charge card for this requisition. Click on the pcard menu icon on the left.
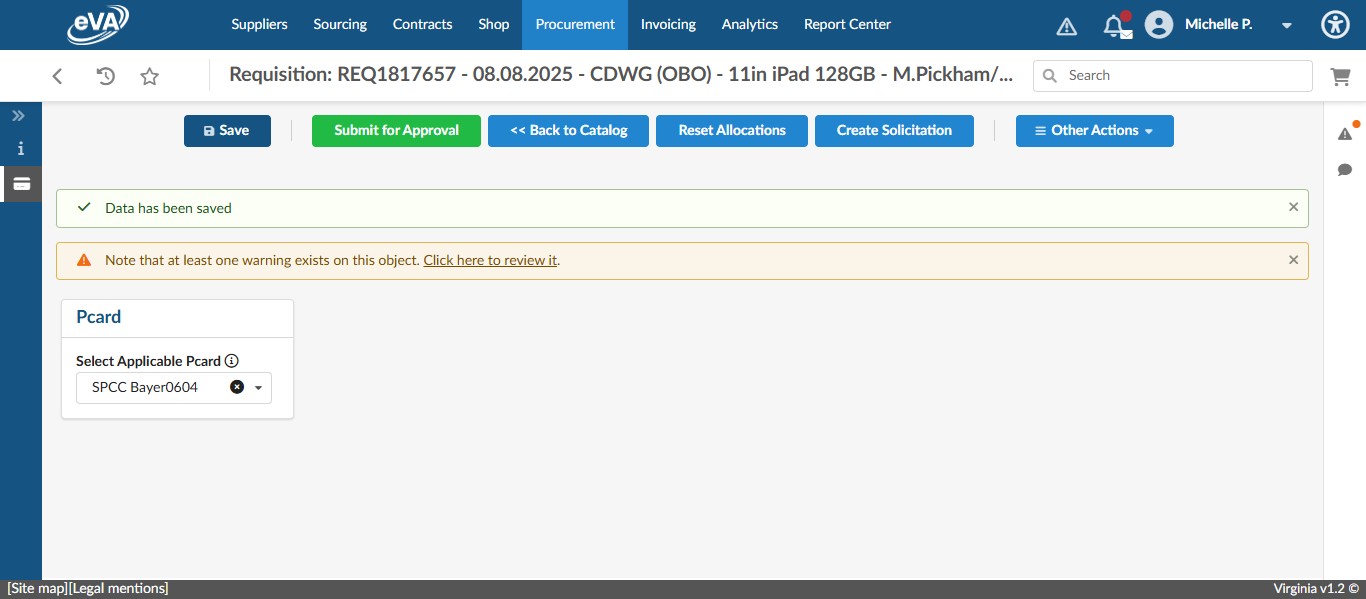
click on the drop down under Select Applicable Pcard and select the appropriate card. In this example, the fund code is a state fund, so we will select "SPCC Bayer0604".
Click on "Save"
Once you have reviewed all of the information on the requisition and are confident that everything is correct, click on Submit for Approval.
Once you've selected Submit for Approval, you would forward the request form (Standard or Non-Standard) received to the Cardholder and copy the Main Contact, if different from the Cardholder, and any other applicable people, with the following message:
"Your request for the item(s) below has been approved. I have placed this order for you into eVA on your behalf. Please review the REQ and approve. If you have any questions, please let me know."