Cobblestone - Completing a Contract Record after Solicitation Award
This guide is intended to walk the Contract Officer through the steps of completing their initiated RFP or IFB solicitation record into a finalized/awarded contract record.
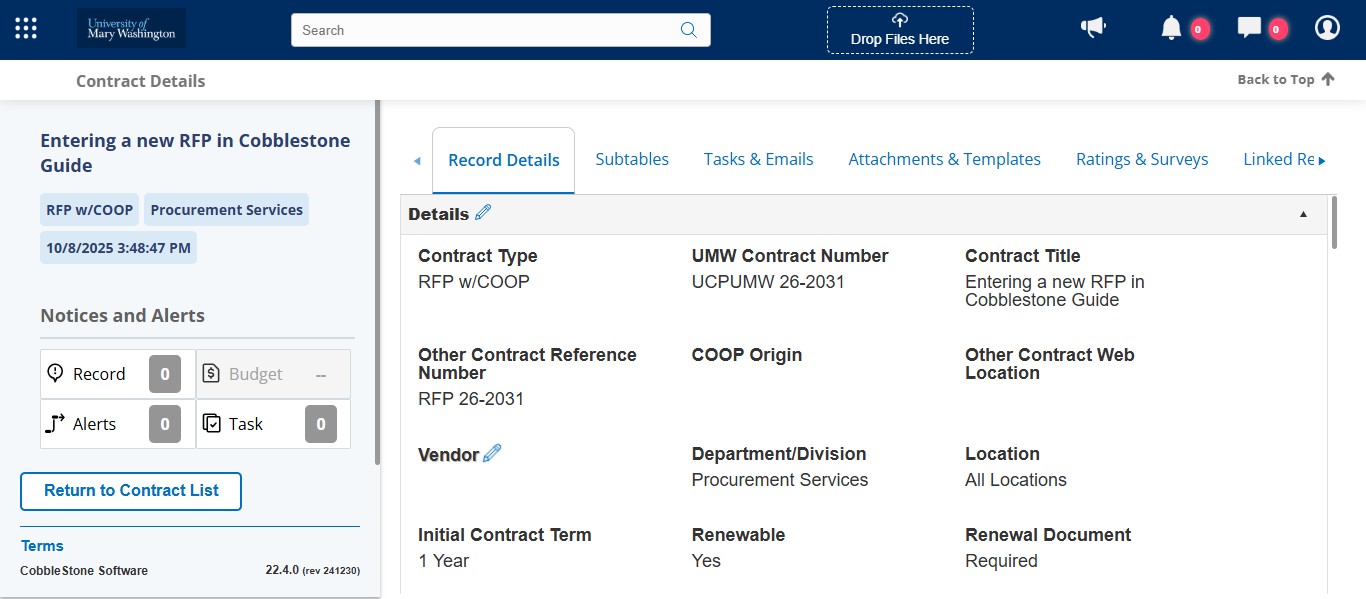
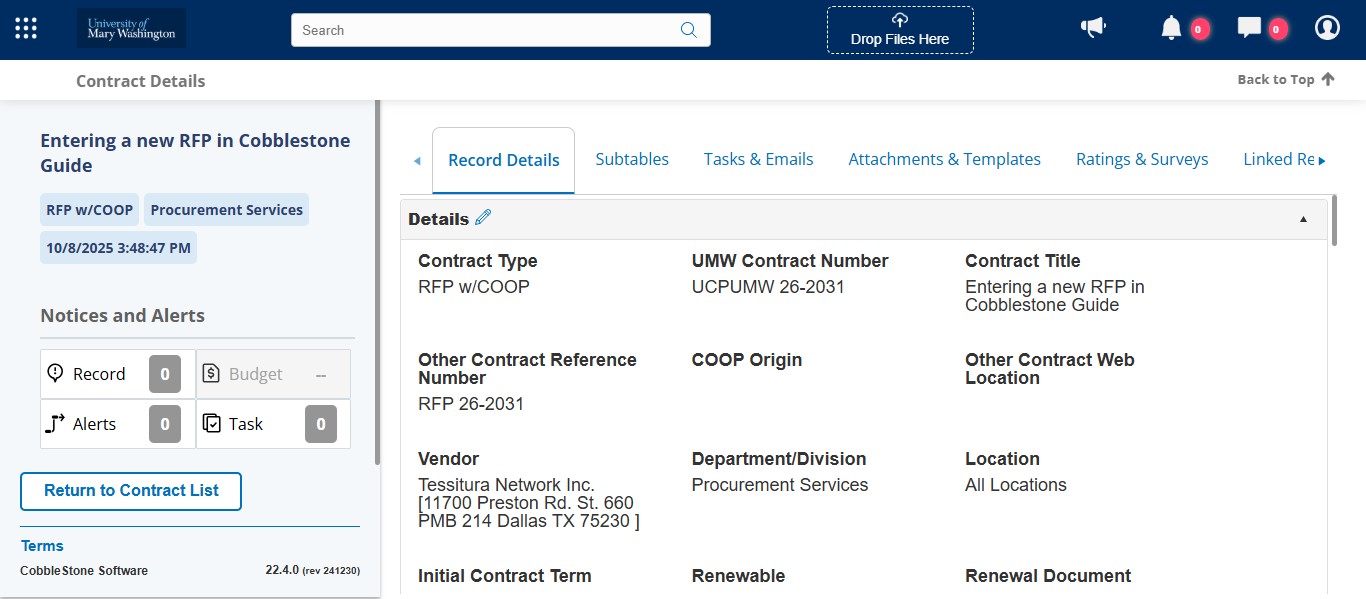
Log into Cobblestone and navigate to your RFP or IFB solicitation record.

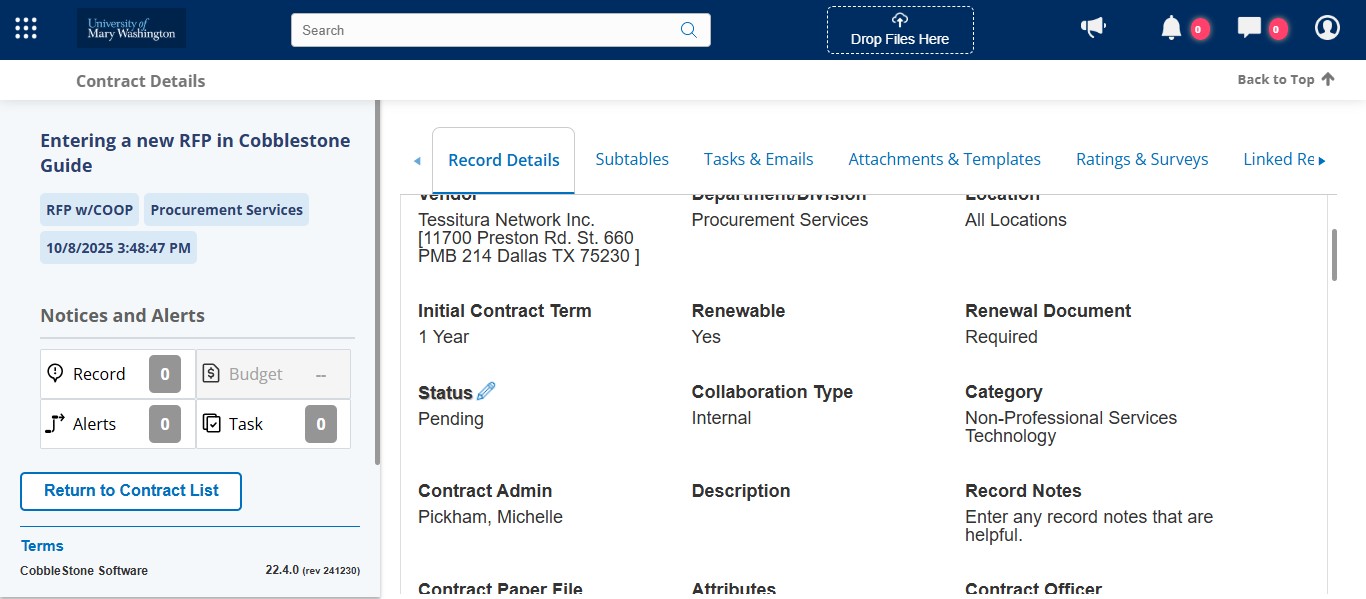
Now that you have an awarded vendor, you want to select them from the drop down. If this vendor has never been entered in our Cobblestone system before, you will need to create the Vendor record first before doing this step. See the Guide on Adding a New Vendor Record.
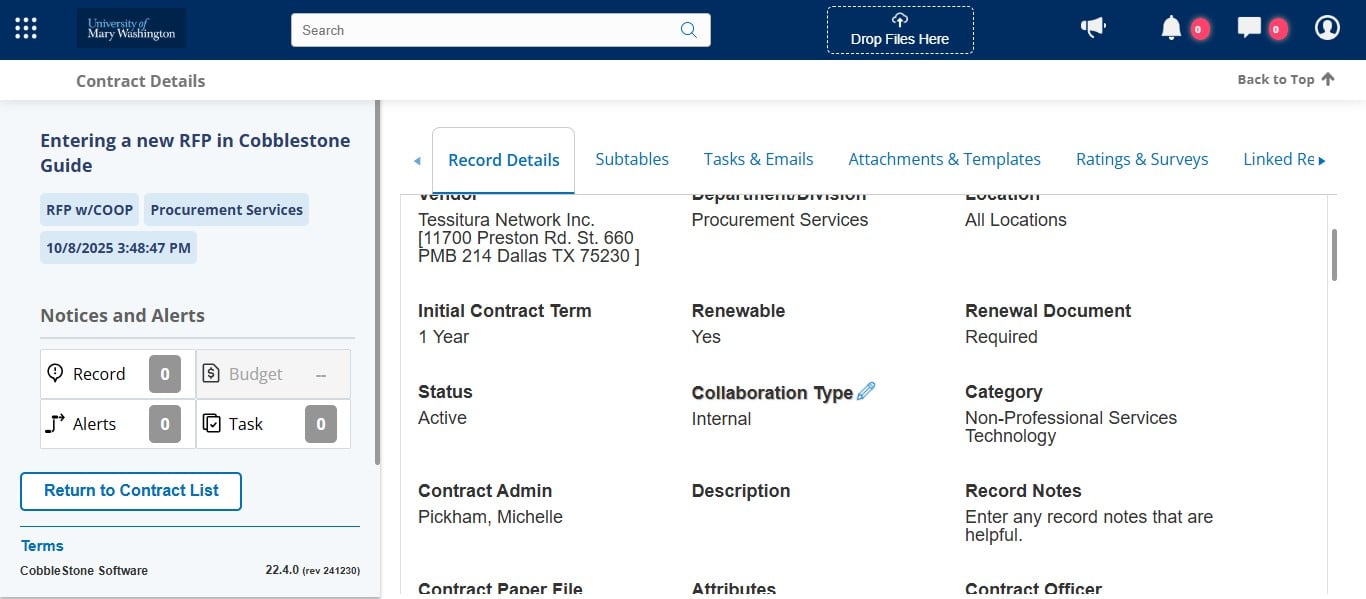
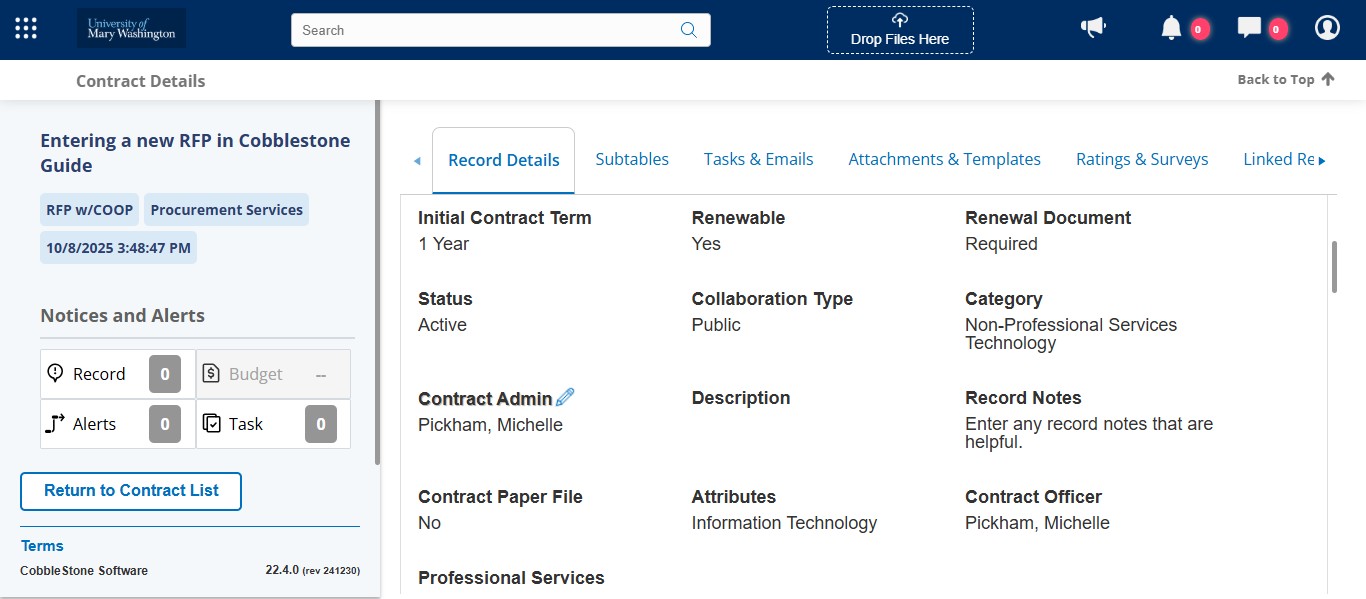
If you have all of your documentation completed, change the Status from Pending to Active.
If you have all of your documentation completed, change the Collaboration Type from Internal to Public.
If you've received the signed Contract Administrator form from the expected Contract Admin, change the Contract Admin field accordingly via the drop down. If the person has never been an active Contract Admin in the Cobblestone system before, you'll need to add them as an Employee Record. See the Guide for Adding an Employee/Contract Administrator.
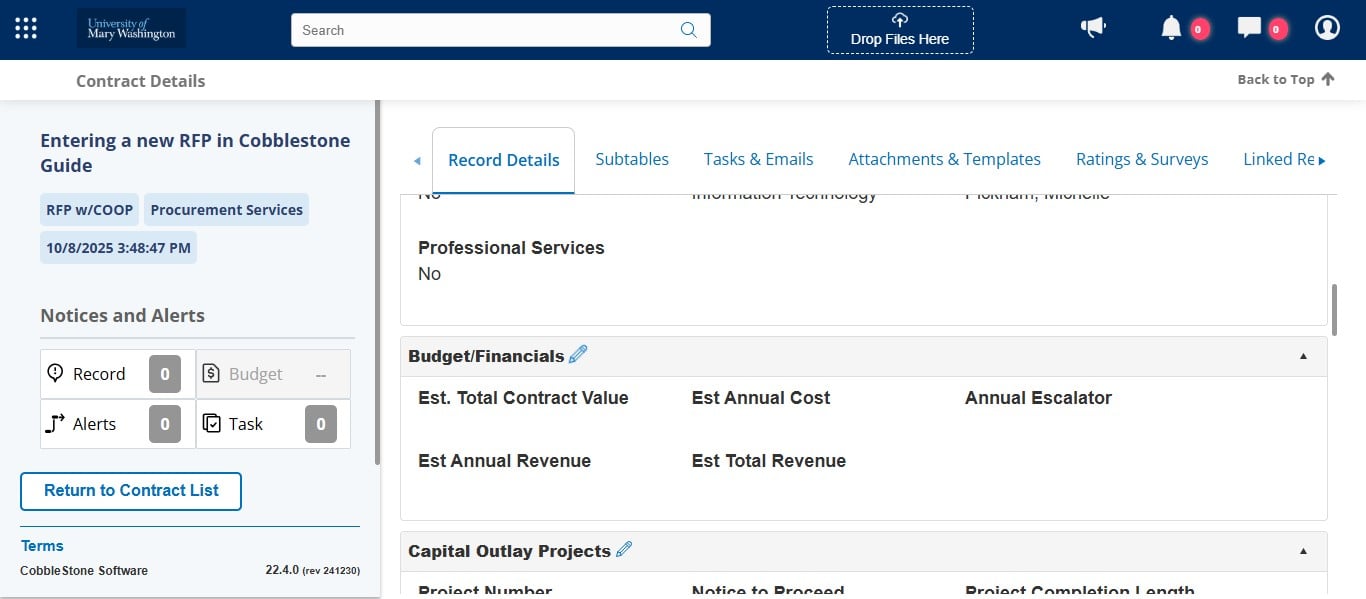
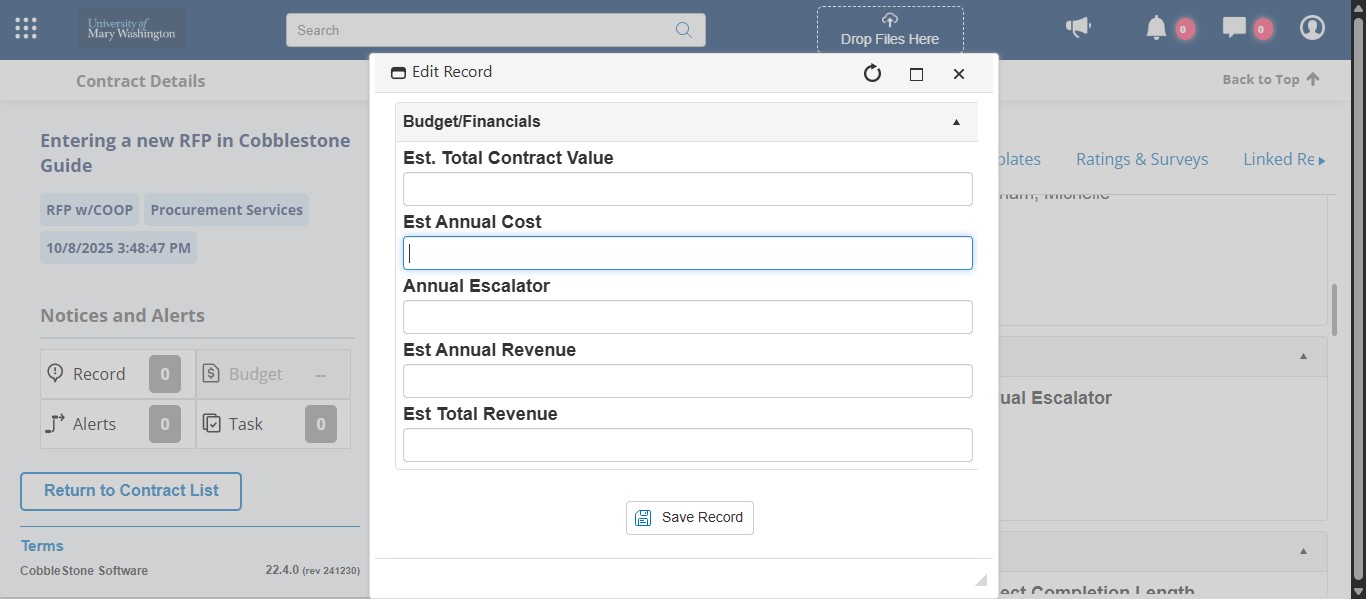
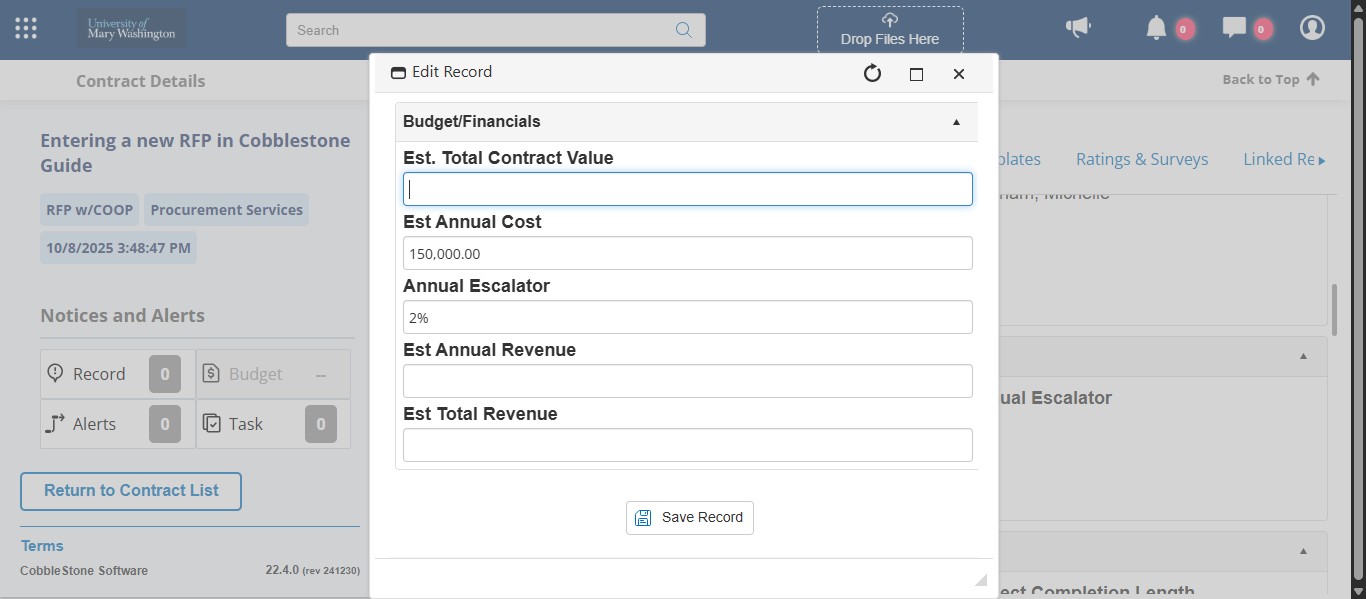
Now that the contract has been awarded, you should have all the required budget and financial information. Click the pencil icon for this section to do a bulk fill for these fields, or enter them individually.
Enter the estimated annual cost for this contract. This can be the first year cost or an average of the total contract cost.
If your negotiated contract has an annual escalation clause for renewals, enter the escalation here. This could be a percentage, a CPI table reference, etc.
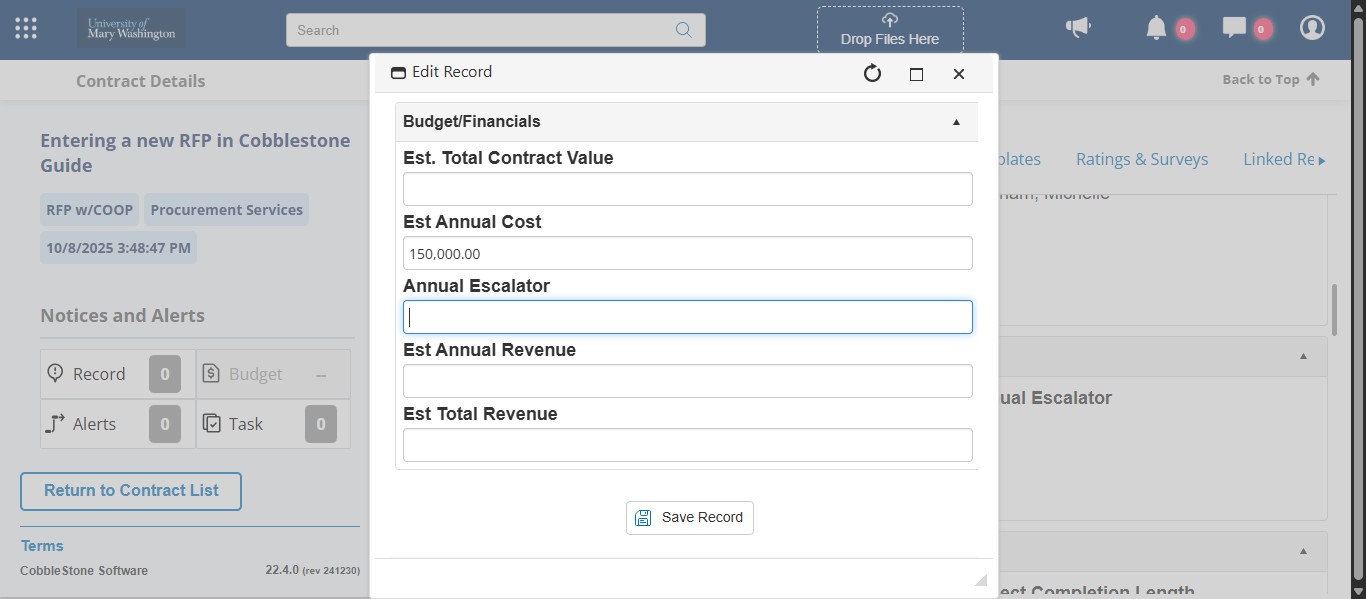
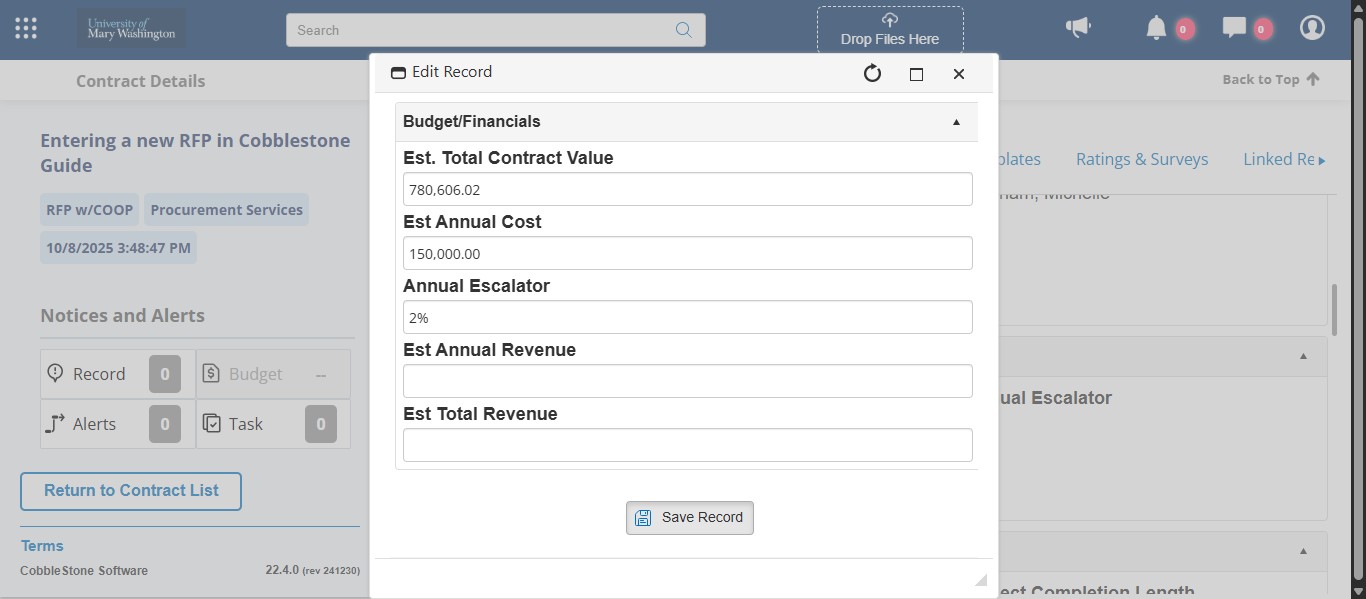
Do the calculation for the total estimated contract value including any renewal options for this field. You should make sure to take into account any annual escalator for this calculation.
Click on "Save Record"
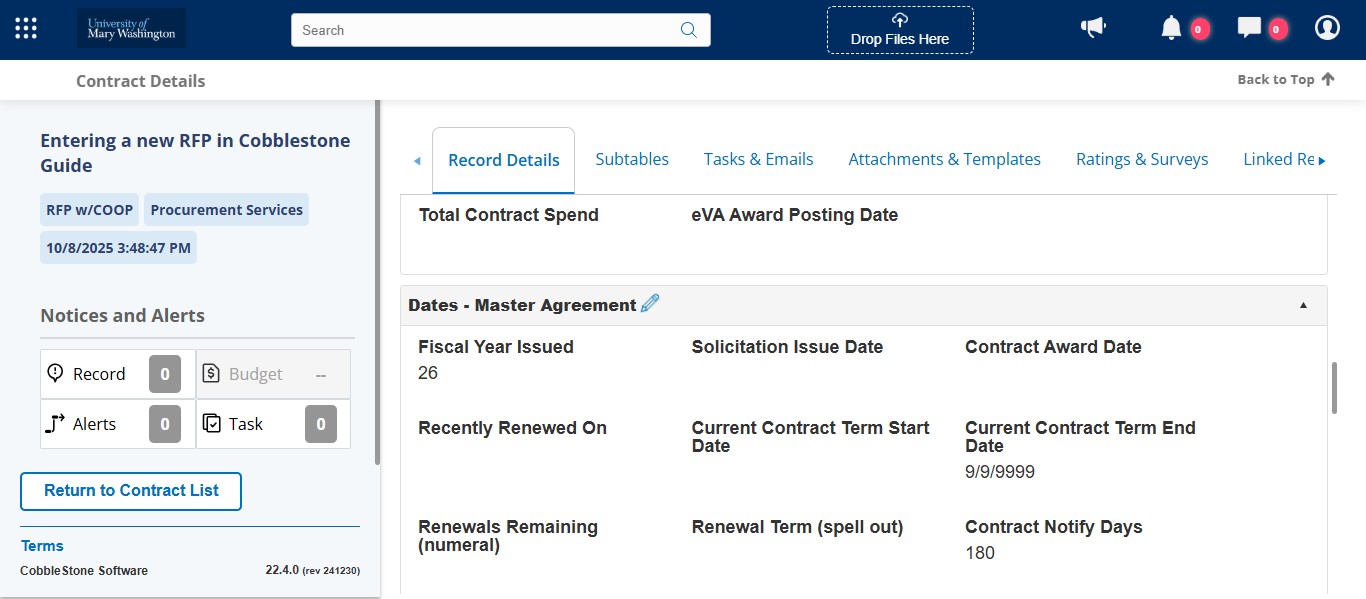
Scroll to the Master Agreement Dates section and you can fill in the fields individually or click on the pencil next to the section for a mass edit.
Enter the date the Solicitation was issued in eVA.
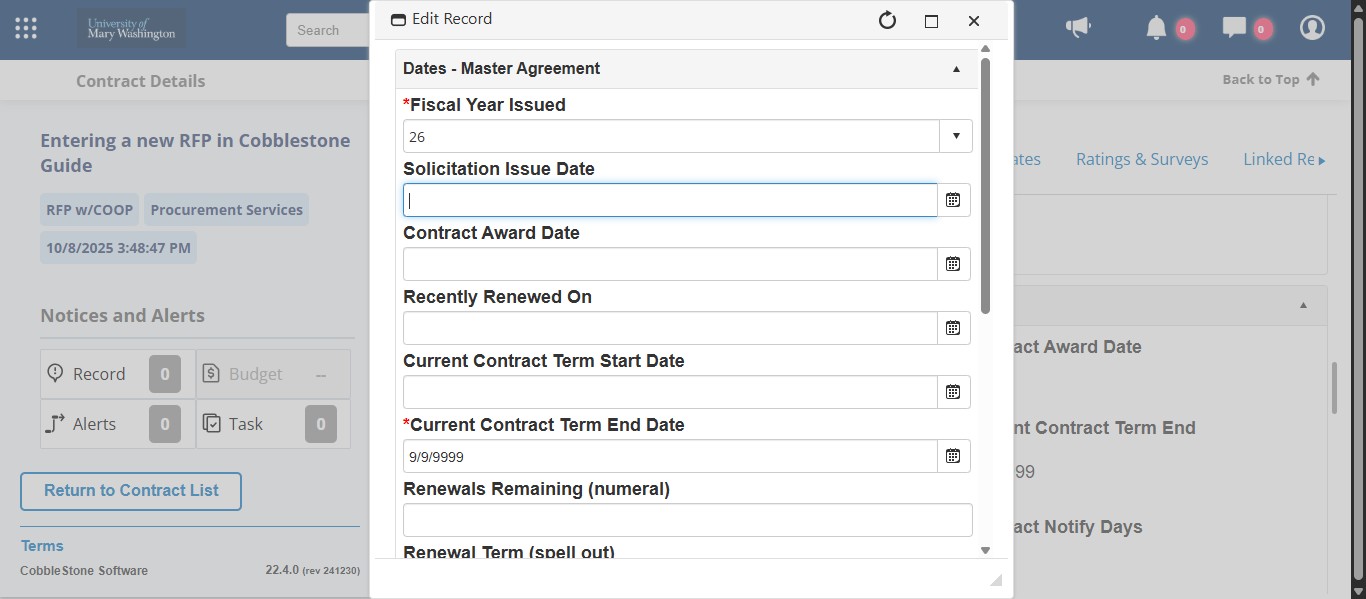
Enter the official Contract Award Date.

Enter the date that the current term of the contract starts.
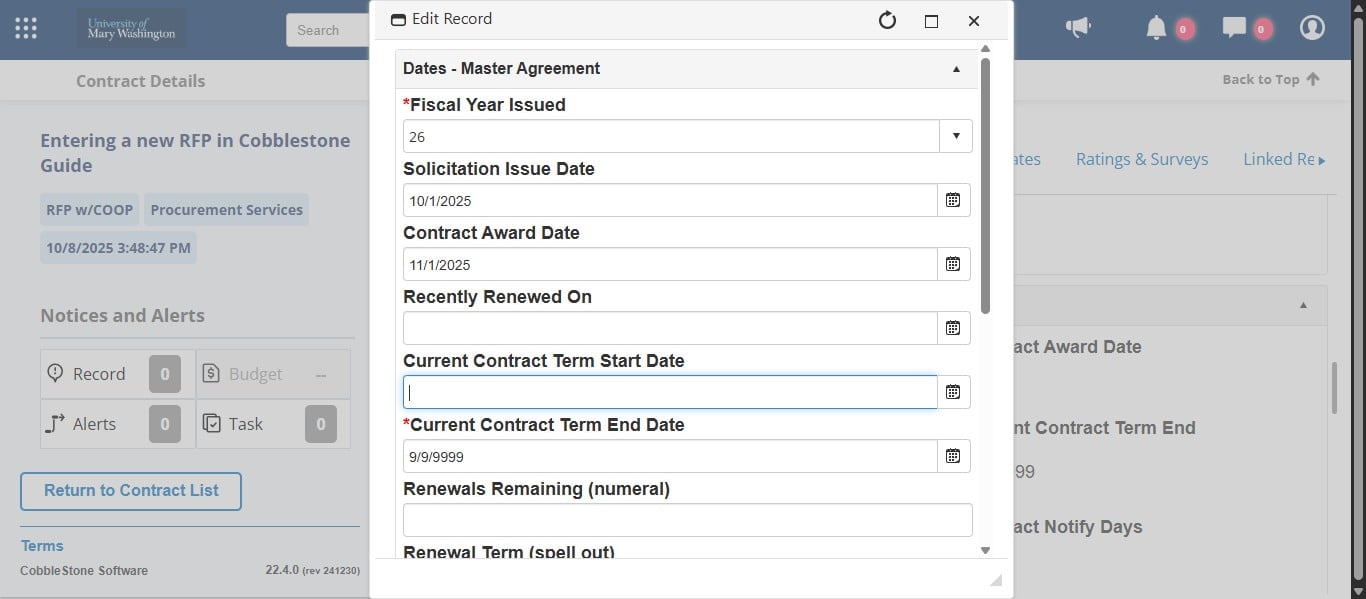
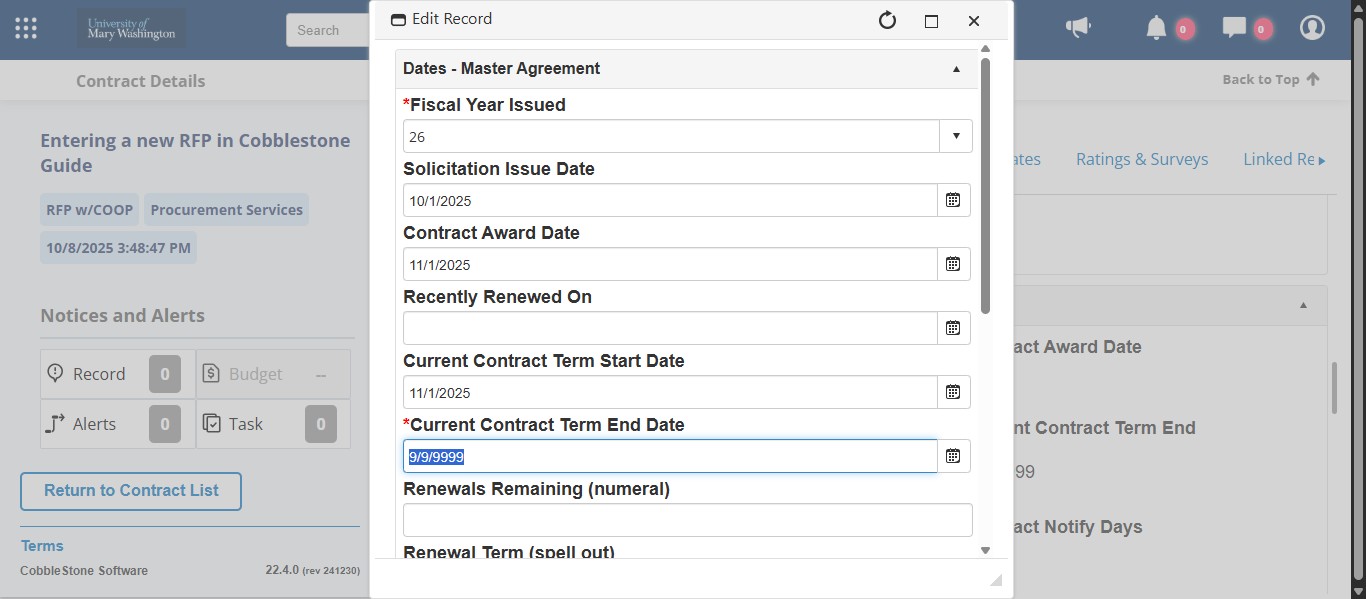
Change your placeholder Current Term End Date to the correct end date. This is dependent on the contract term negotiated with the vendor.
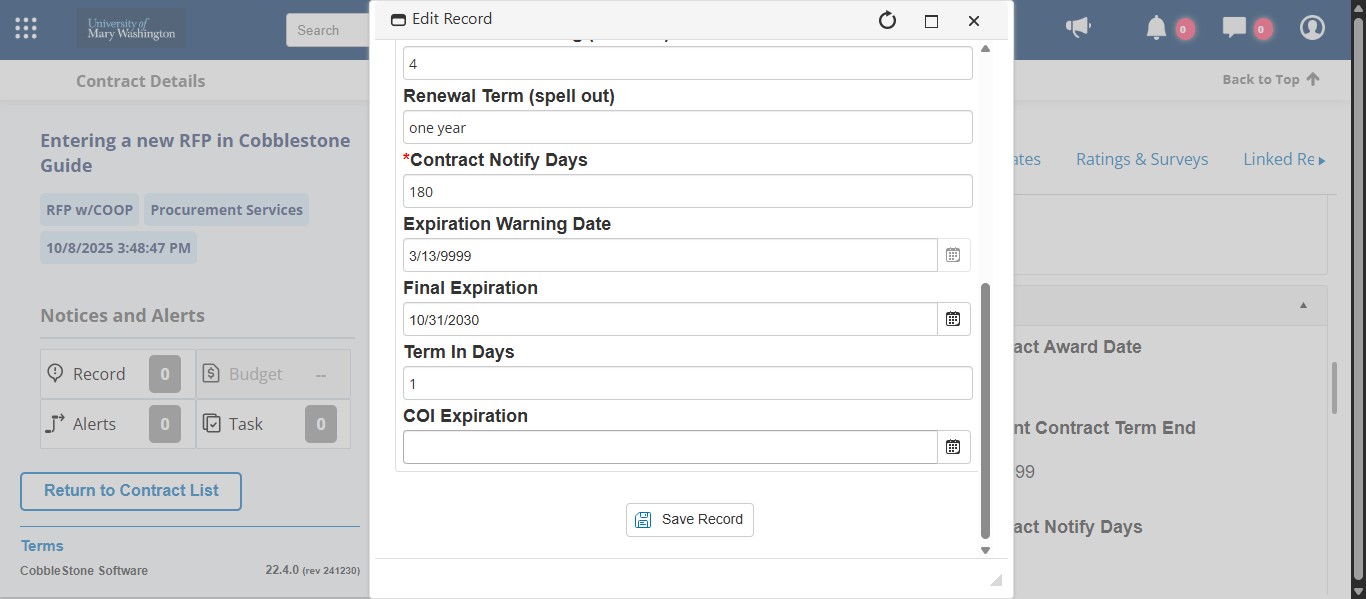
If your contract includes renewals, you will want to enter how many renewal options are available in the Renewals Remaining field.This should only be a numerical number such as 1, 3, 5, 10, etc. Not "one", "four one-year", etc. This contract has 4 one-year renewal options bringing the contract to a total of 5 years, so in the Renewals Remaining field, you would enter 4.

Next enter the Renewal Term. If you negotiated 3 two-year renewal options, you would enter just the term of the renewal which is "two-year." For this example, we have 4, one-year renewal options, so in this field you would enter "one-year."
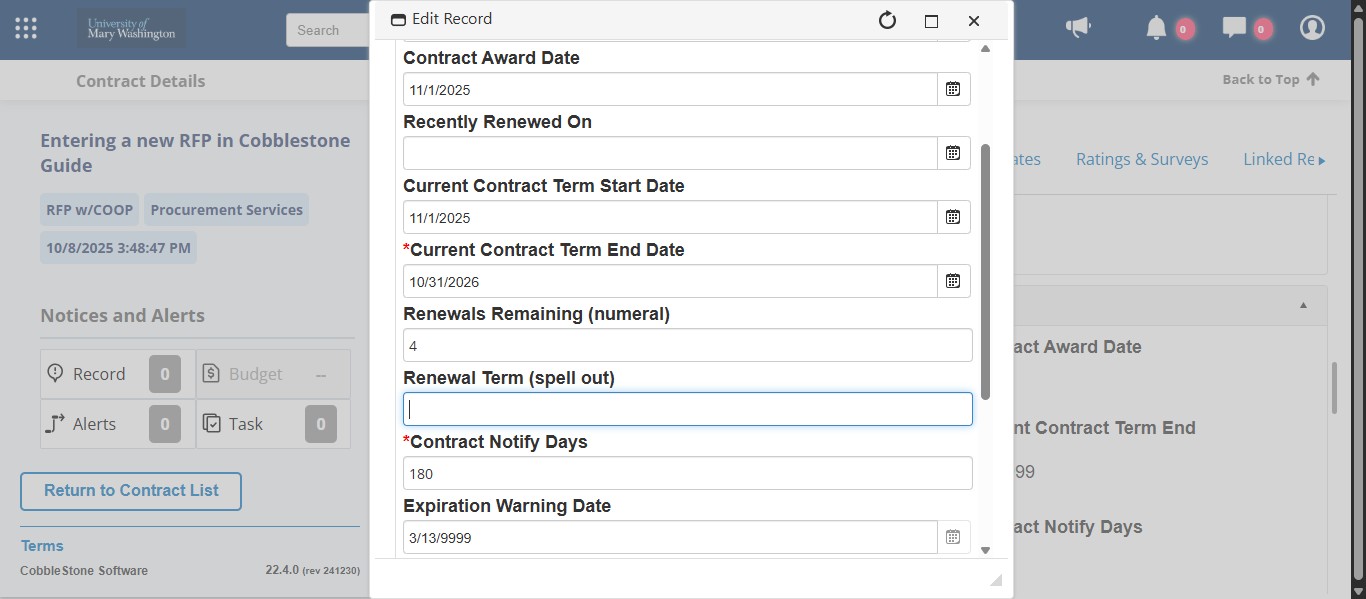
This field indicates when Cobblestone will send a renewal alert directly to the contract administrator asking if they would like to renew. Change your contract notify days to the appropriate amount of days based on the renewal clause in the contract while providing enough time for the contract administrator to respond to the contract alert. For example, if the contract requires 30 days notice prior to the upcoming renewal term, make sure that you have at least 90 days i the Contract Notify Days field to give 30 days for the required contract and an extra 60 for the contract administrator to respond and you to prepare the required paperwork.

Enter the Final Expiration Date based on the Current Term Contract End Date + the amount of available potential renewal options.
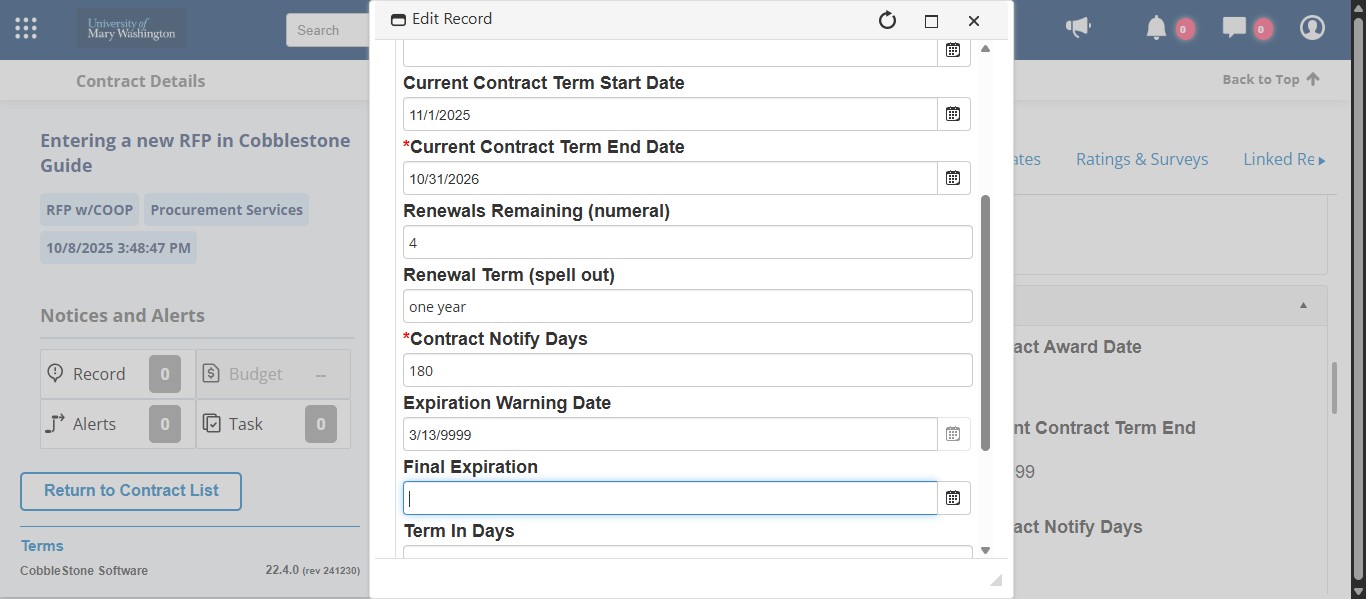
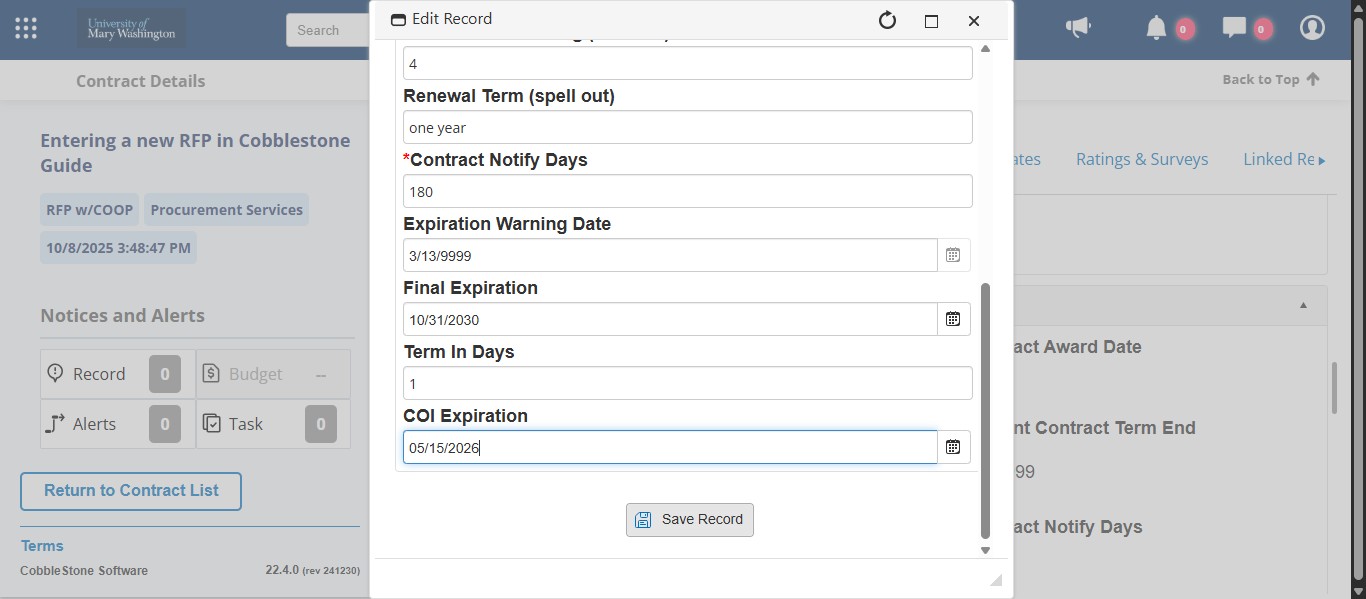
If you have the Certificate of Insurance from the awarded vendor, enter the expiration date in this field. If you are waiting on that document still, make sure to go back and edit this field when you receive it.
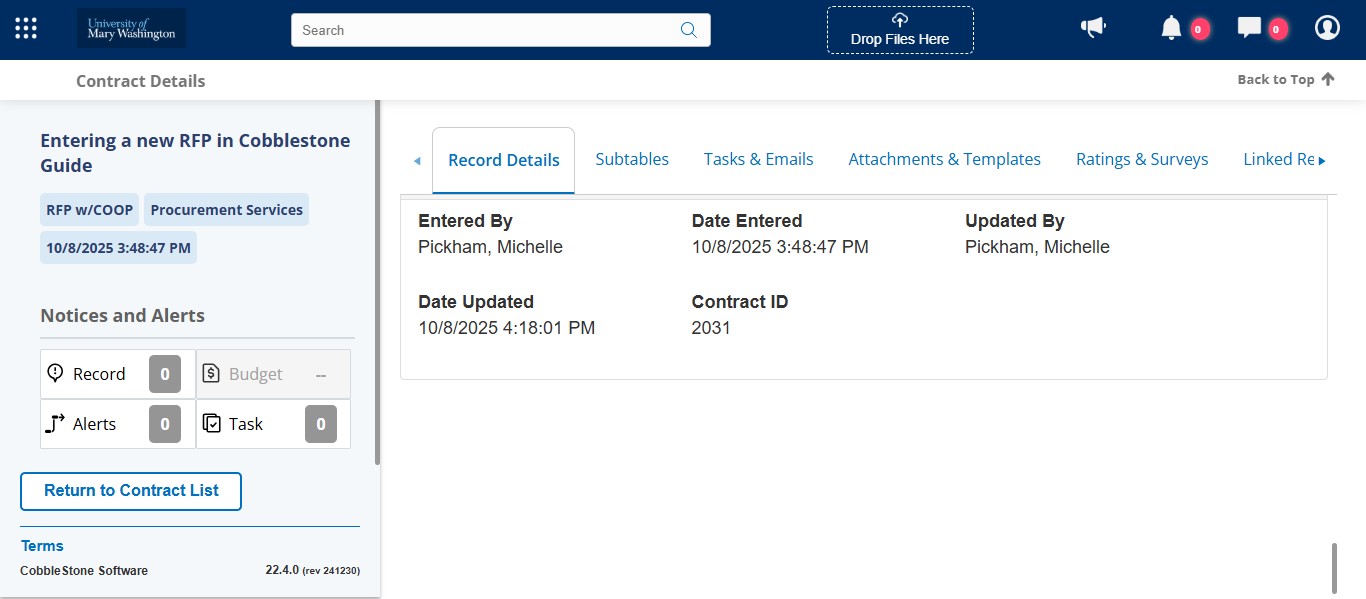
Once you've completed all the dates, click Save Record.
Now we need to assign the Contract Administrator and Procurement Services as employees to ensure they receive the Cobblestone Contract Alerts for this record.
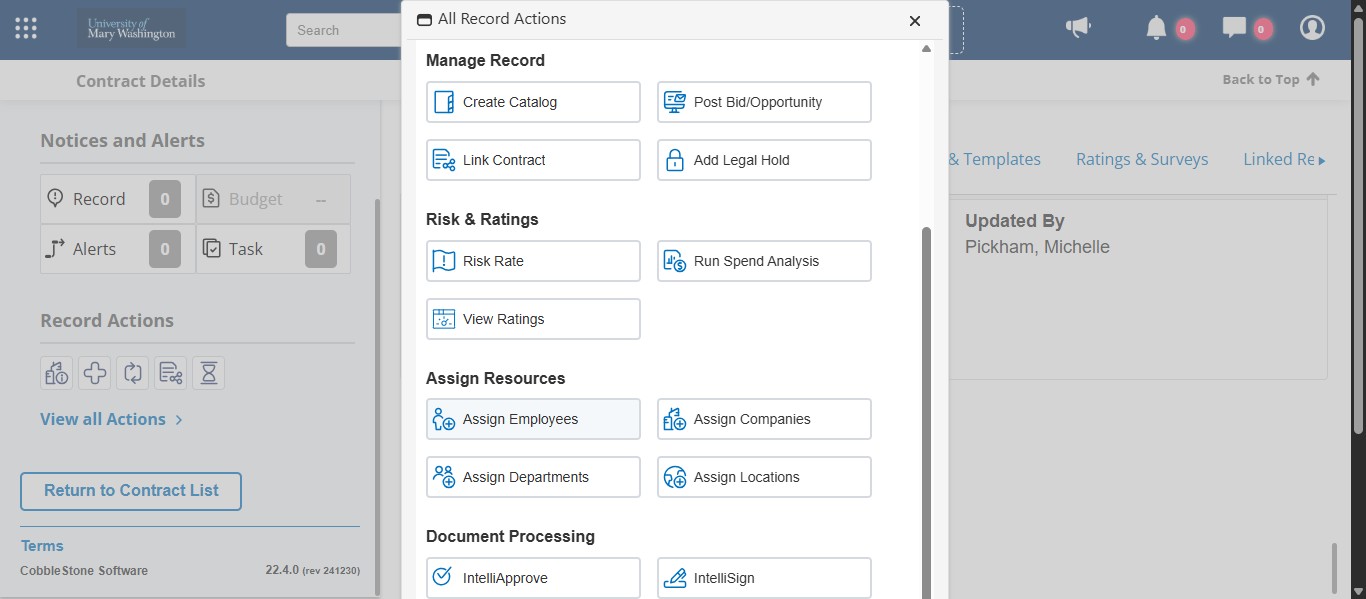
Under Record Actions click on "View all Actions"
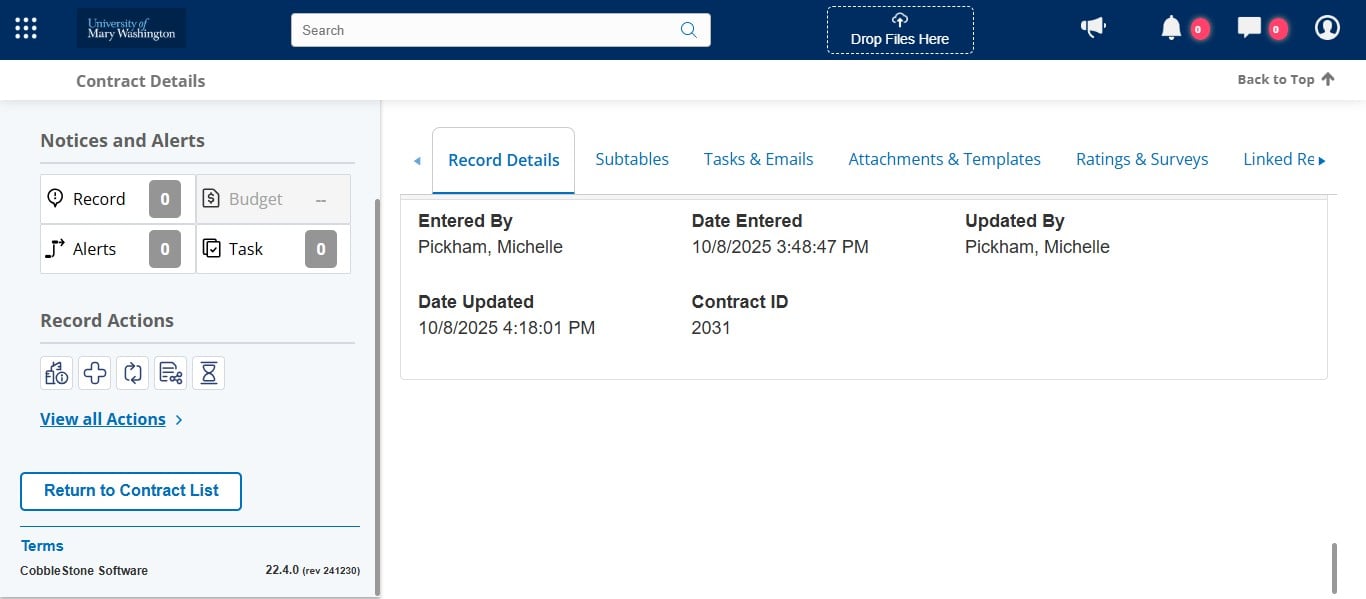
Under Assign Resources, click on Assign Employees.
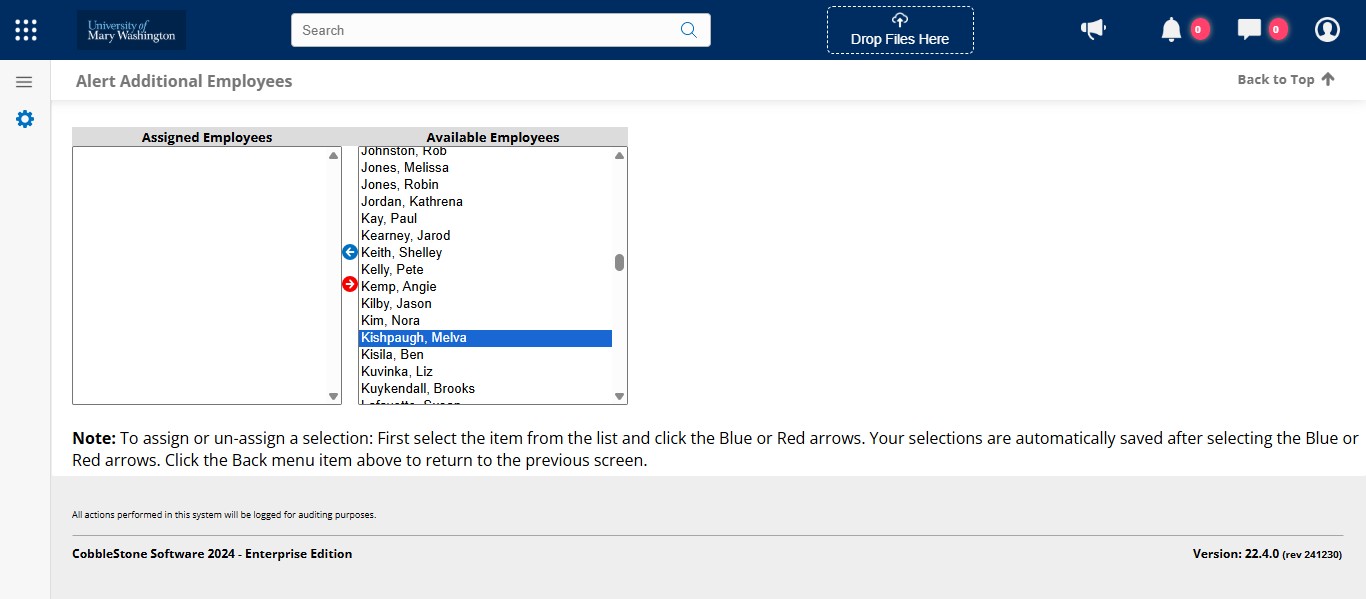
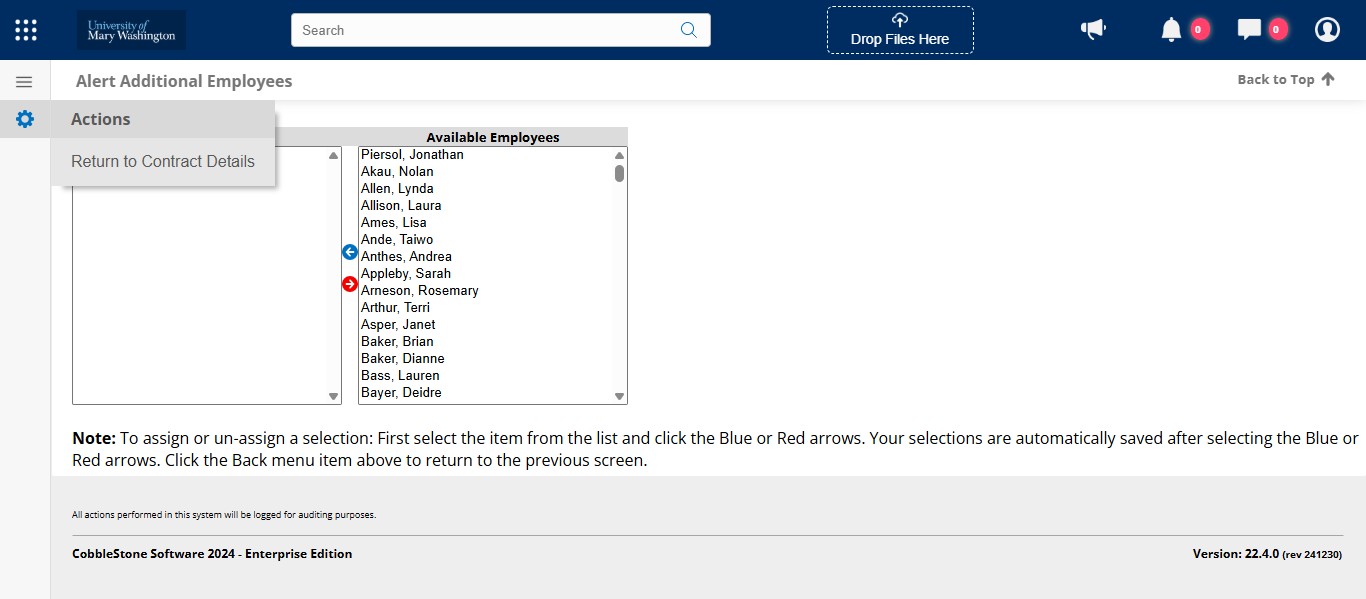
From the list of Employees on the right, scroll and click on the Contract Administrator.
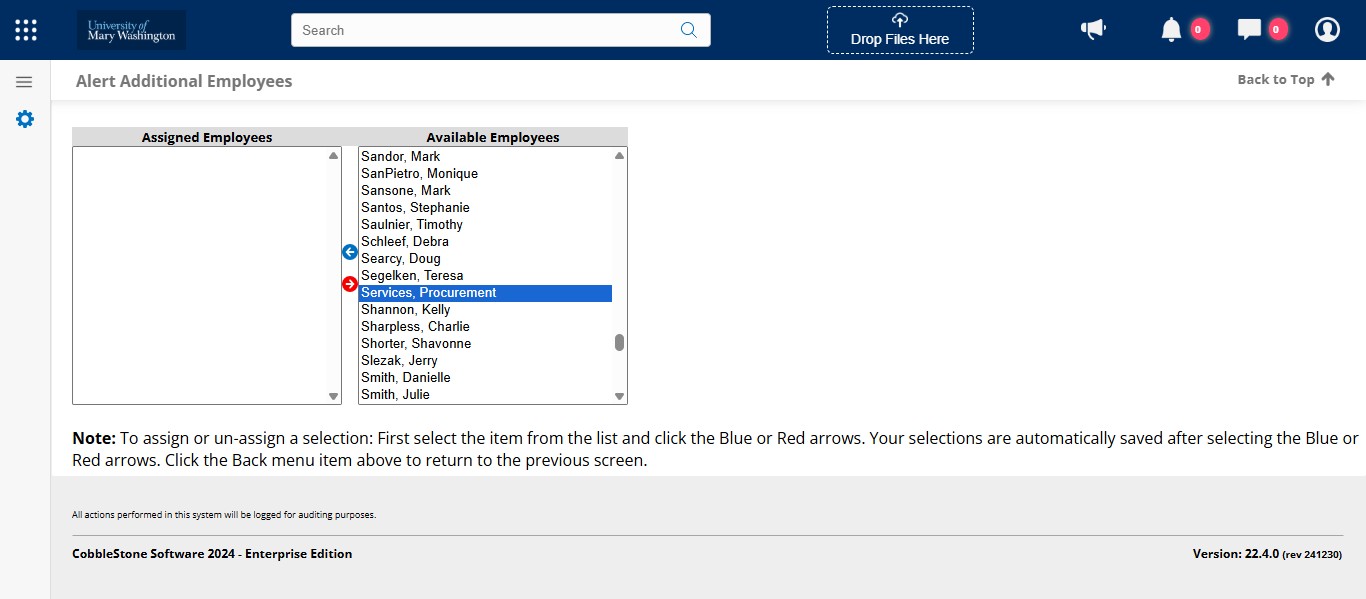
Then scroll down to "Services, Procurement," hold the CTRL button and click on "Services, Procurement." This will select both the Contract Administrator and Procurement at the same time.

Then click the Blue Arrow pointing to the left to add those employees as Assigned Employees.
Once they ar added, click on the gear icon on the left.
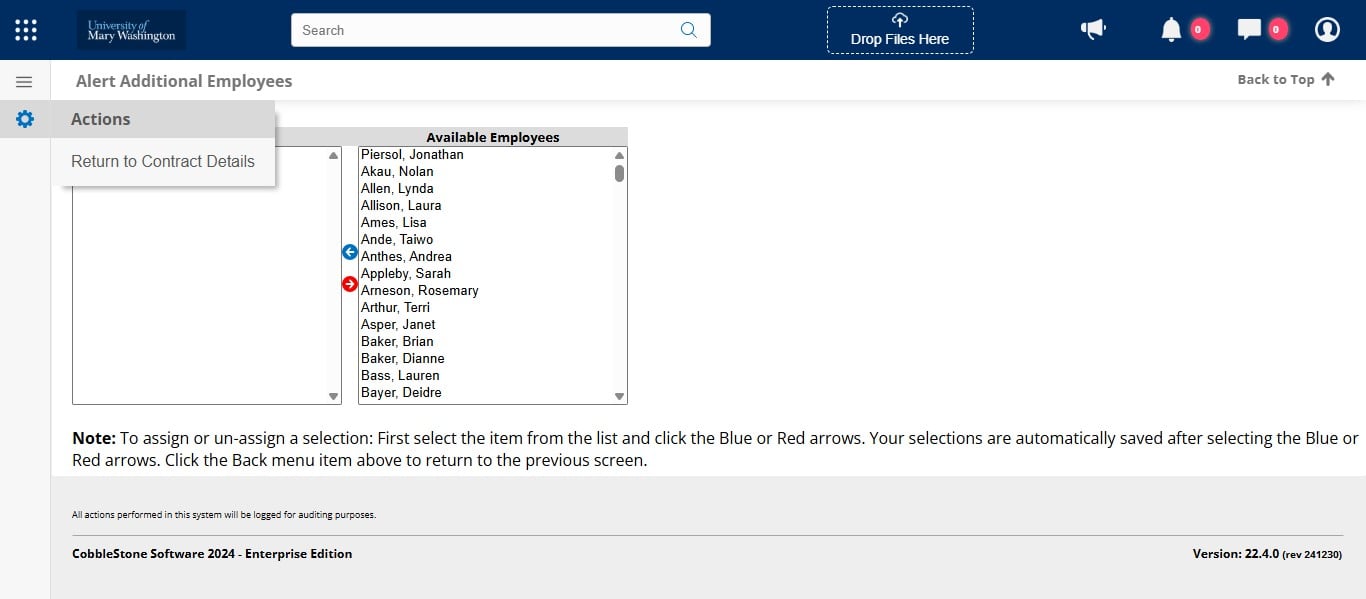
And click on Return to Contract Details.
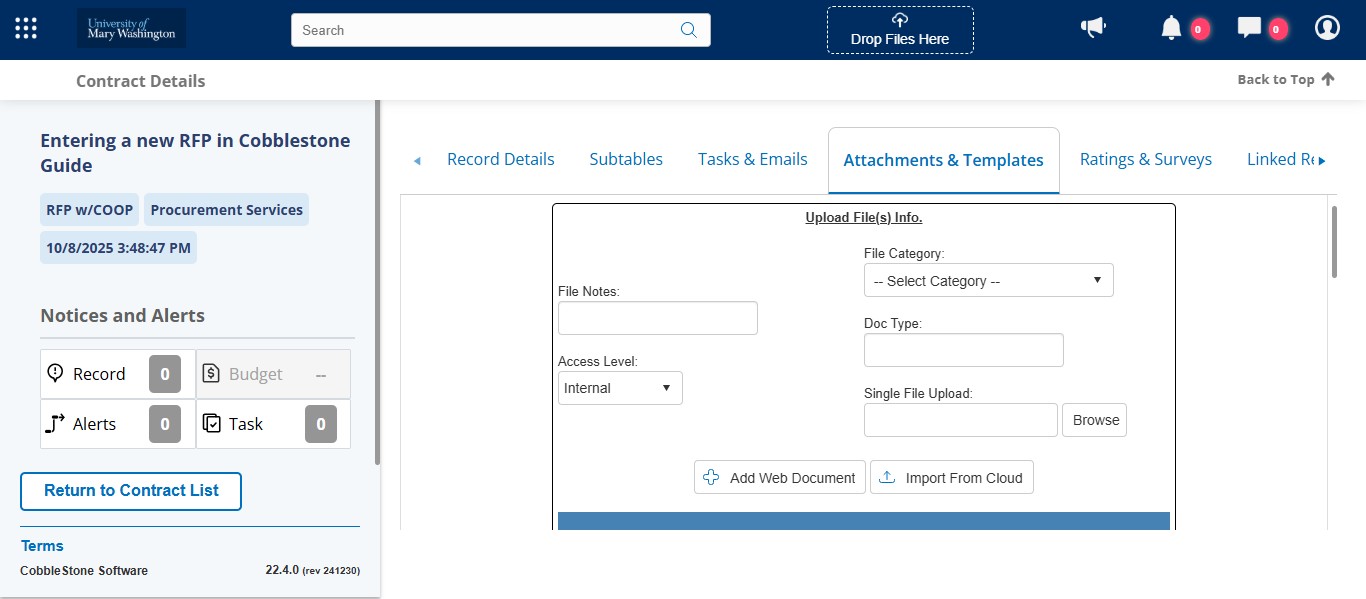
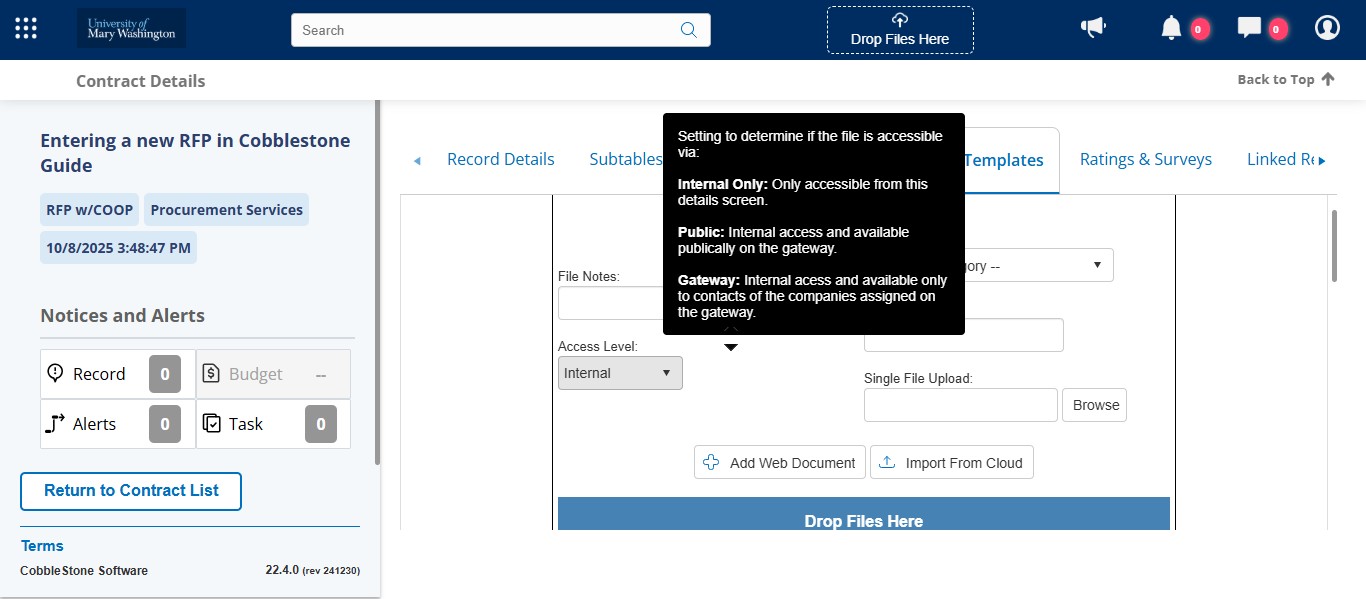
Next you want to attach your solicitation and contract documents. To do so, you have to navigate to the "Attachments & Templates" tab.
See the Desktop Guide for which documents to keep internal and which documents to make public. Any public documents will be accessible via the Public Portal.
For the typical solicitation and contract documents, select the appropriate File Category which helps to organize the documents.
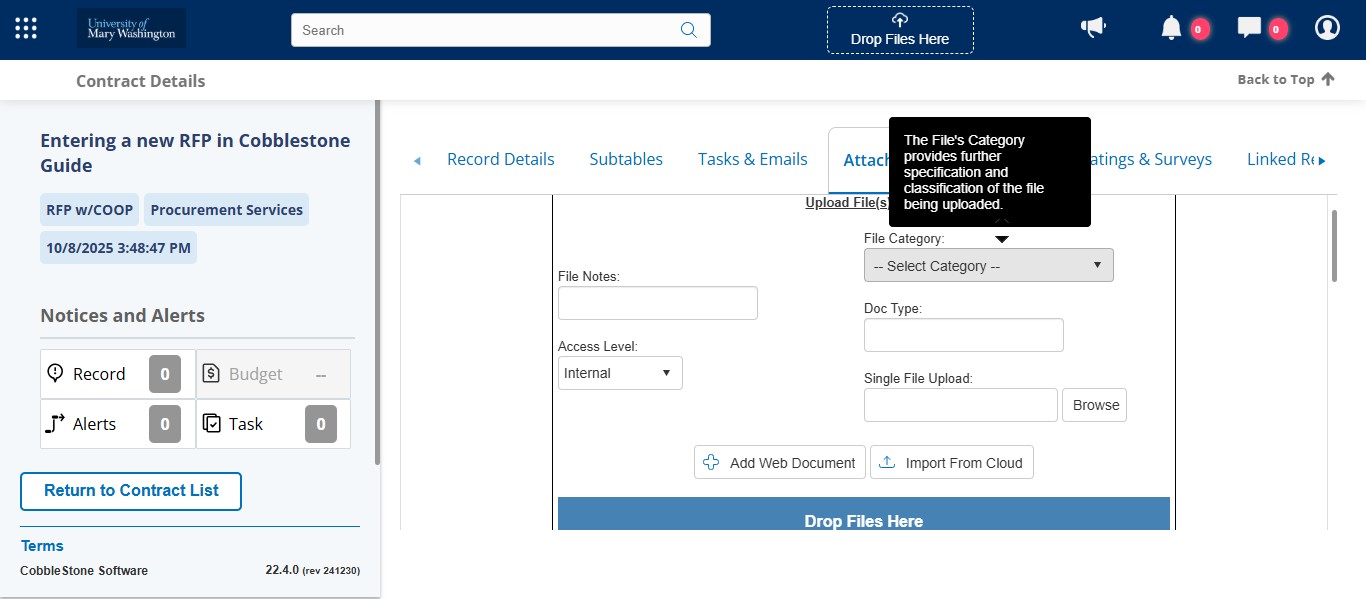
You can drag and drop the file or click to browse and upload. Once all documents are uploaded, you are done with the record.