SPCC Works - How to Add a New Approver
Navigate to https://payment2.works.com/works/home
Click on "Administration"
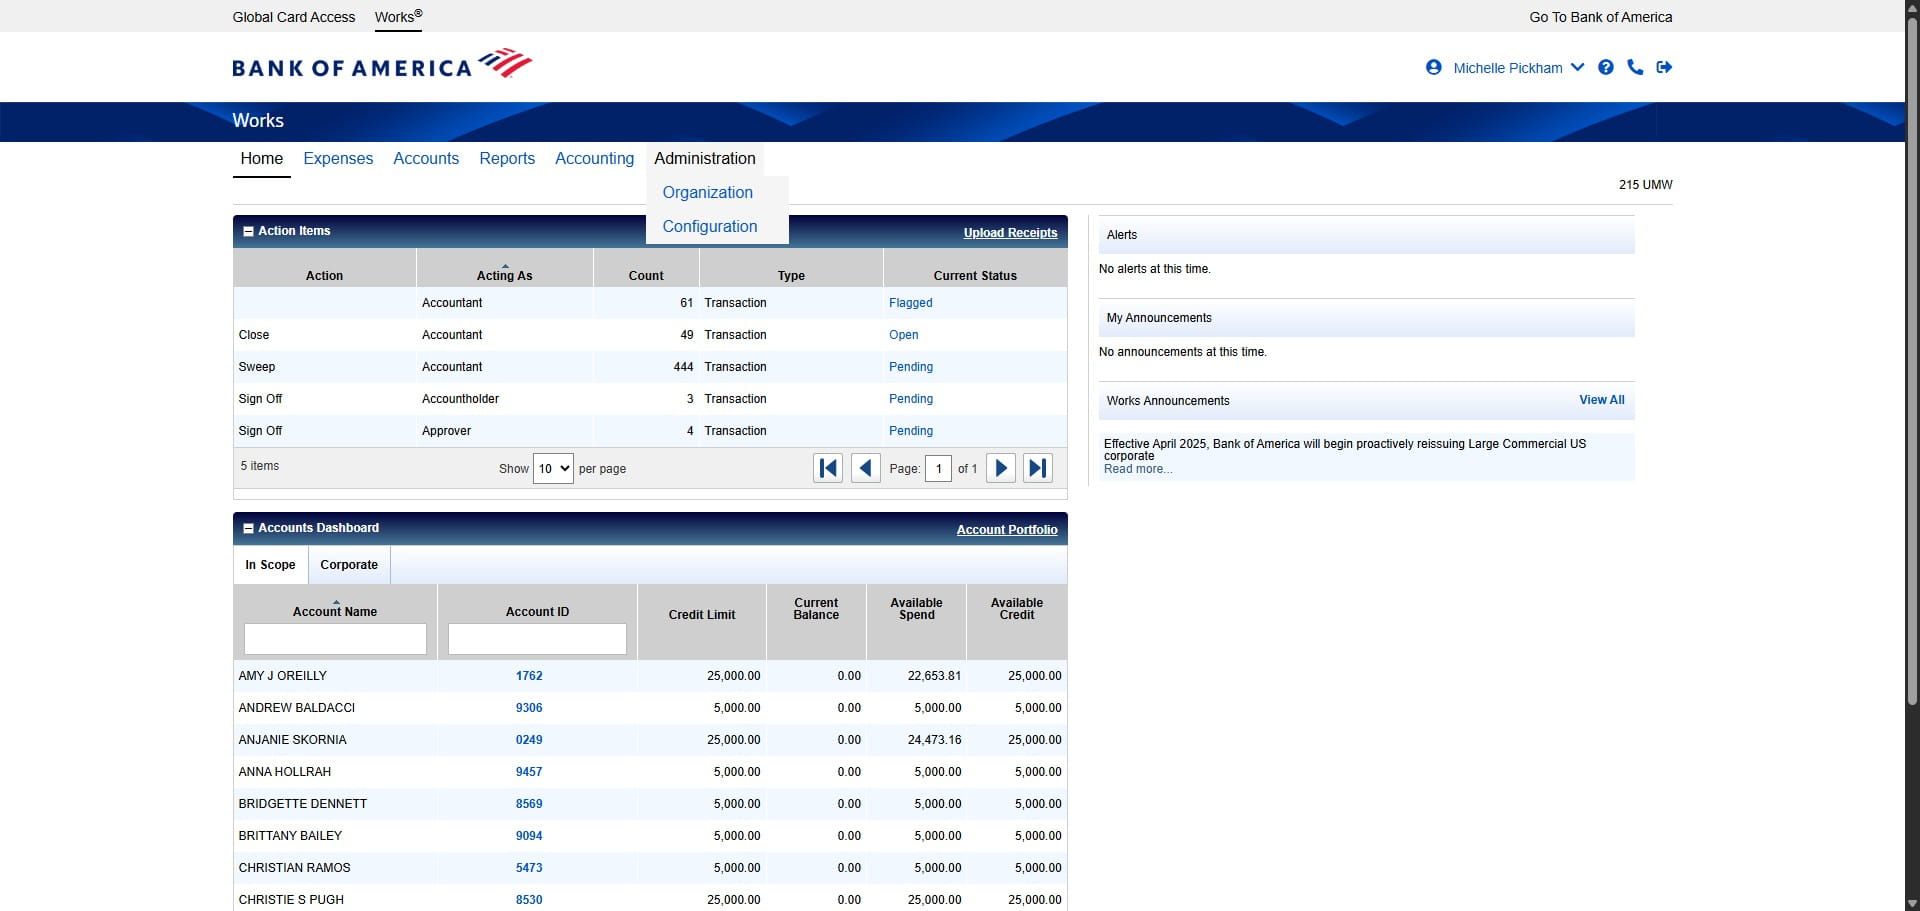
Click on "Organization"
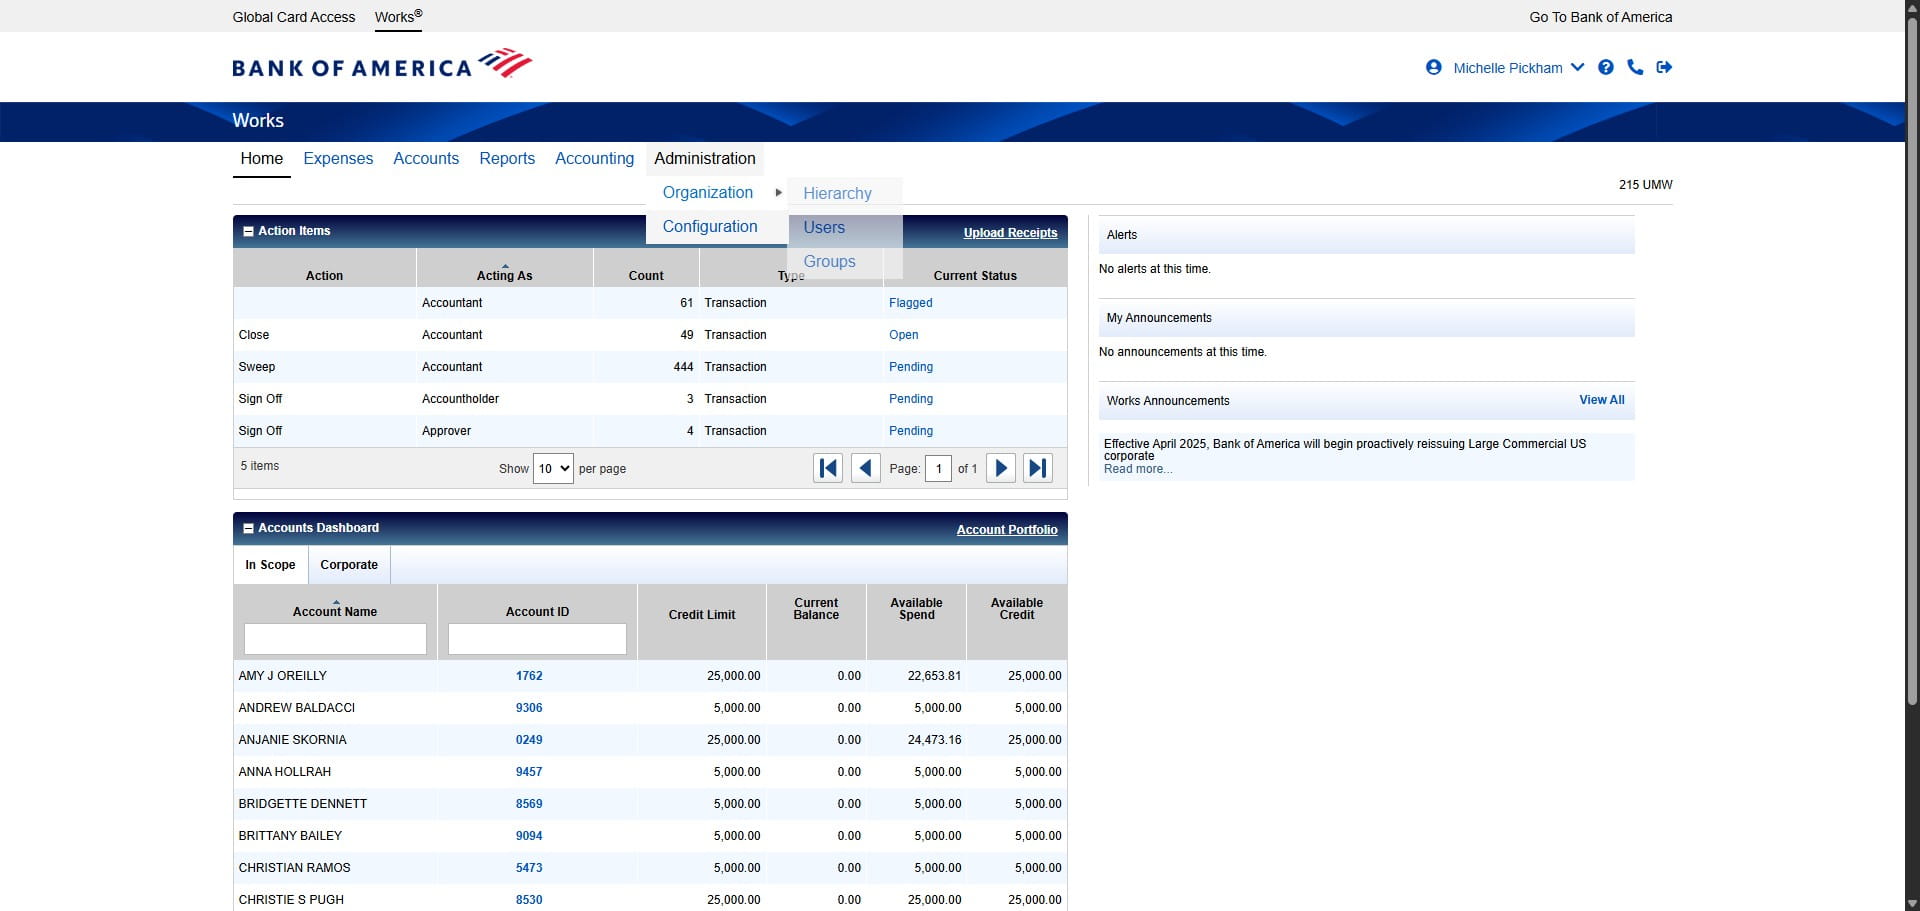
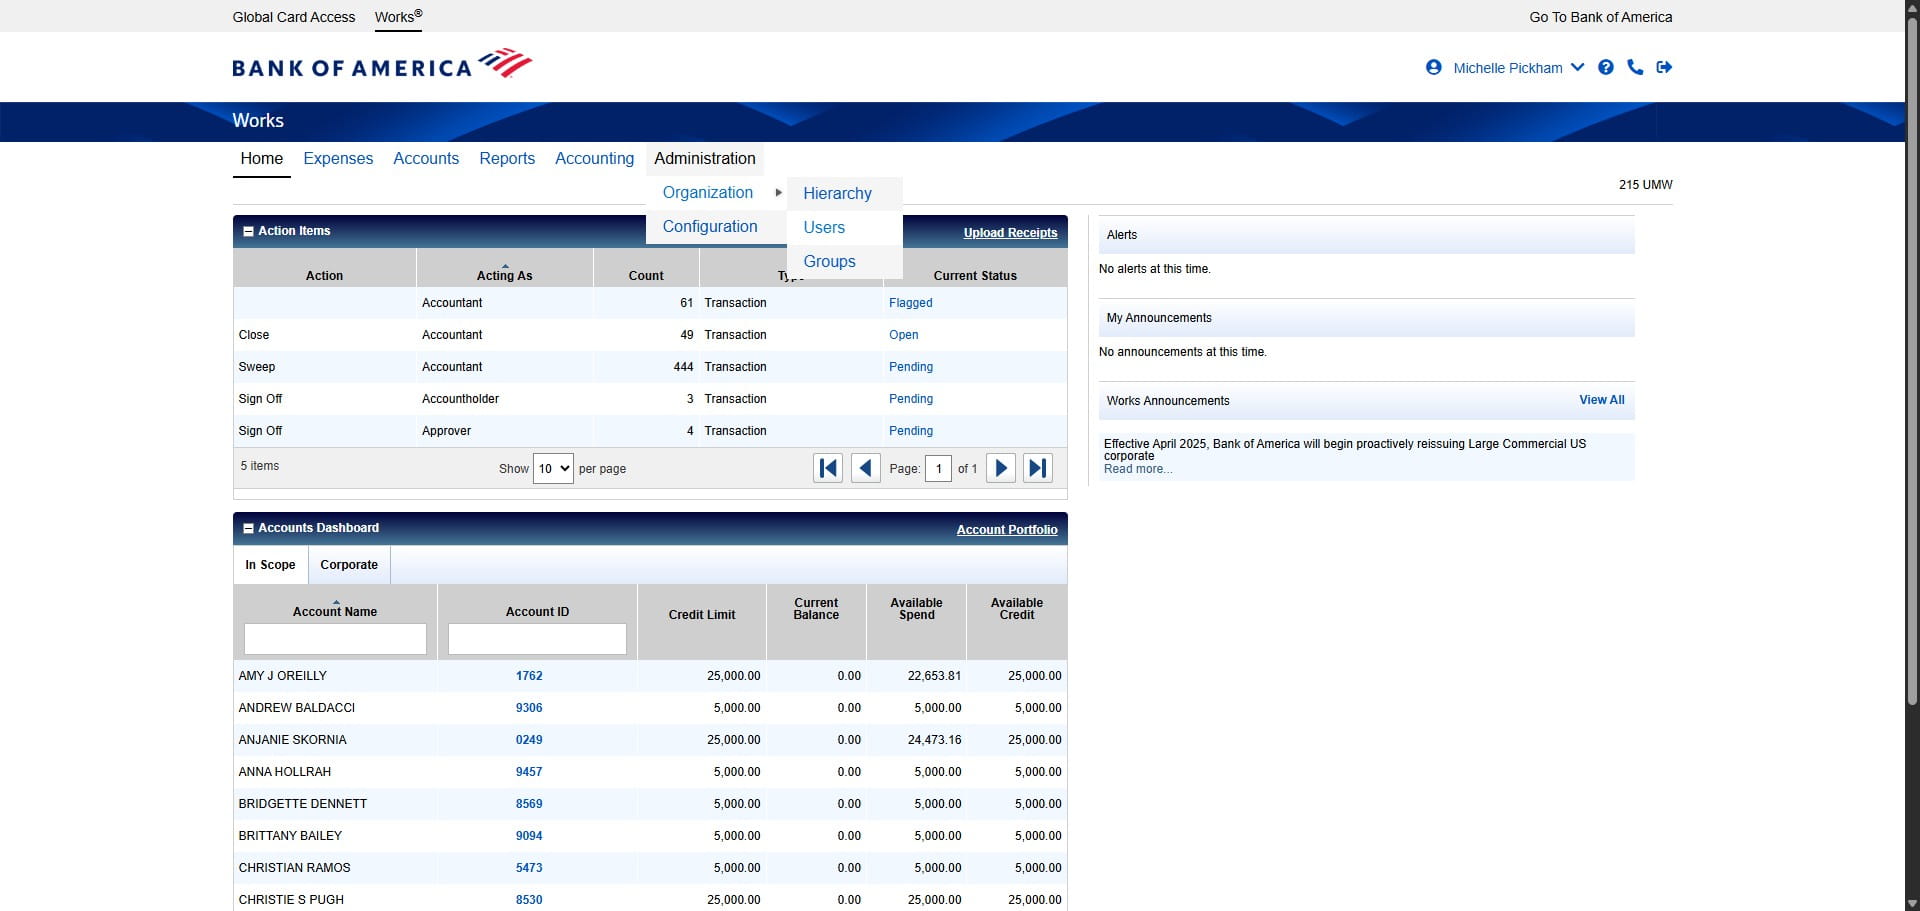
Click on "Users"
Click on drop down on "Create"
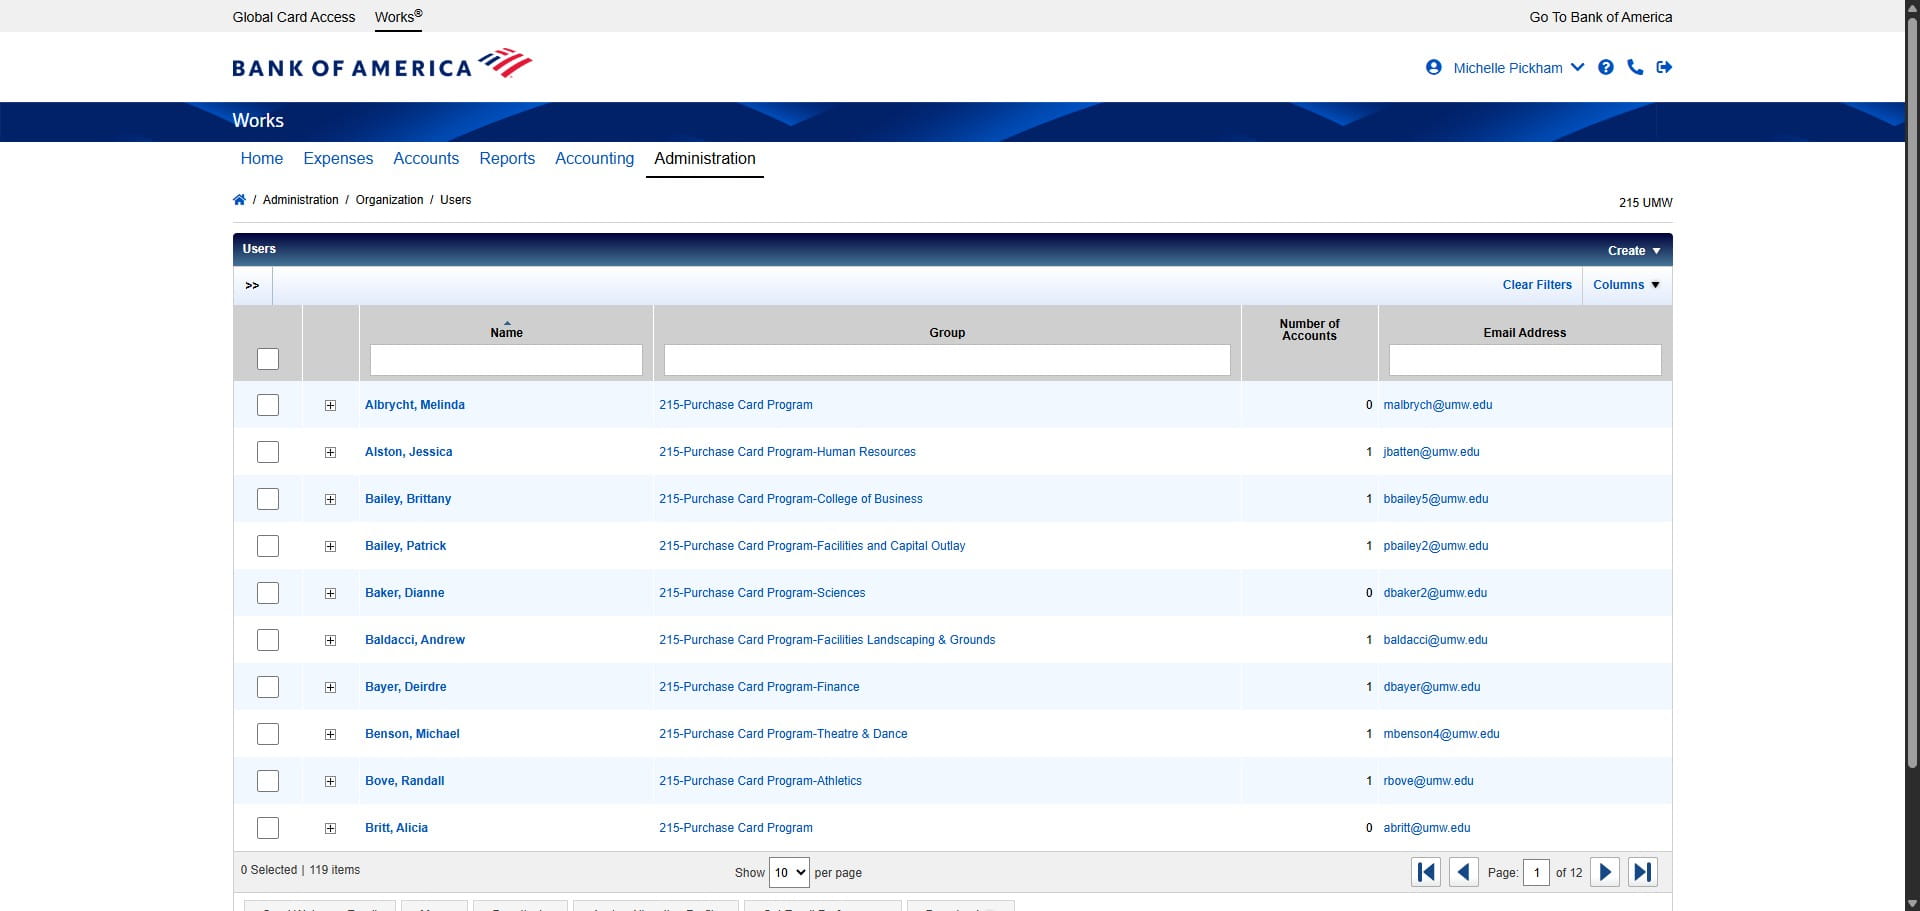
Click on "Create User"

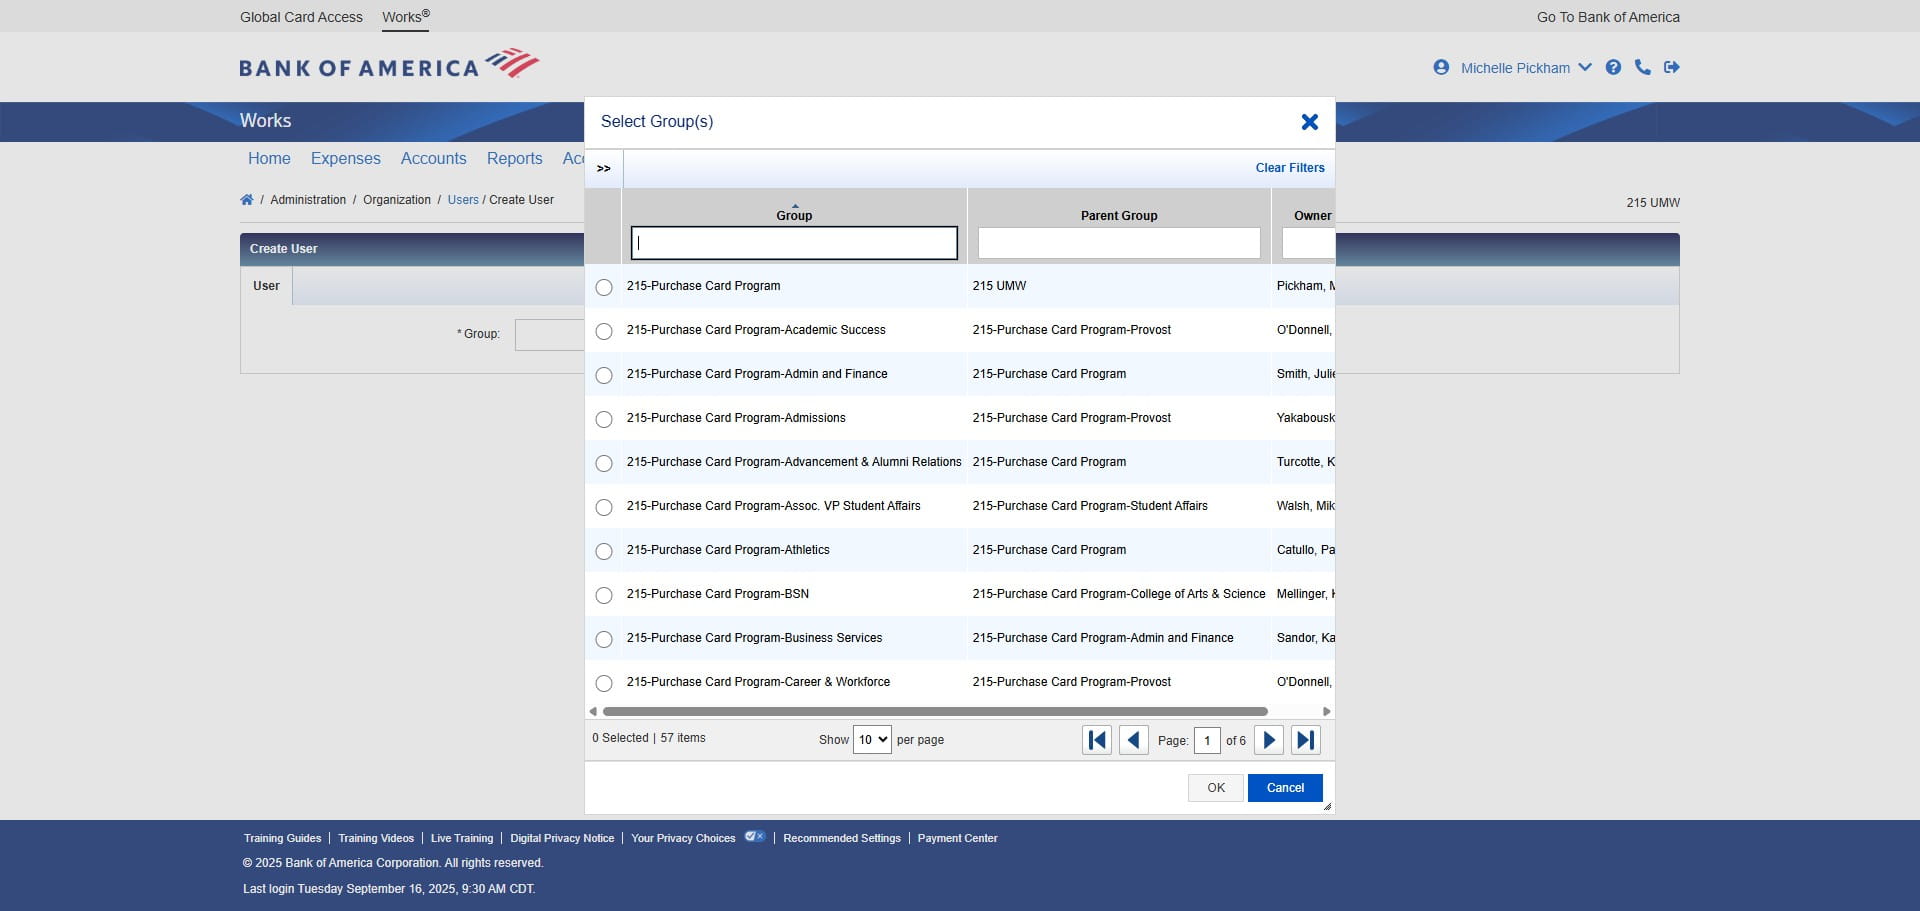
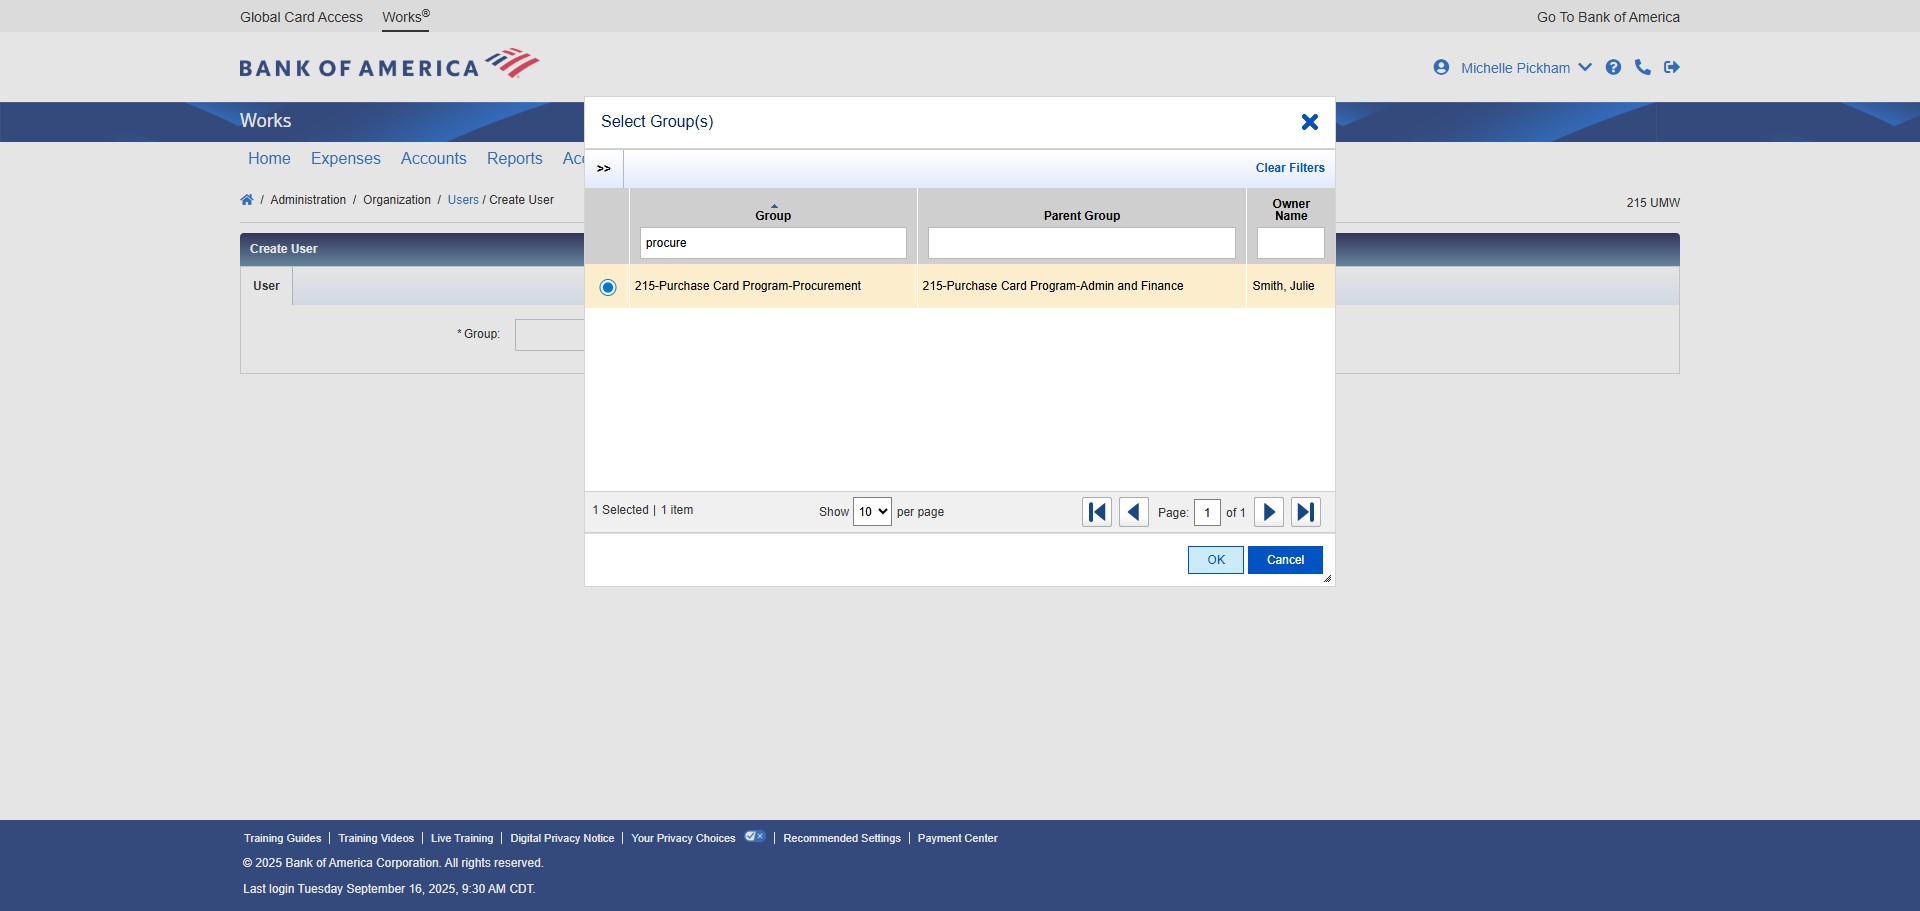
Enter the Group Name that the Approver will be approving transactions in. If the Group hasn't been created yet, see the instructions for How to Add a New Group.
Once you find the group, click on "OK"
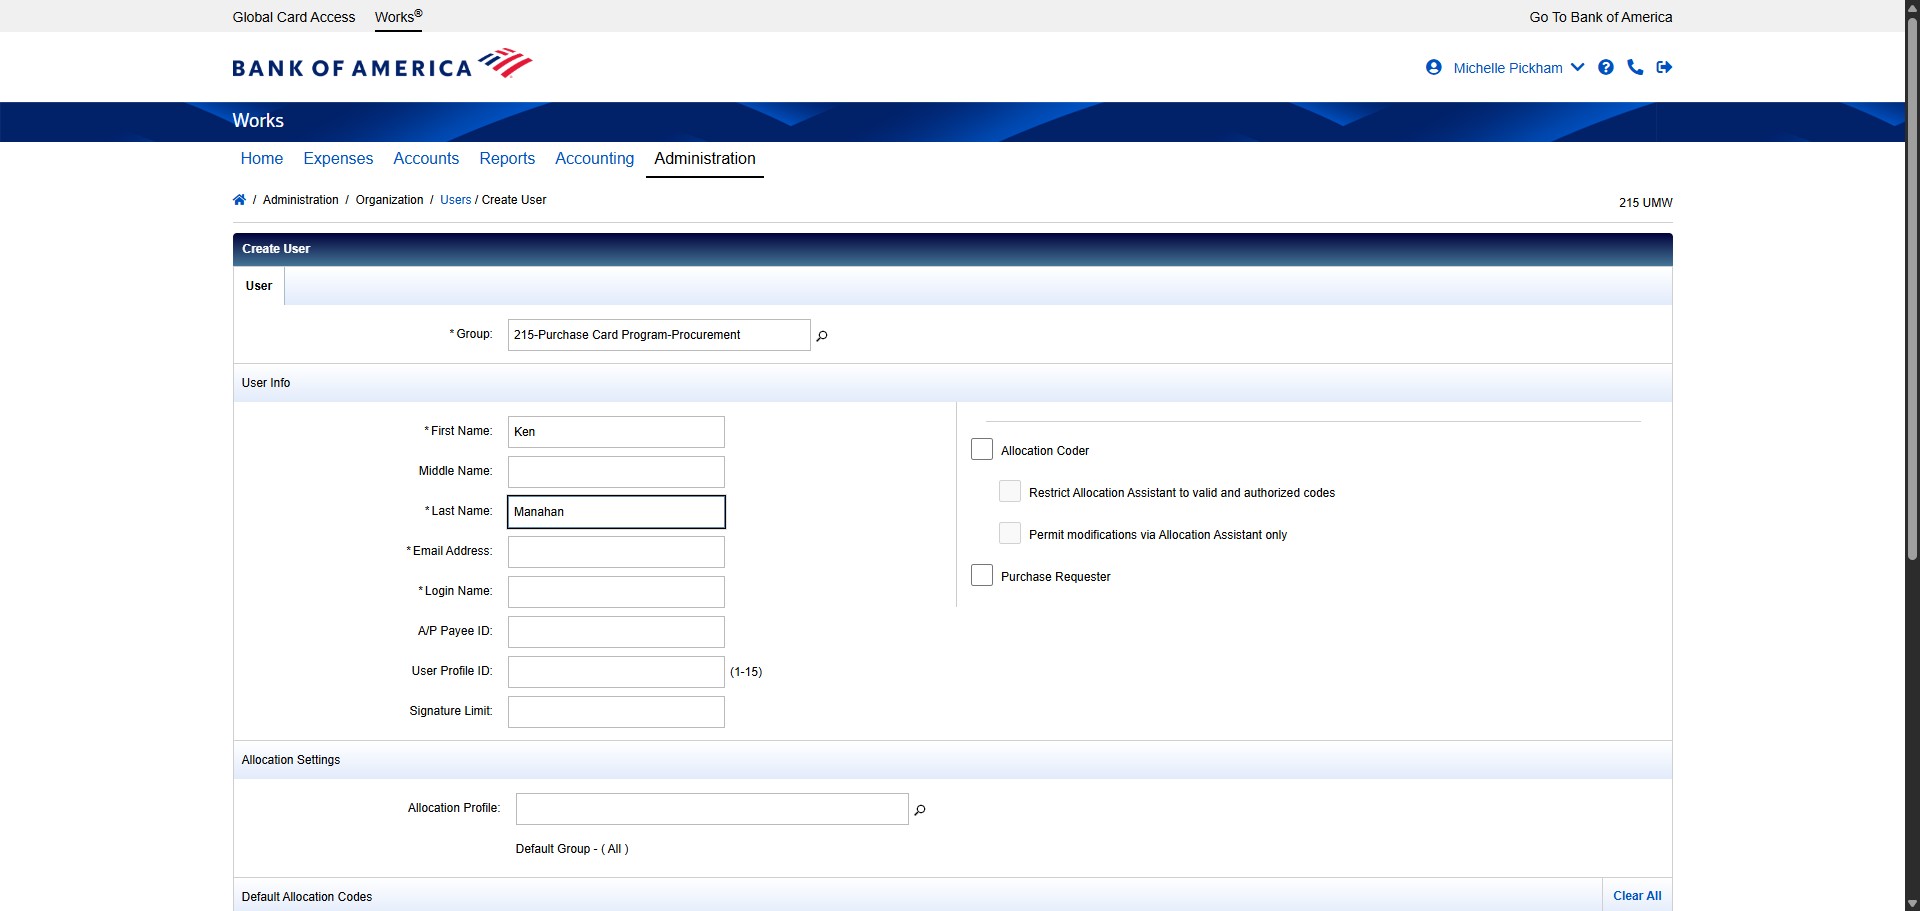
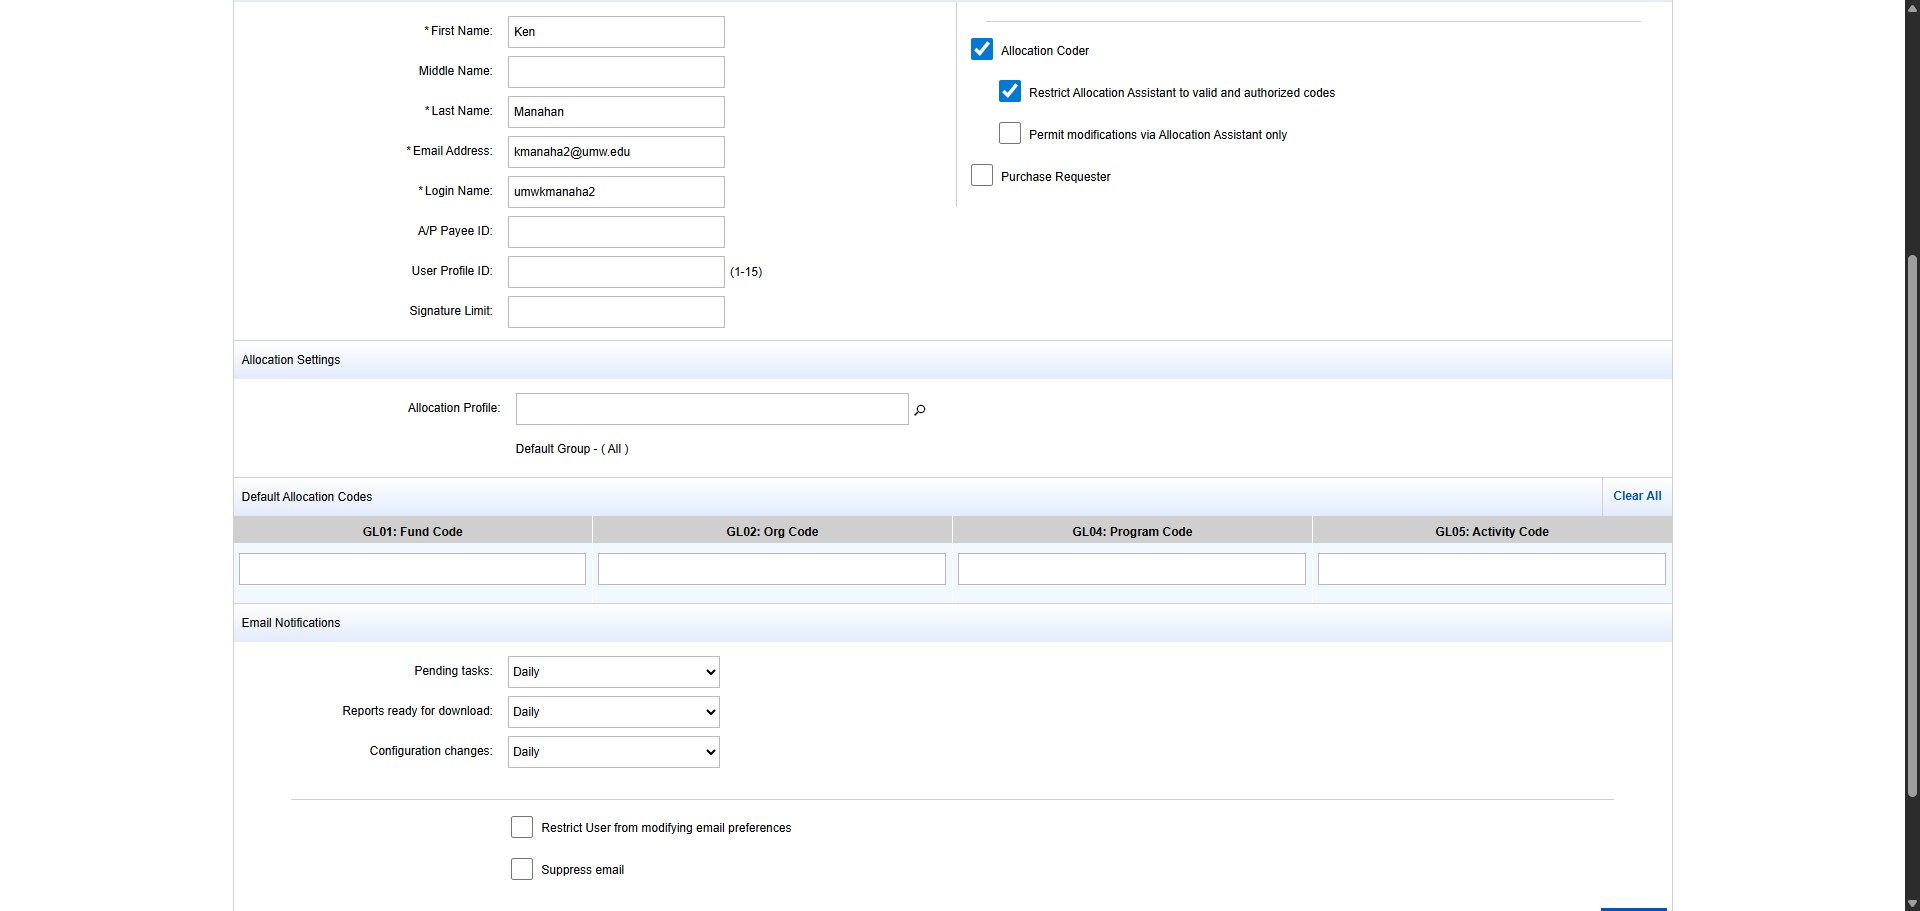
Enter the Approver's First Name.
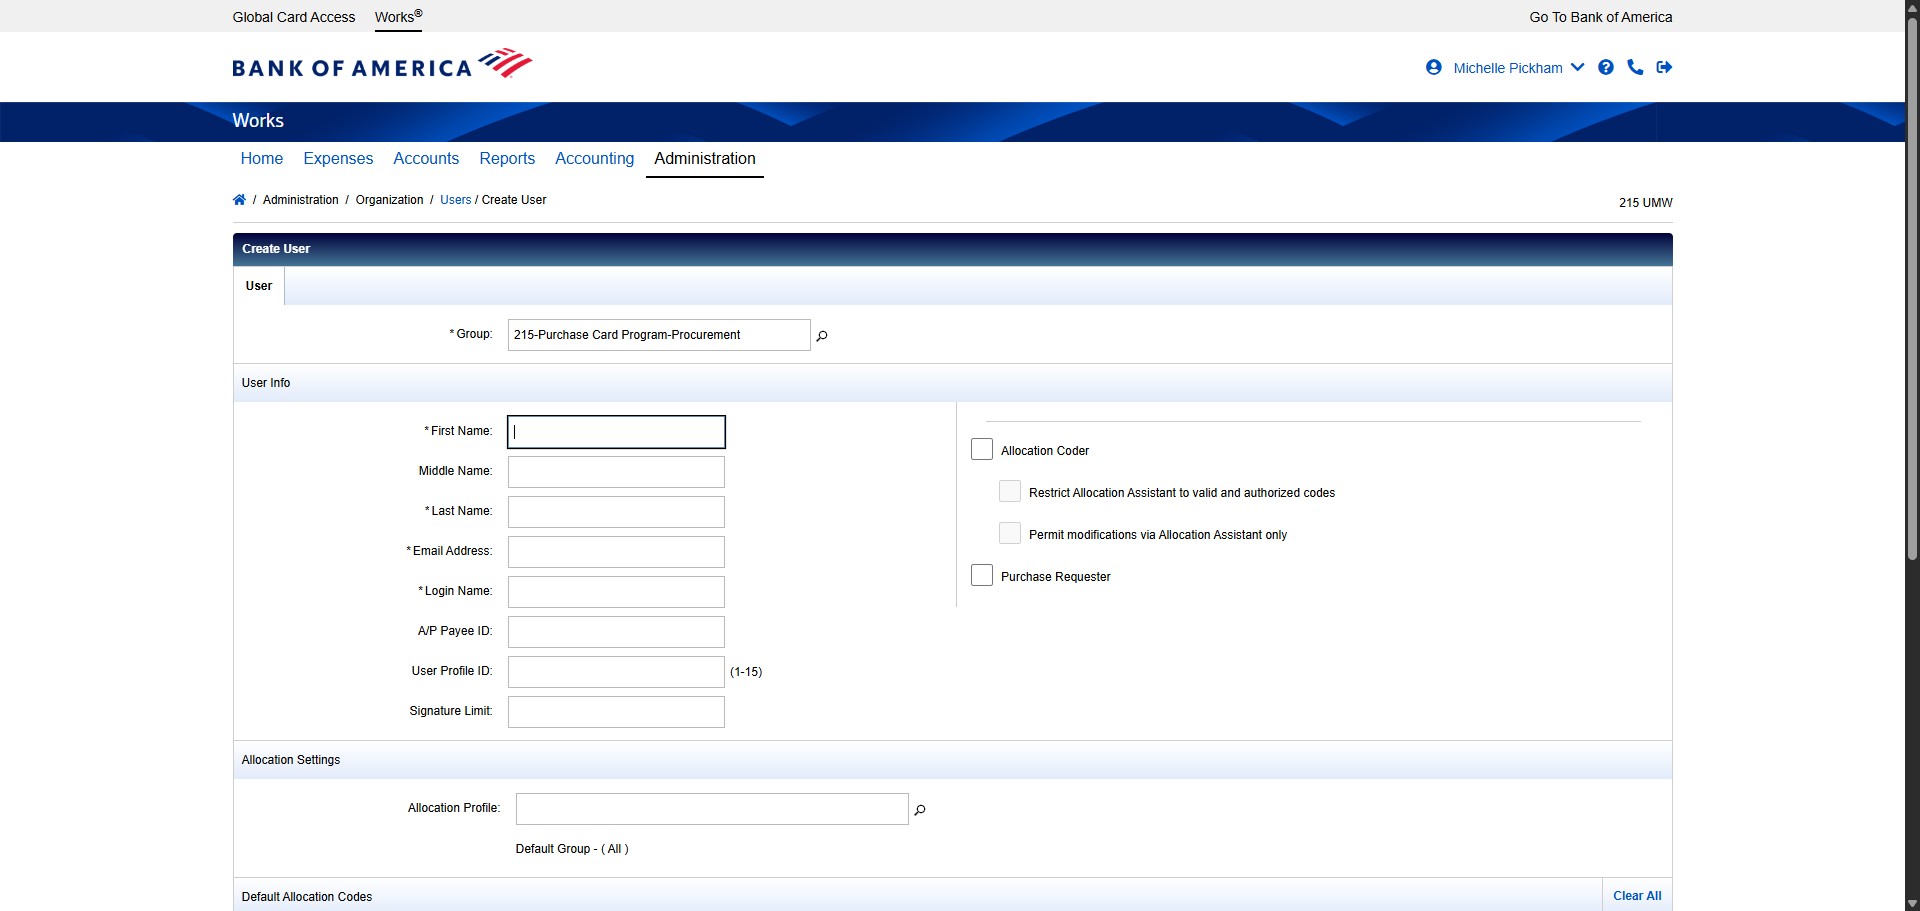
Enter the Approver's Last Name.
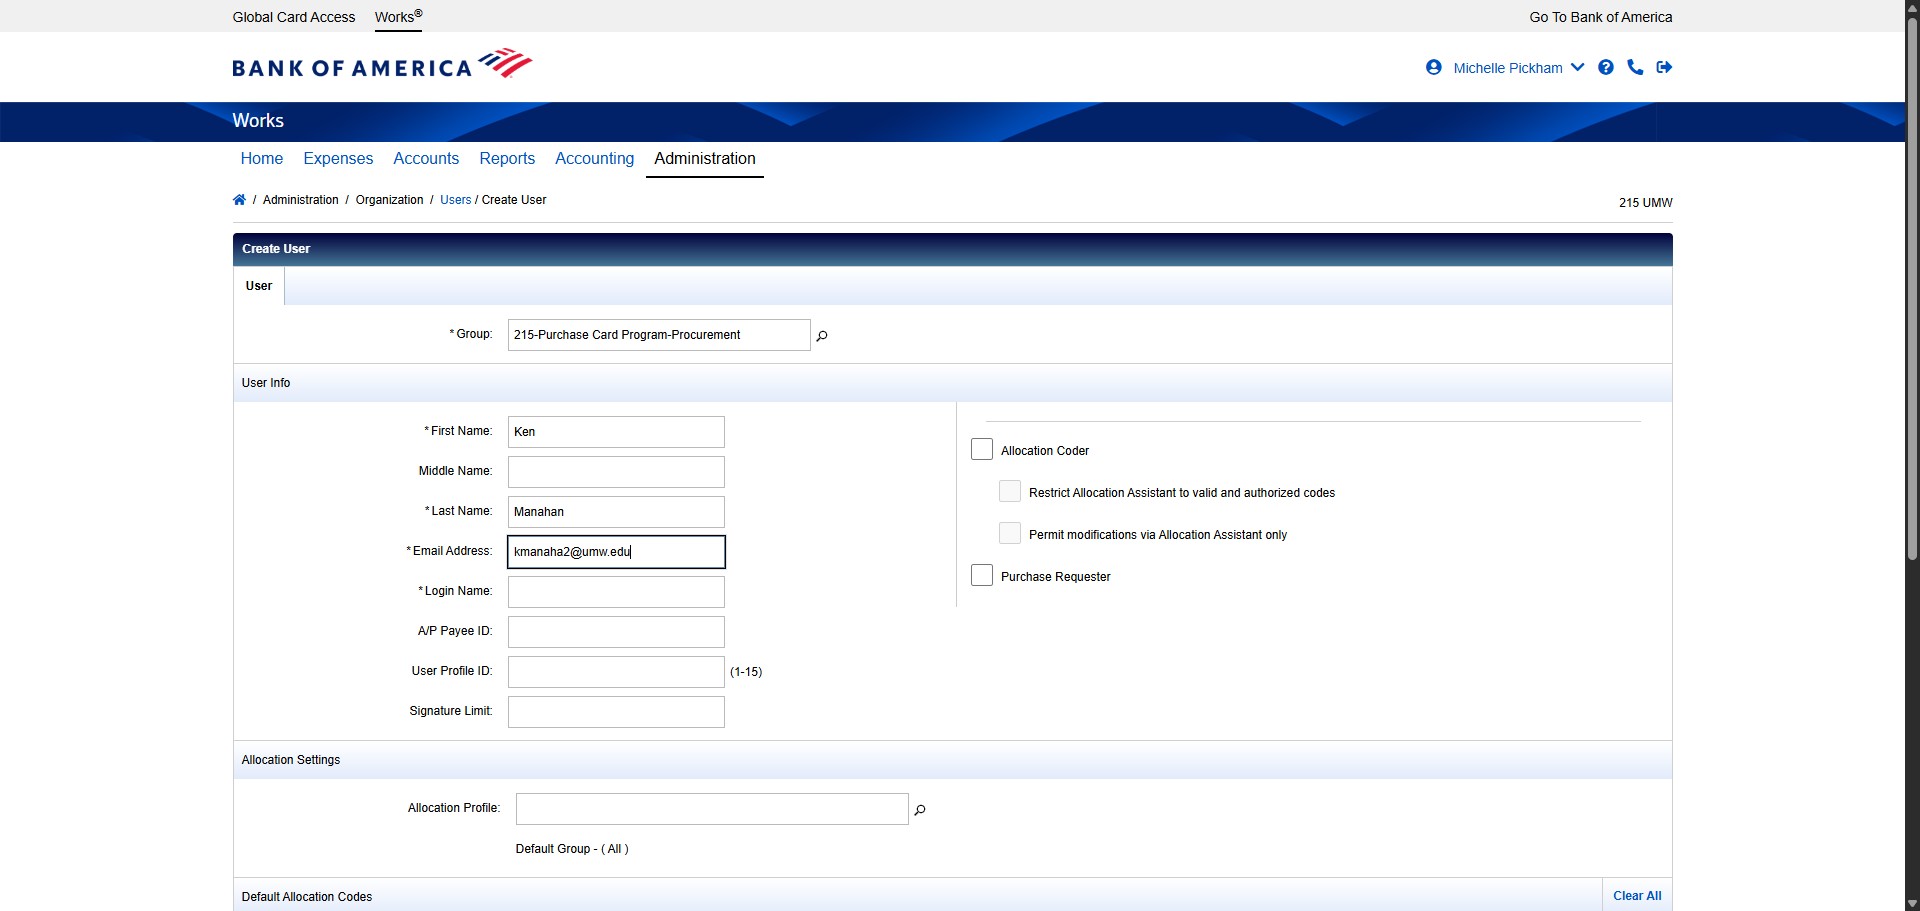
Enter the Approver's Email Address.

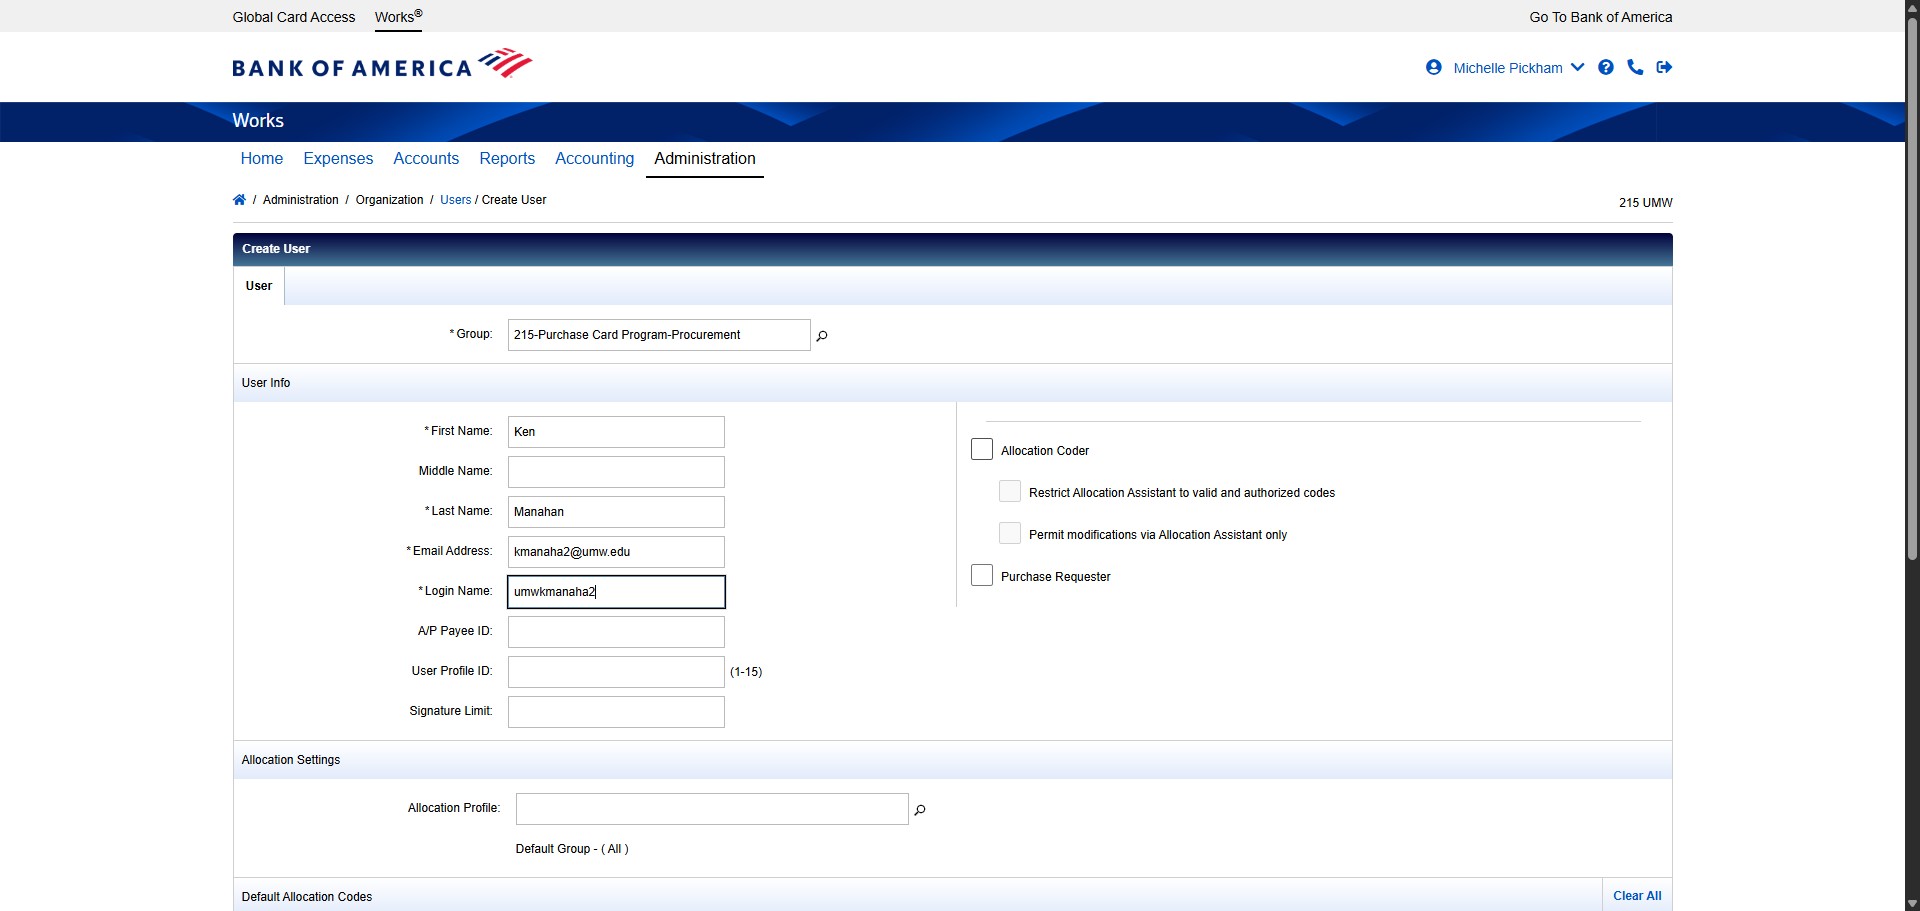
Create the Approver's Login Name using the formula umw+netID. In this case, the netID for Ken Manahan is kmanaha2, so the Login Name would be umwkmanaha2.
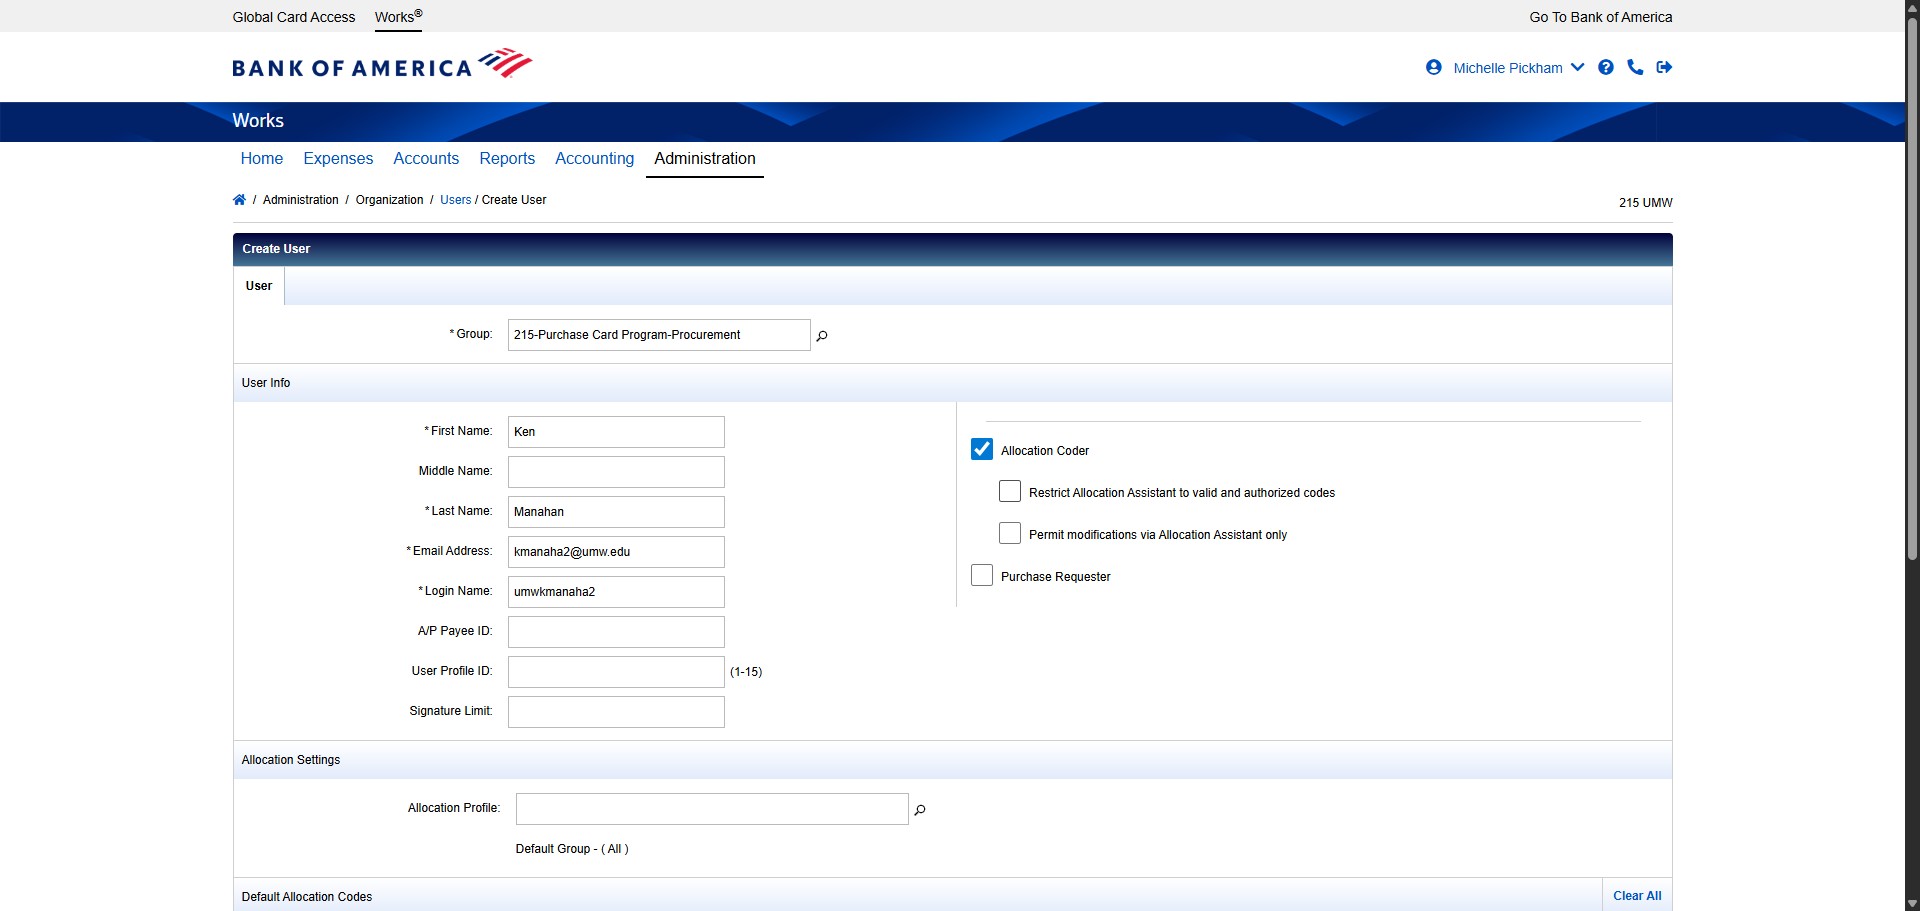
Check the box next to Allocation Coder.
Check the box next to Restrict Allocation Assistant to valid and authorized codes.
Scroll down to change the Email Notifications.

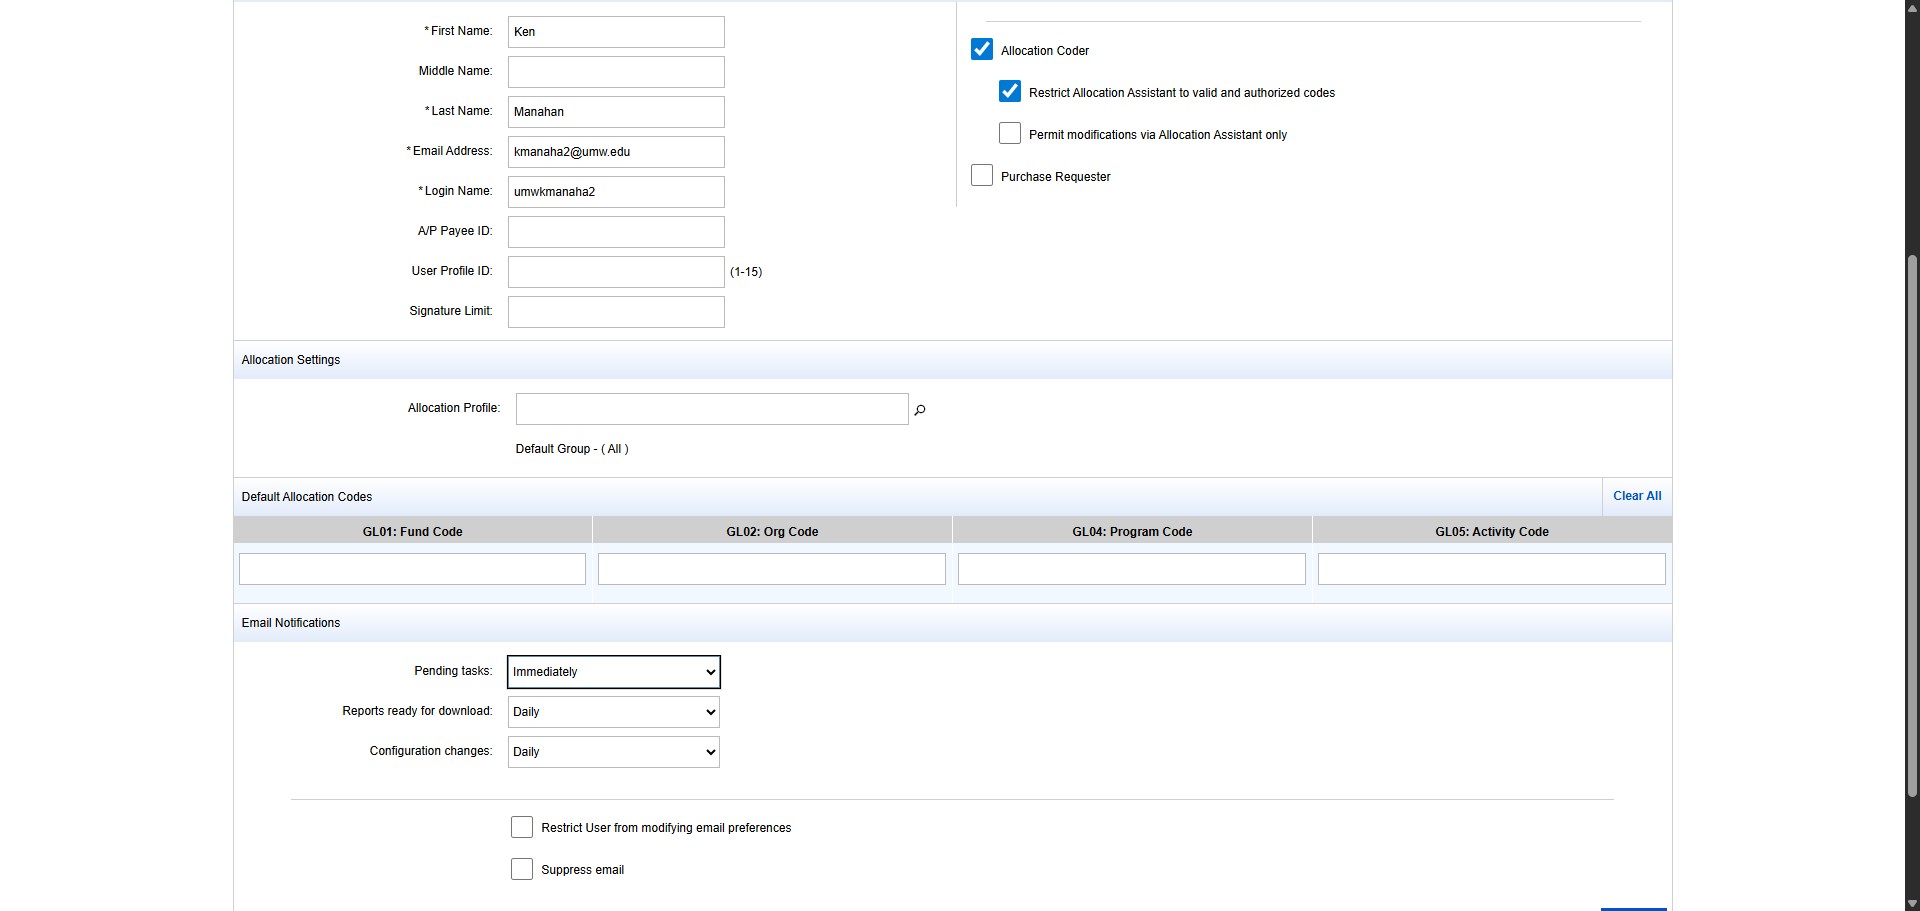
Change Pending tasks from Daily to "Immediately"
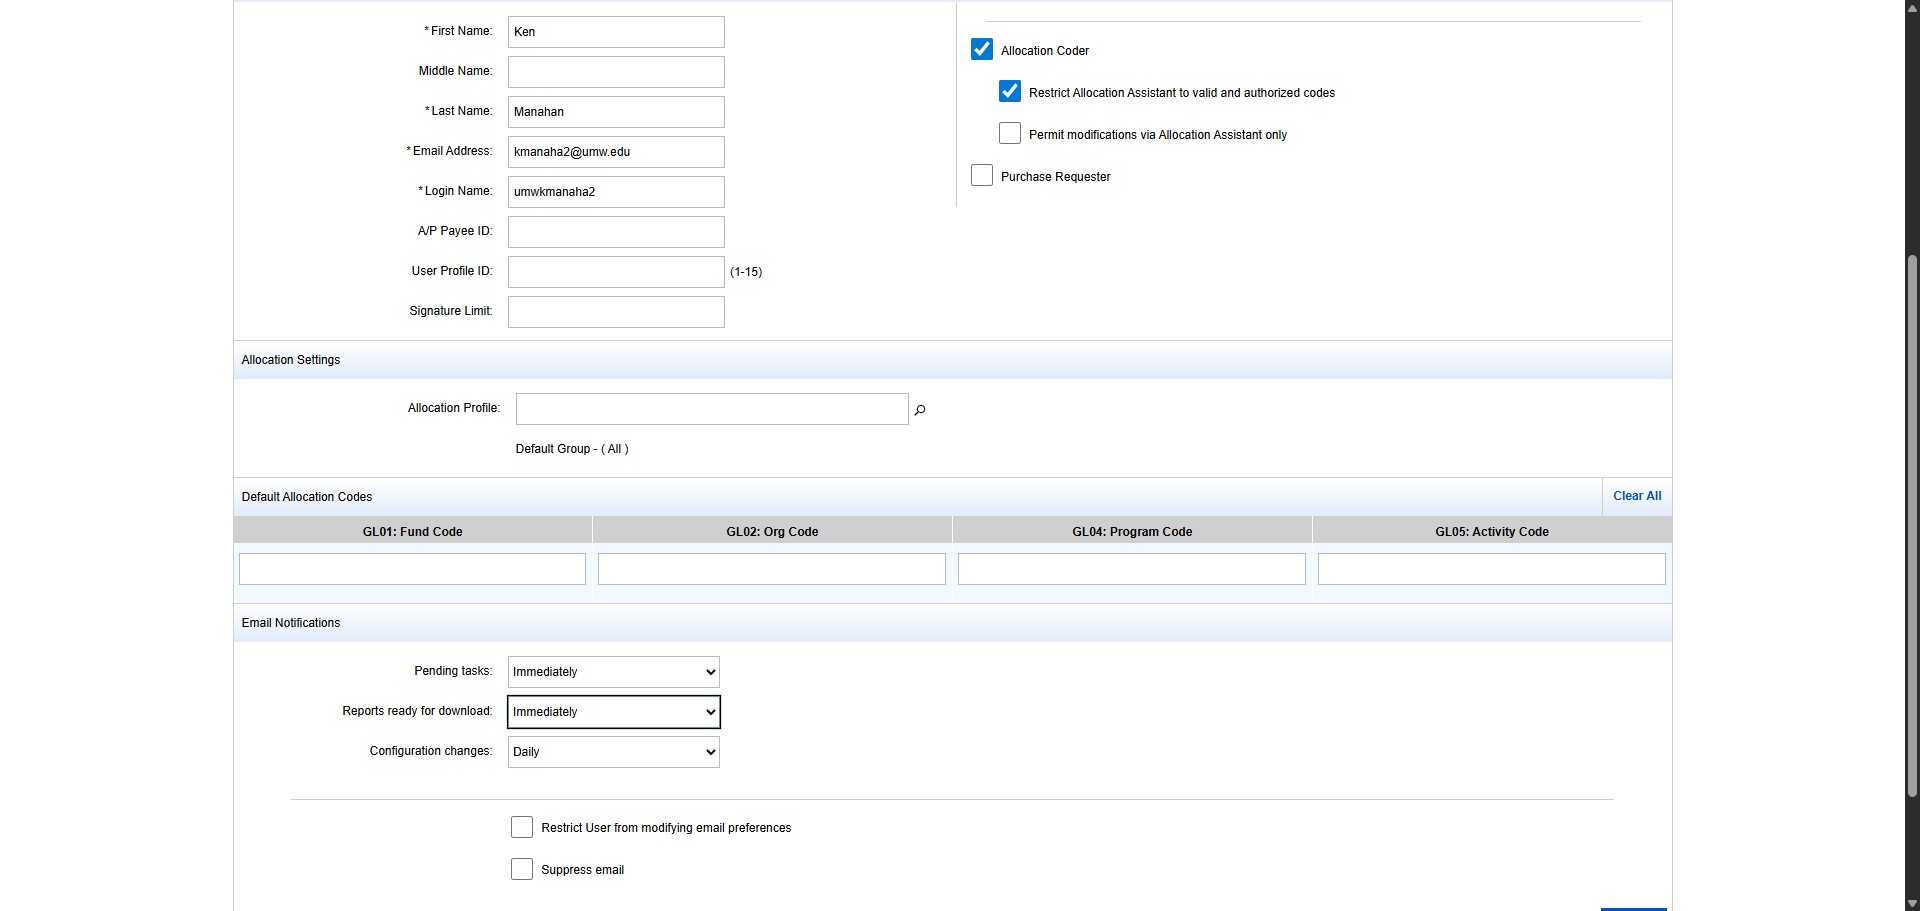
Change Reports ready for download from Daily to "Immediately"
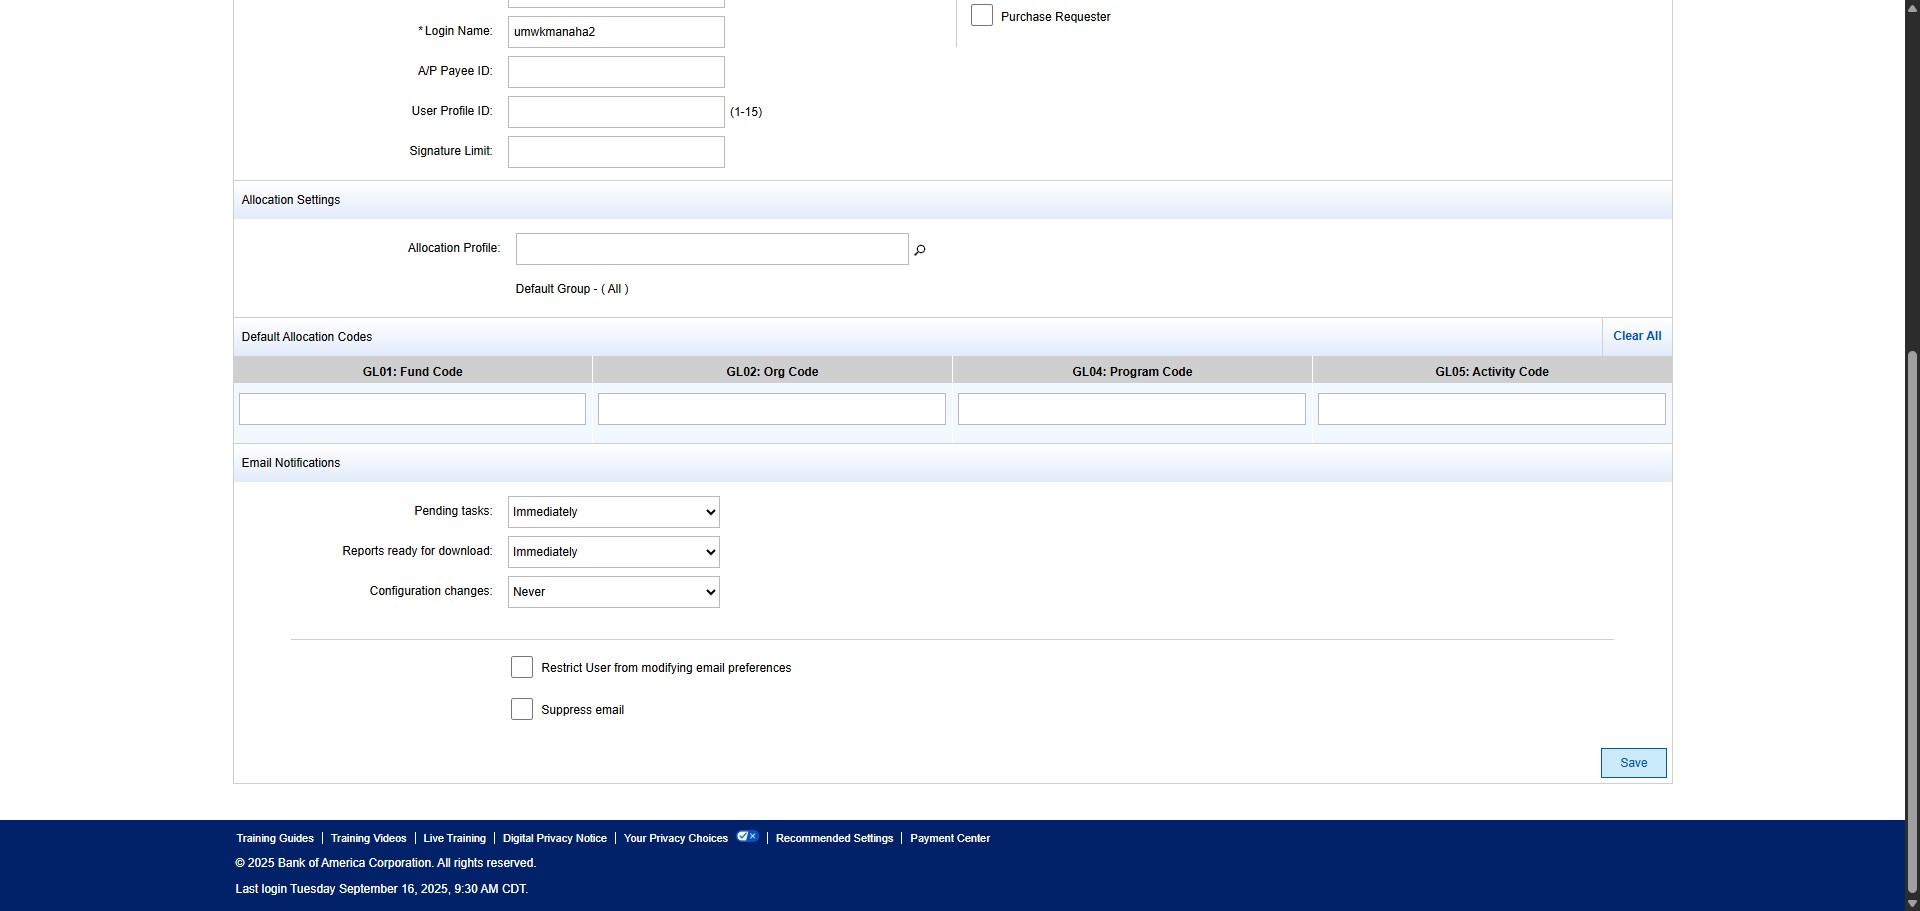
Change Configuration changes from Daily to "Never"
Then Click Save.
Next we need to add the newly created Approver to the Approver role within the Group. To do this, click on "Administration"
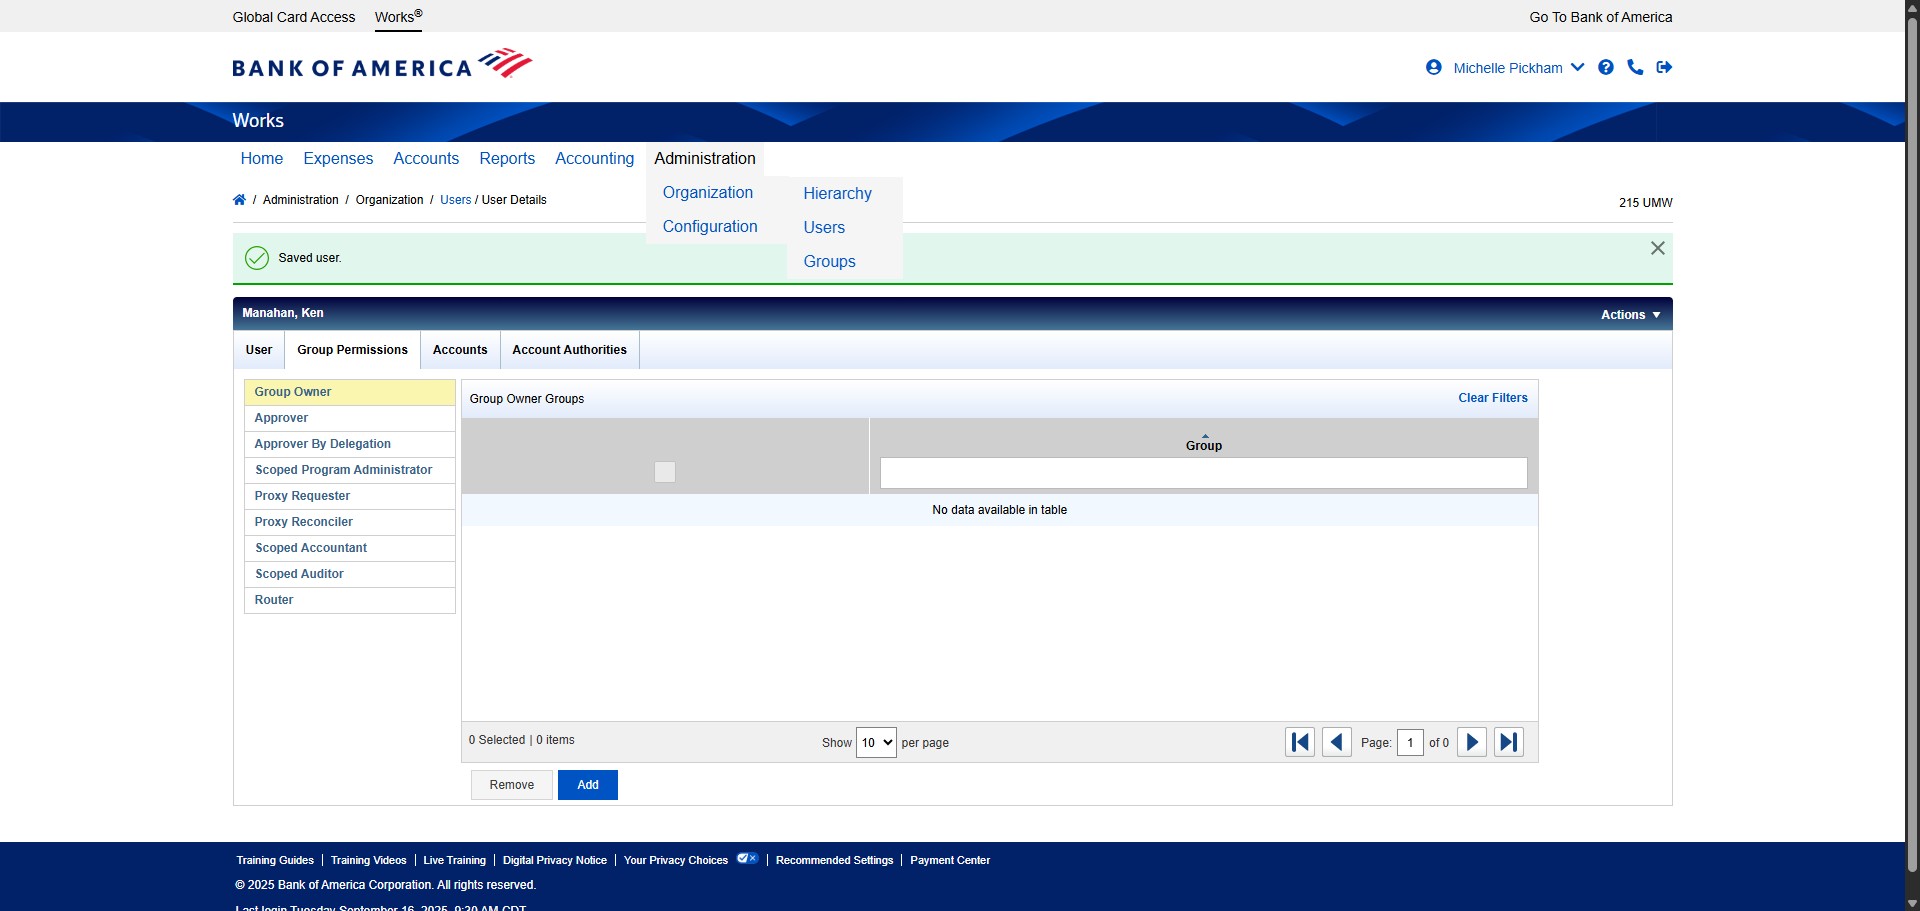
Click on "Organization"

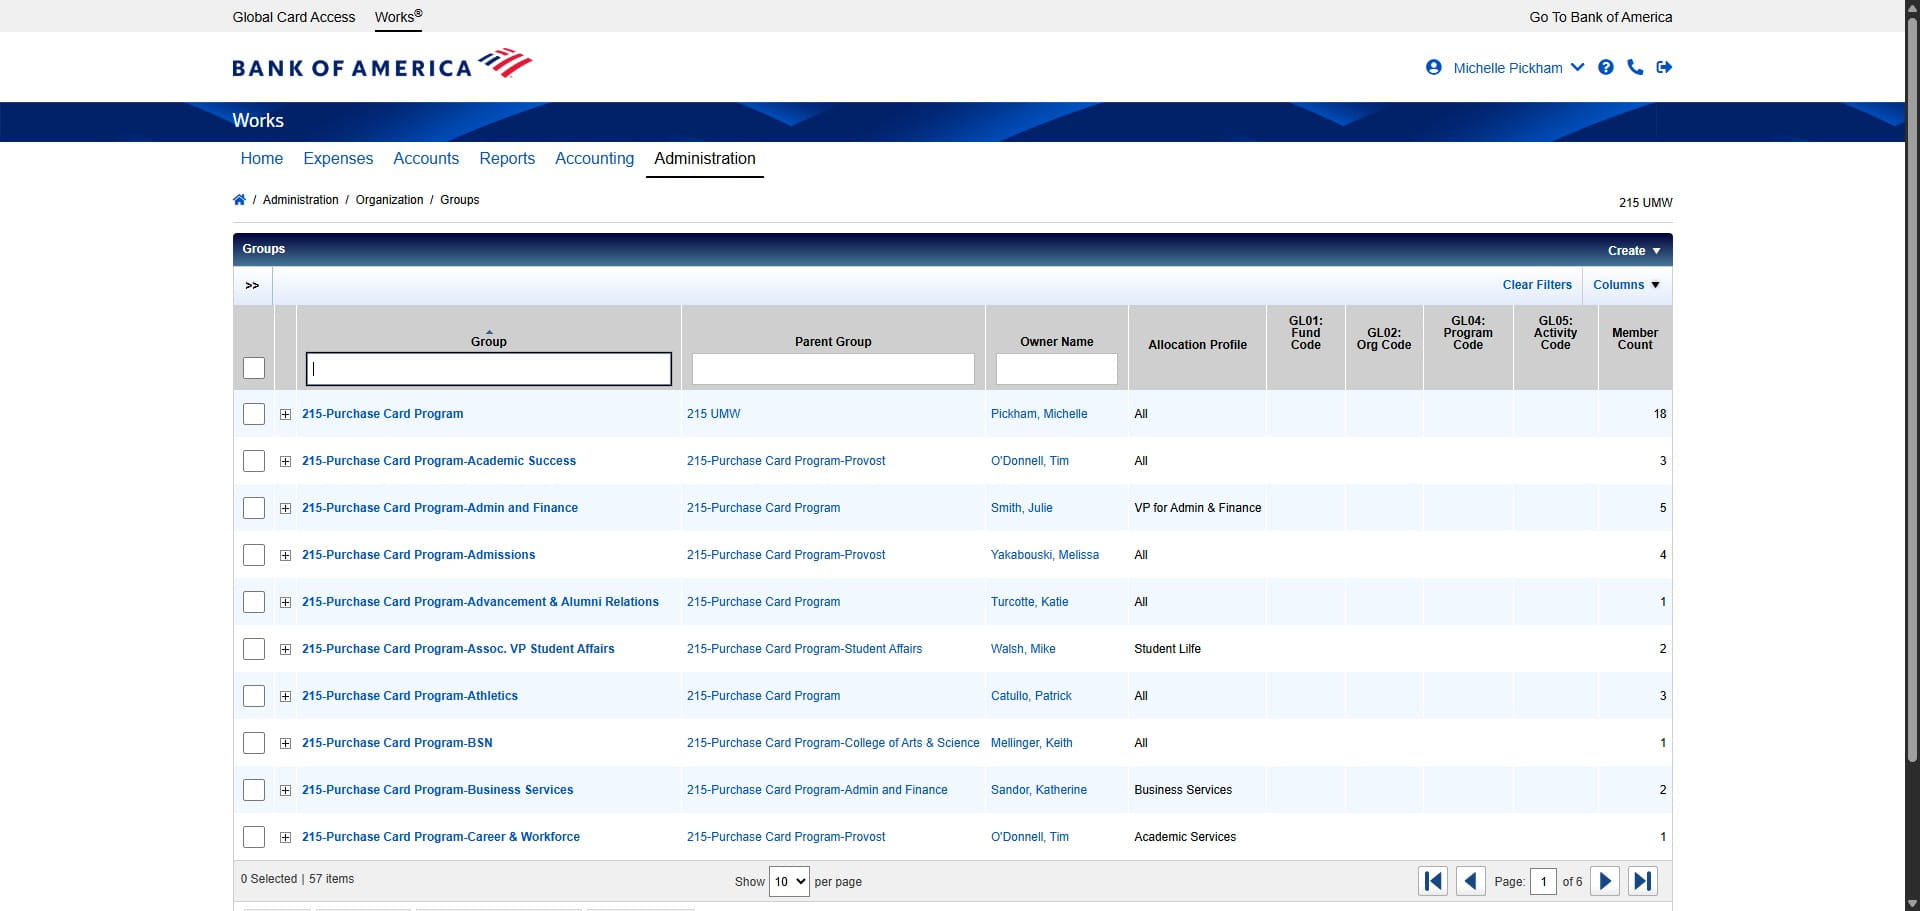
Click on "Groups"

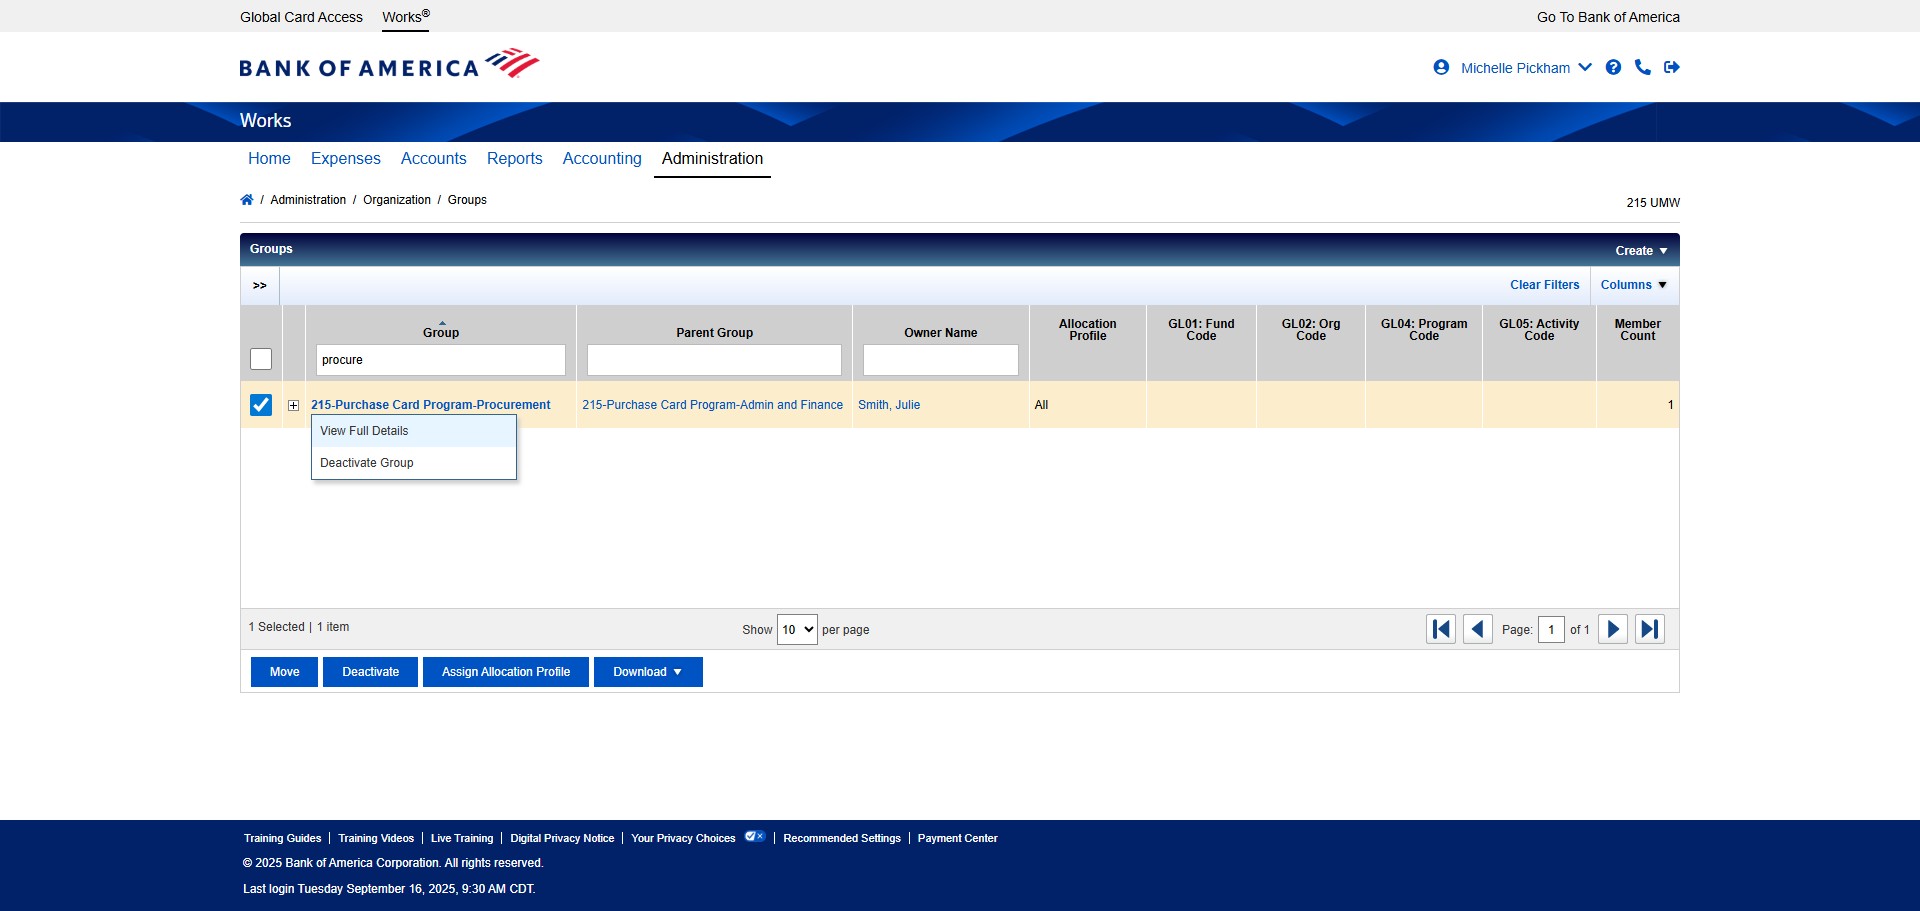
Find the Group the Approver was added to.
Click on the drop down on the Group Name and select "View Full Details"
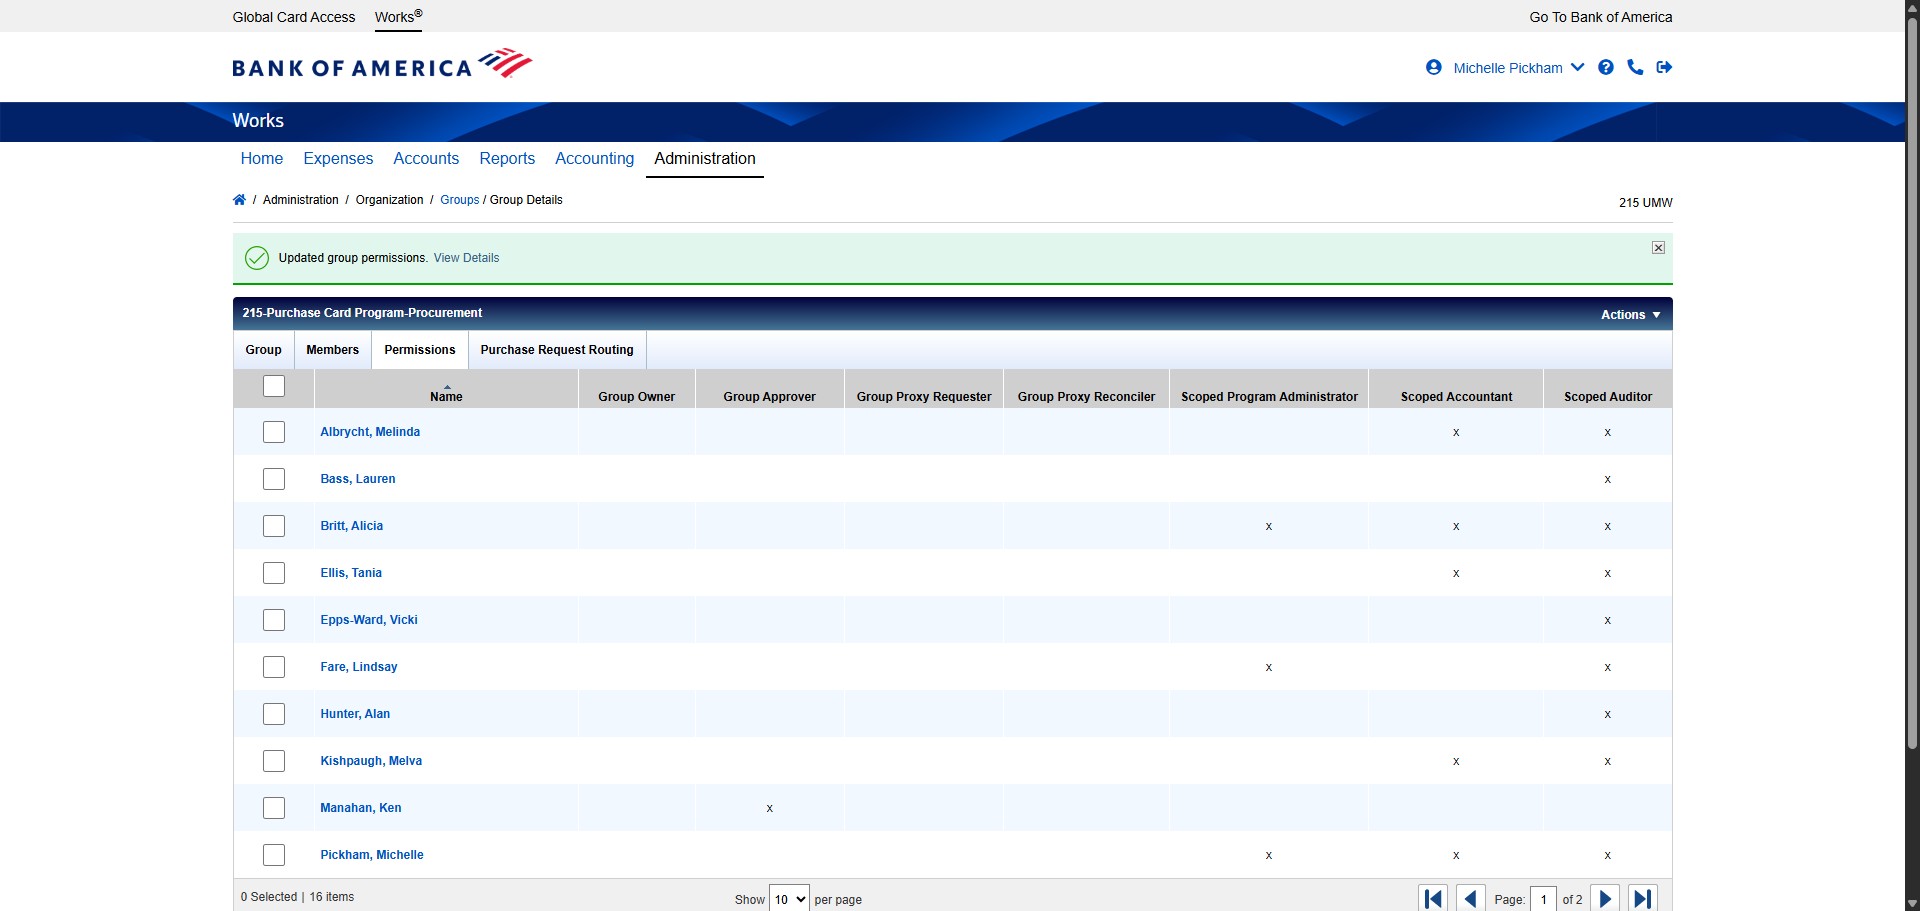
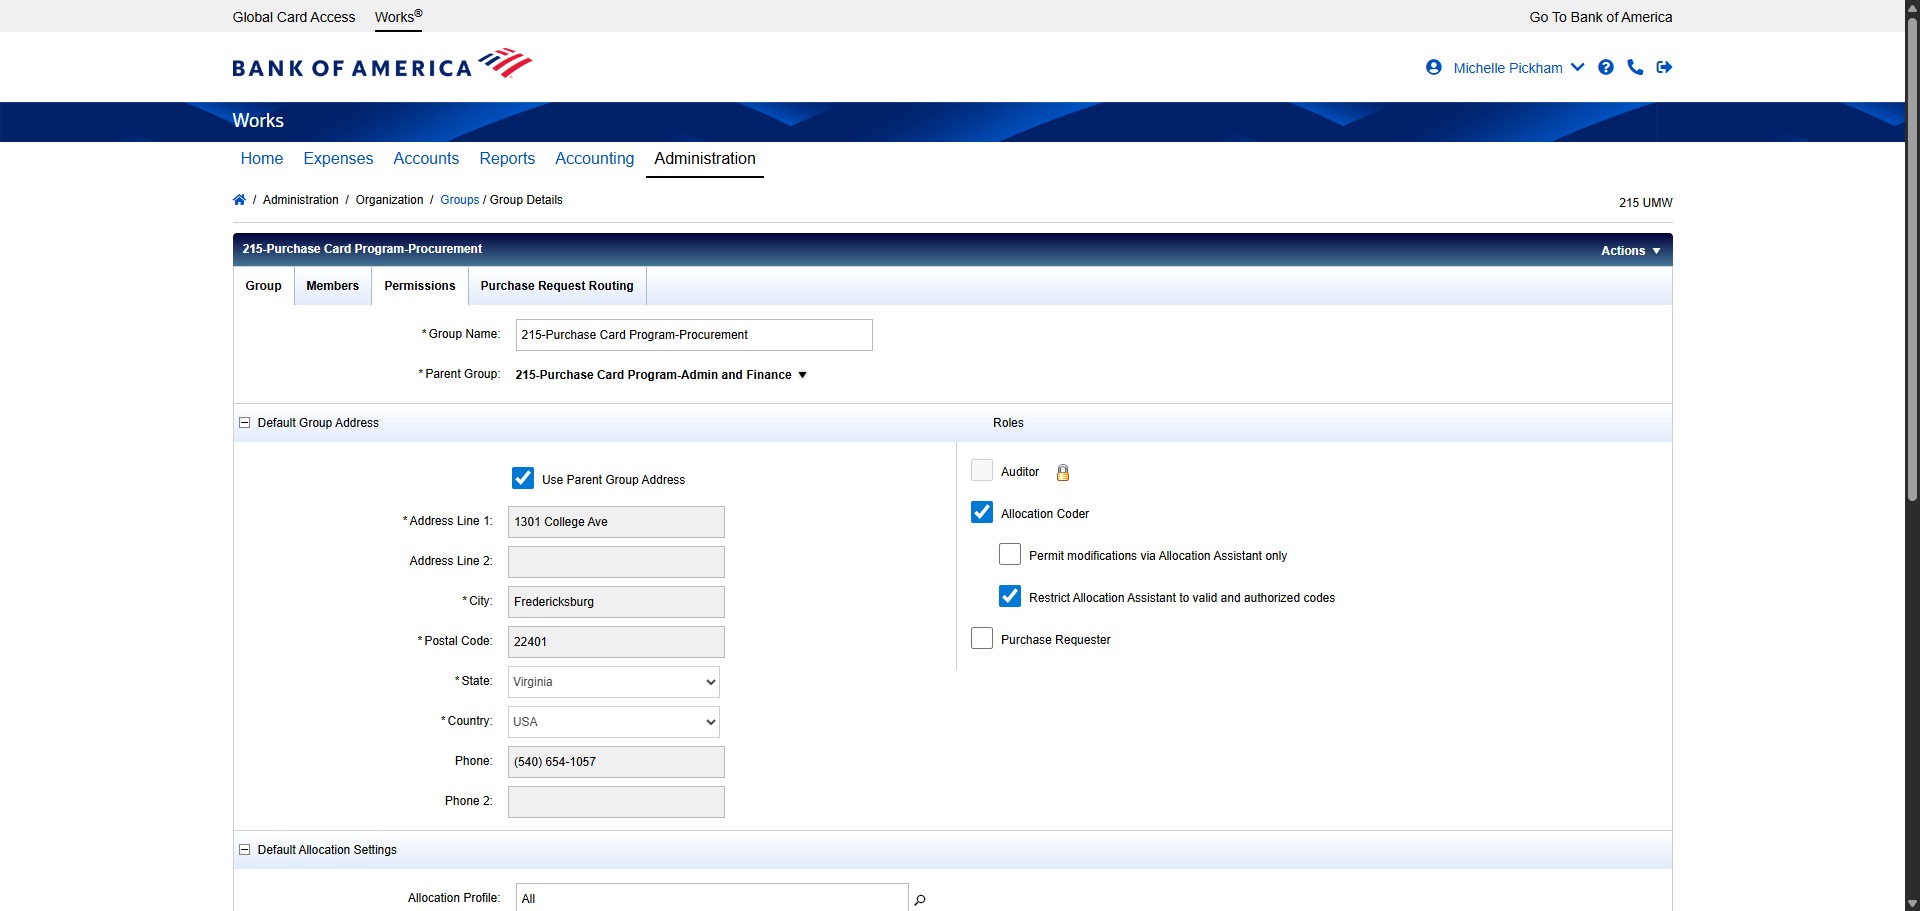
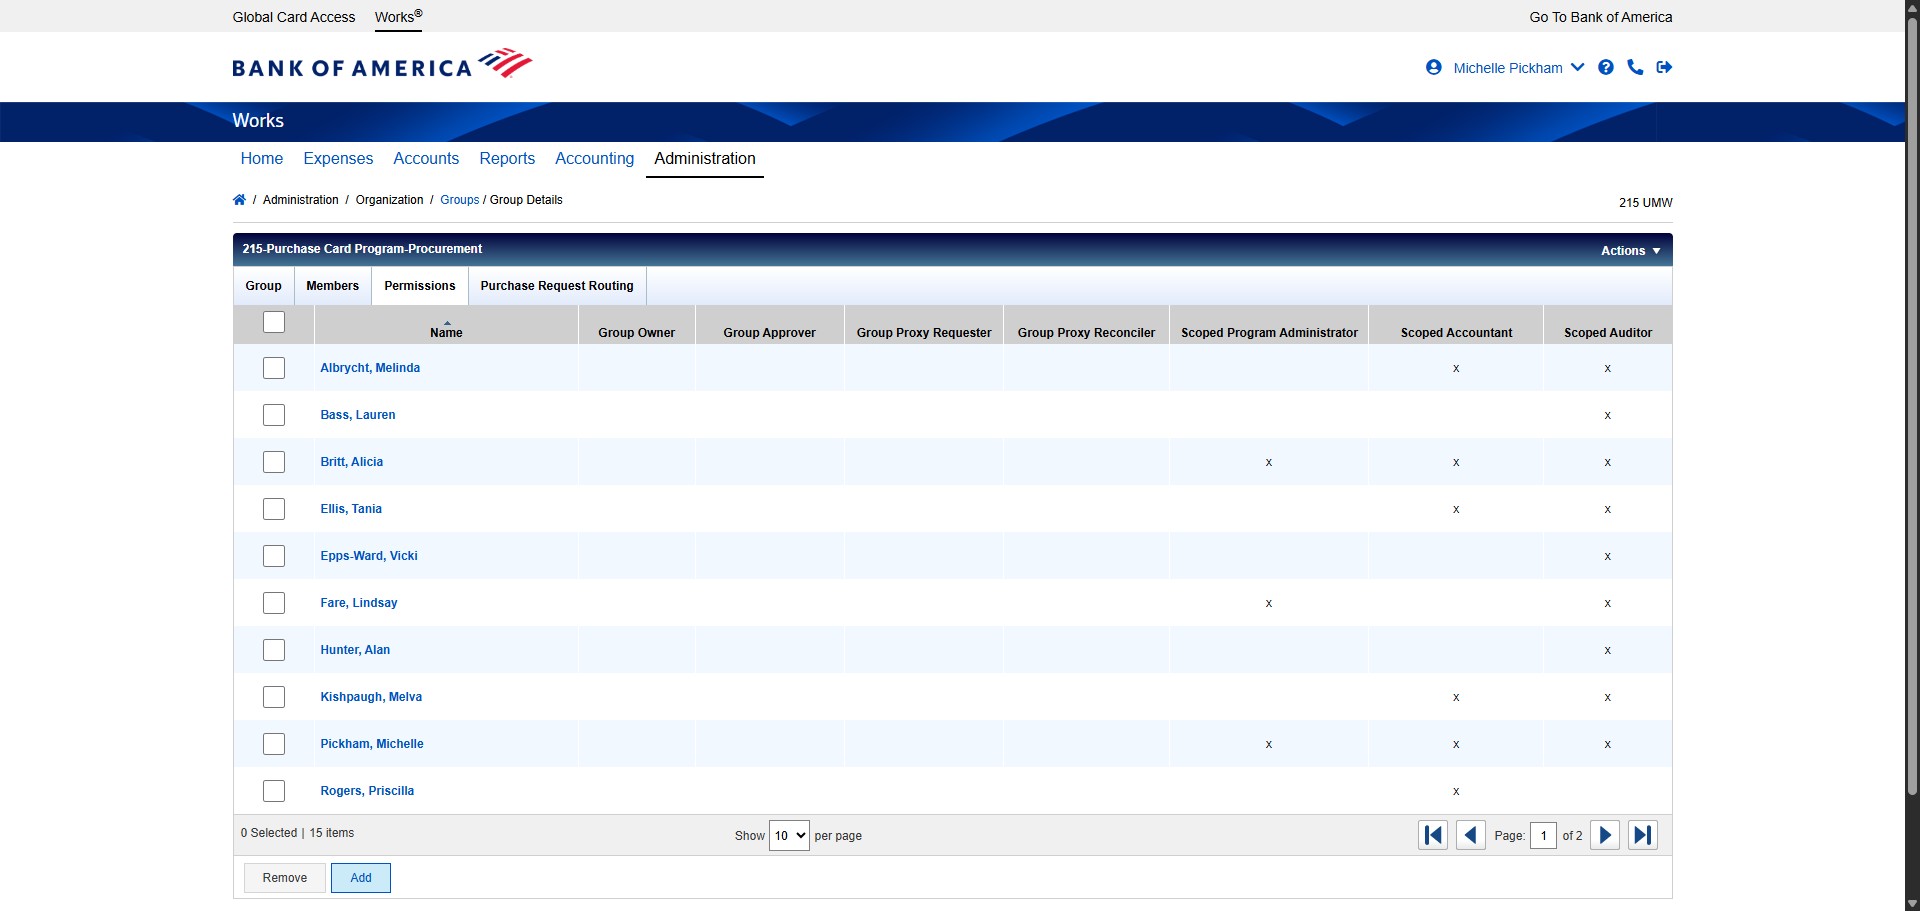
Click on the "Permissions" tab.
Click Add.
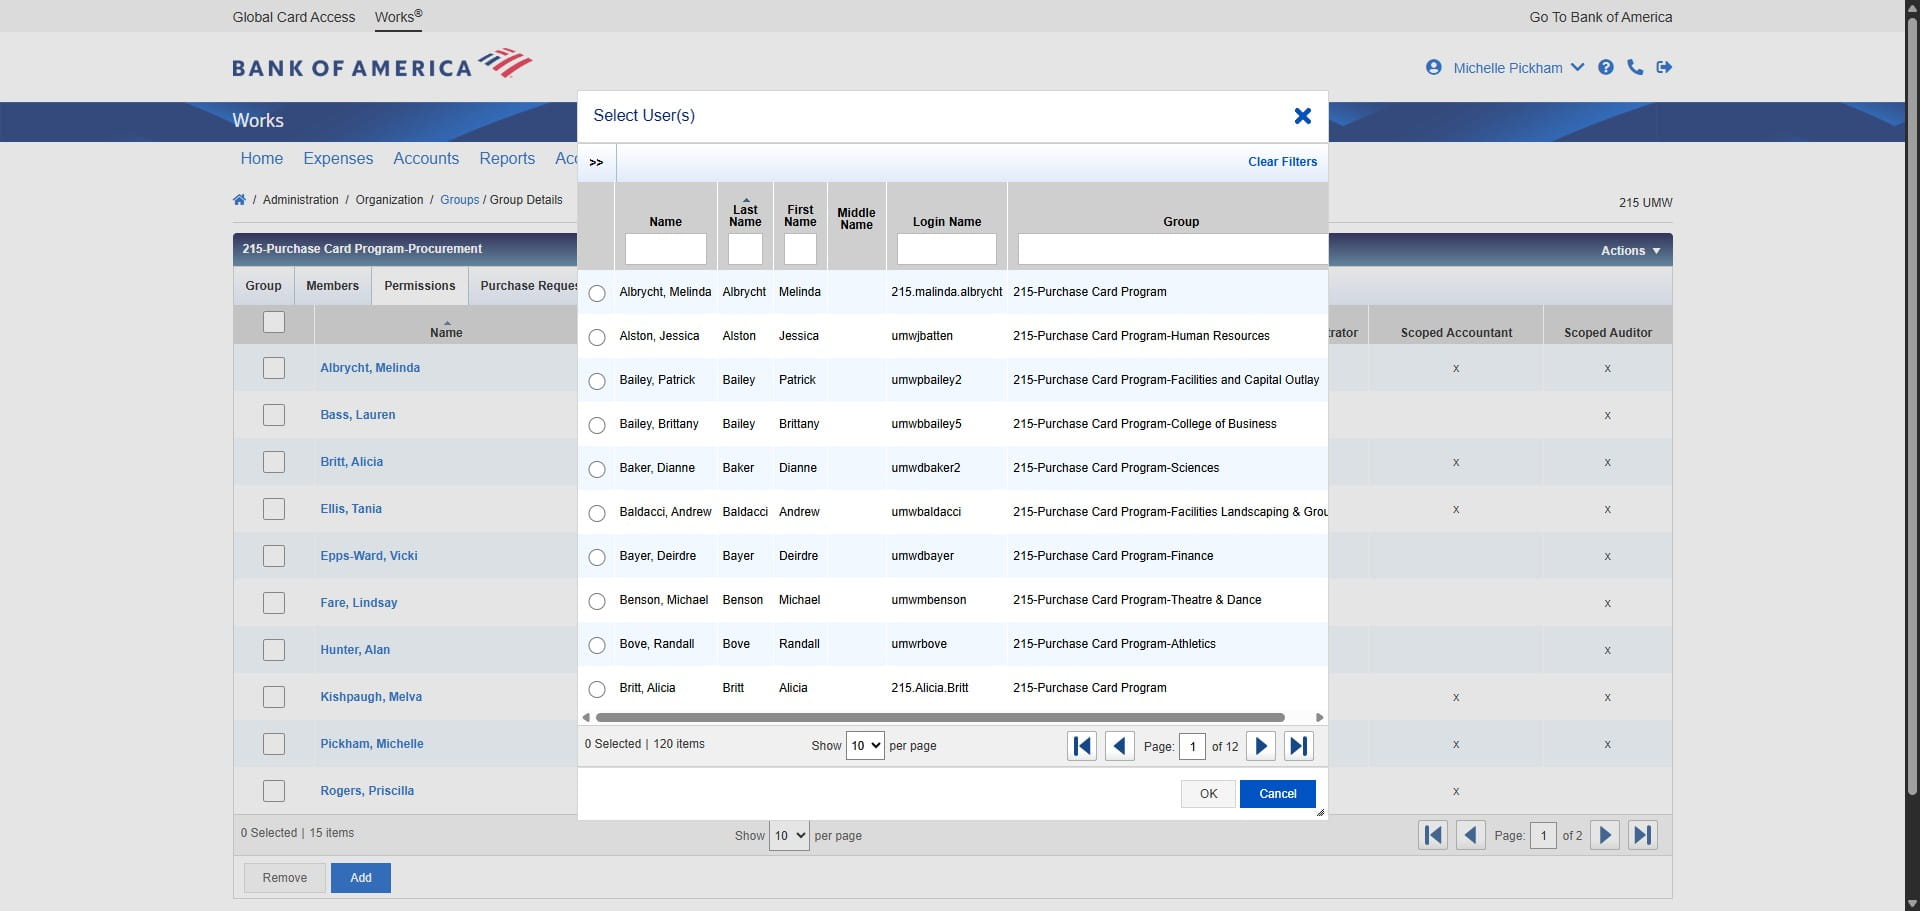
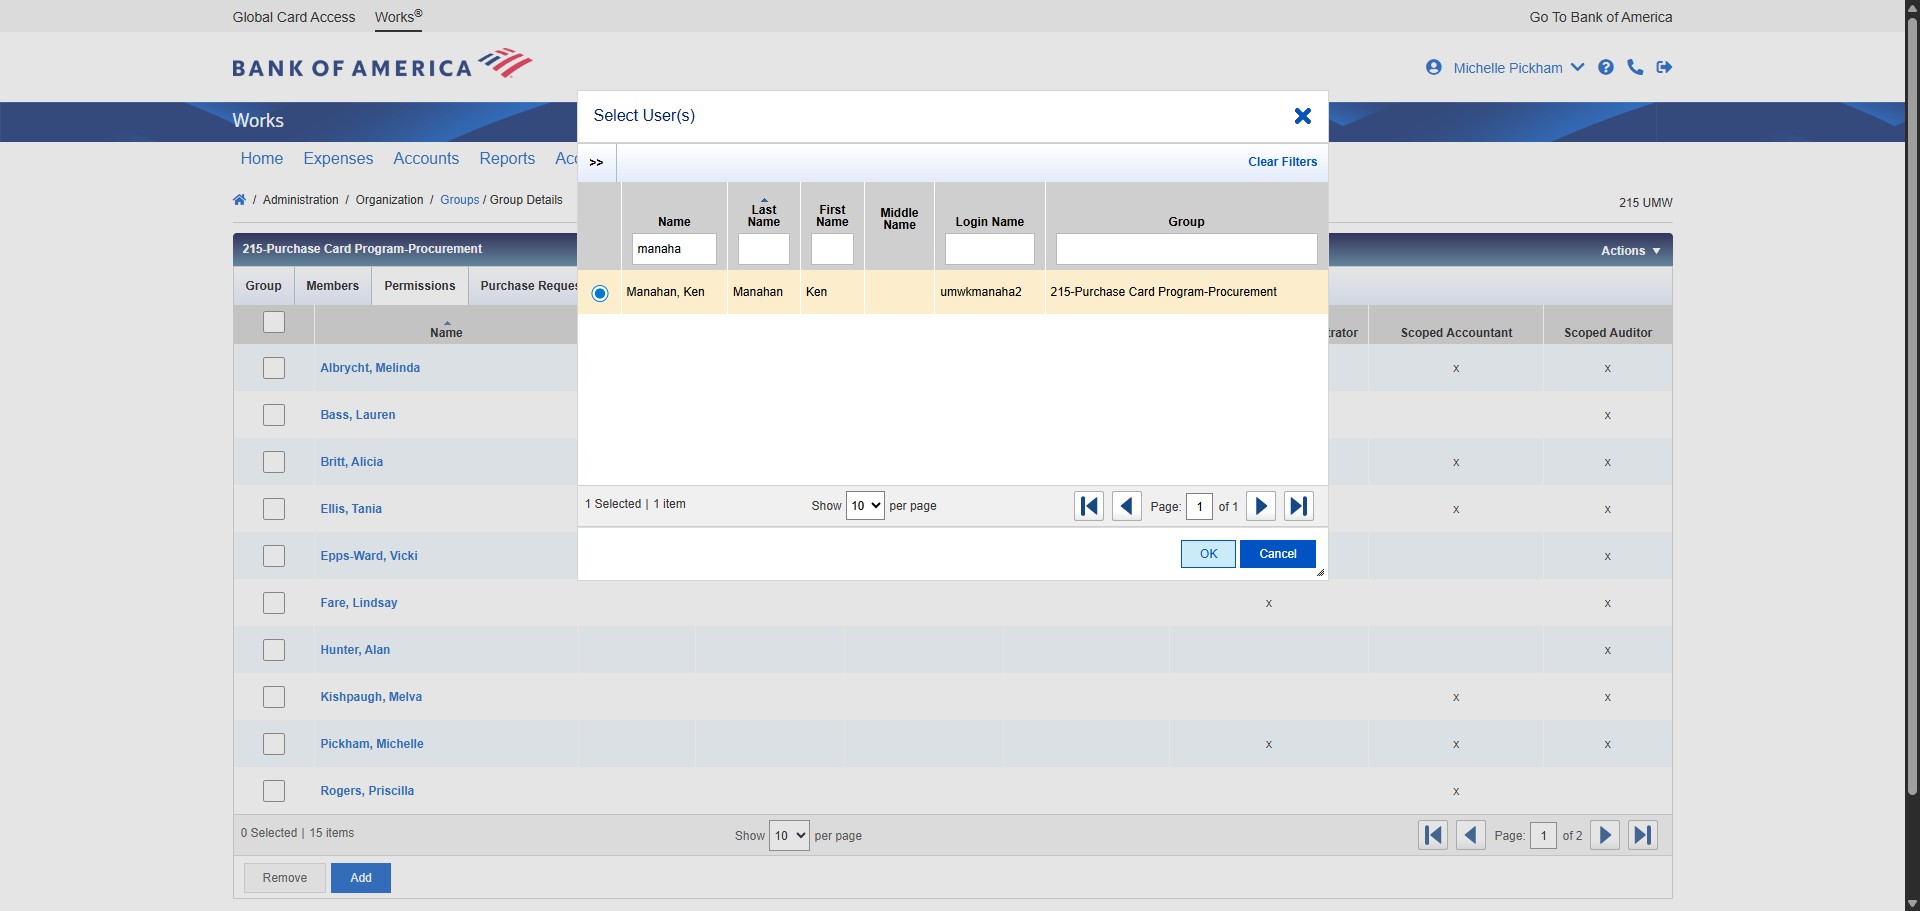
Find the new Approver name in the list.
Once found and selected, Click on "OK"
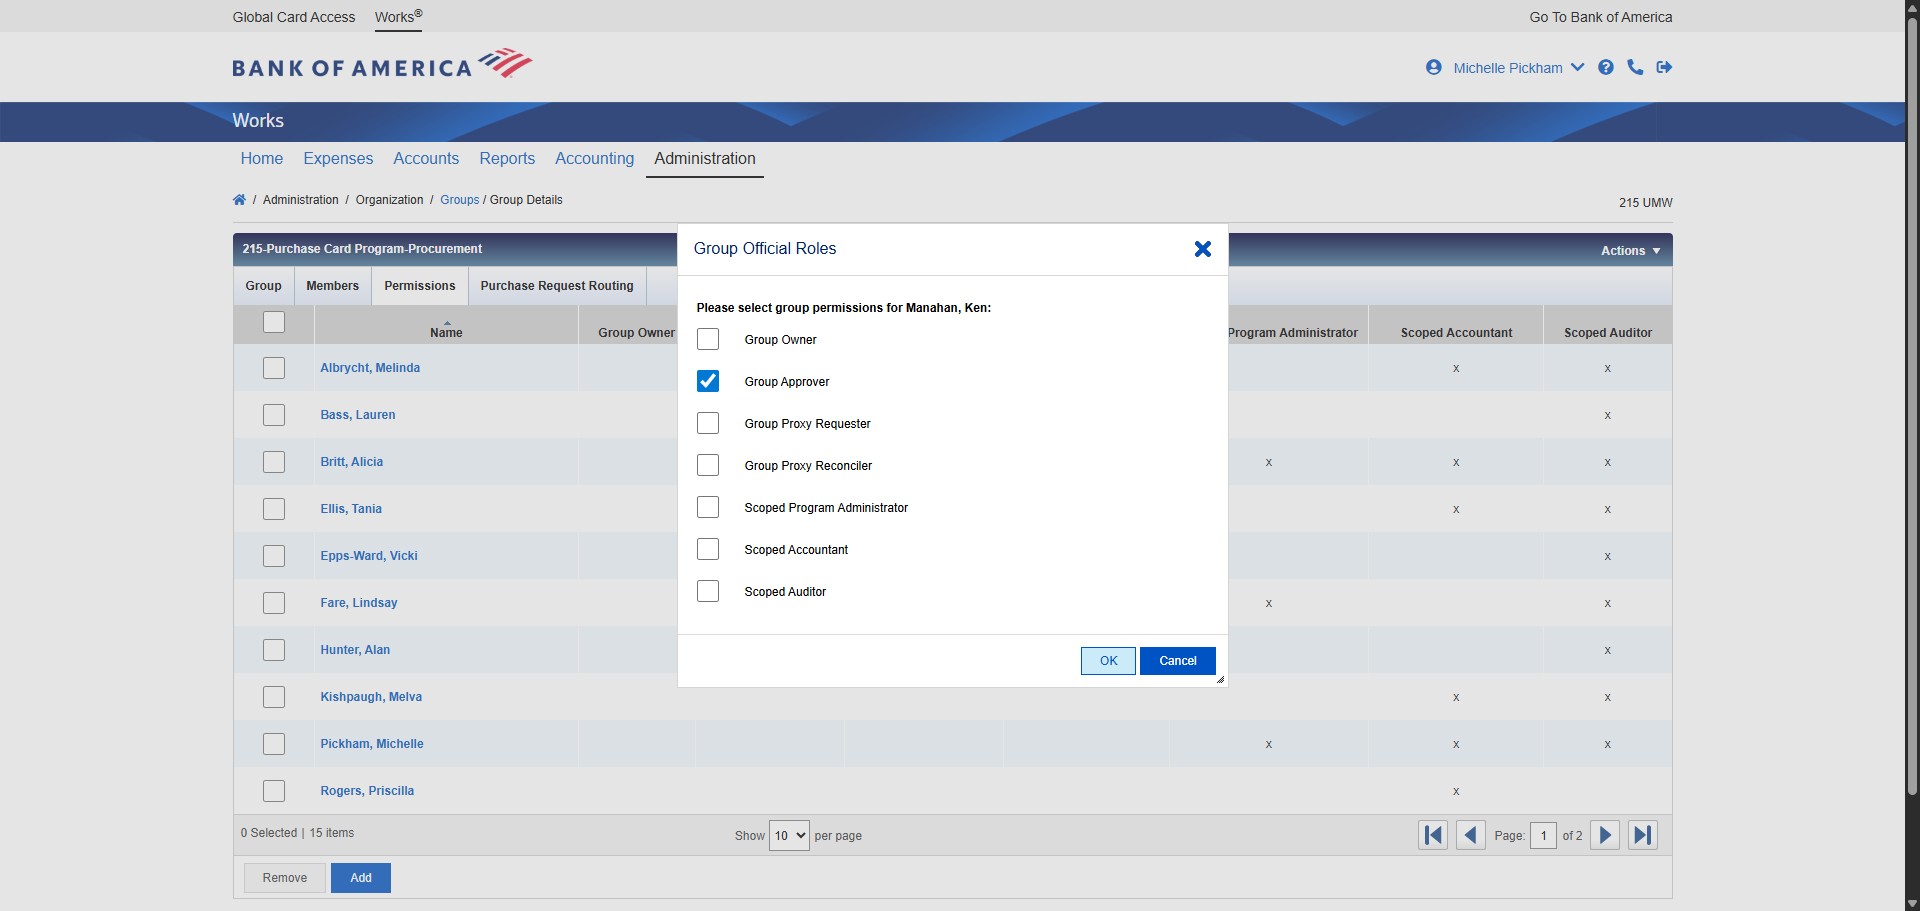
Check the box for Group Approver.
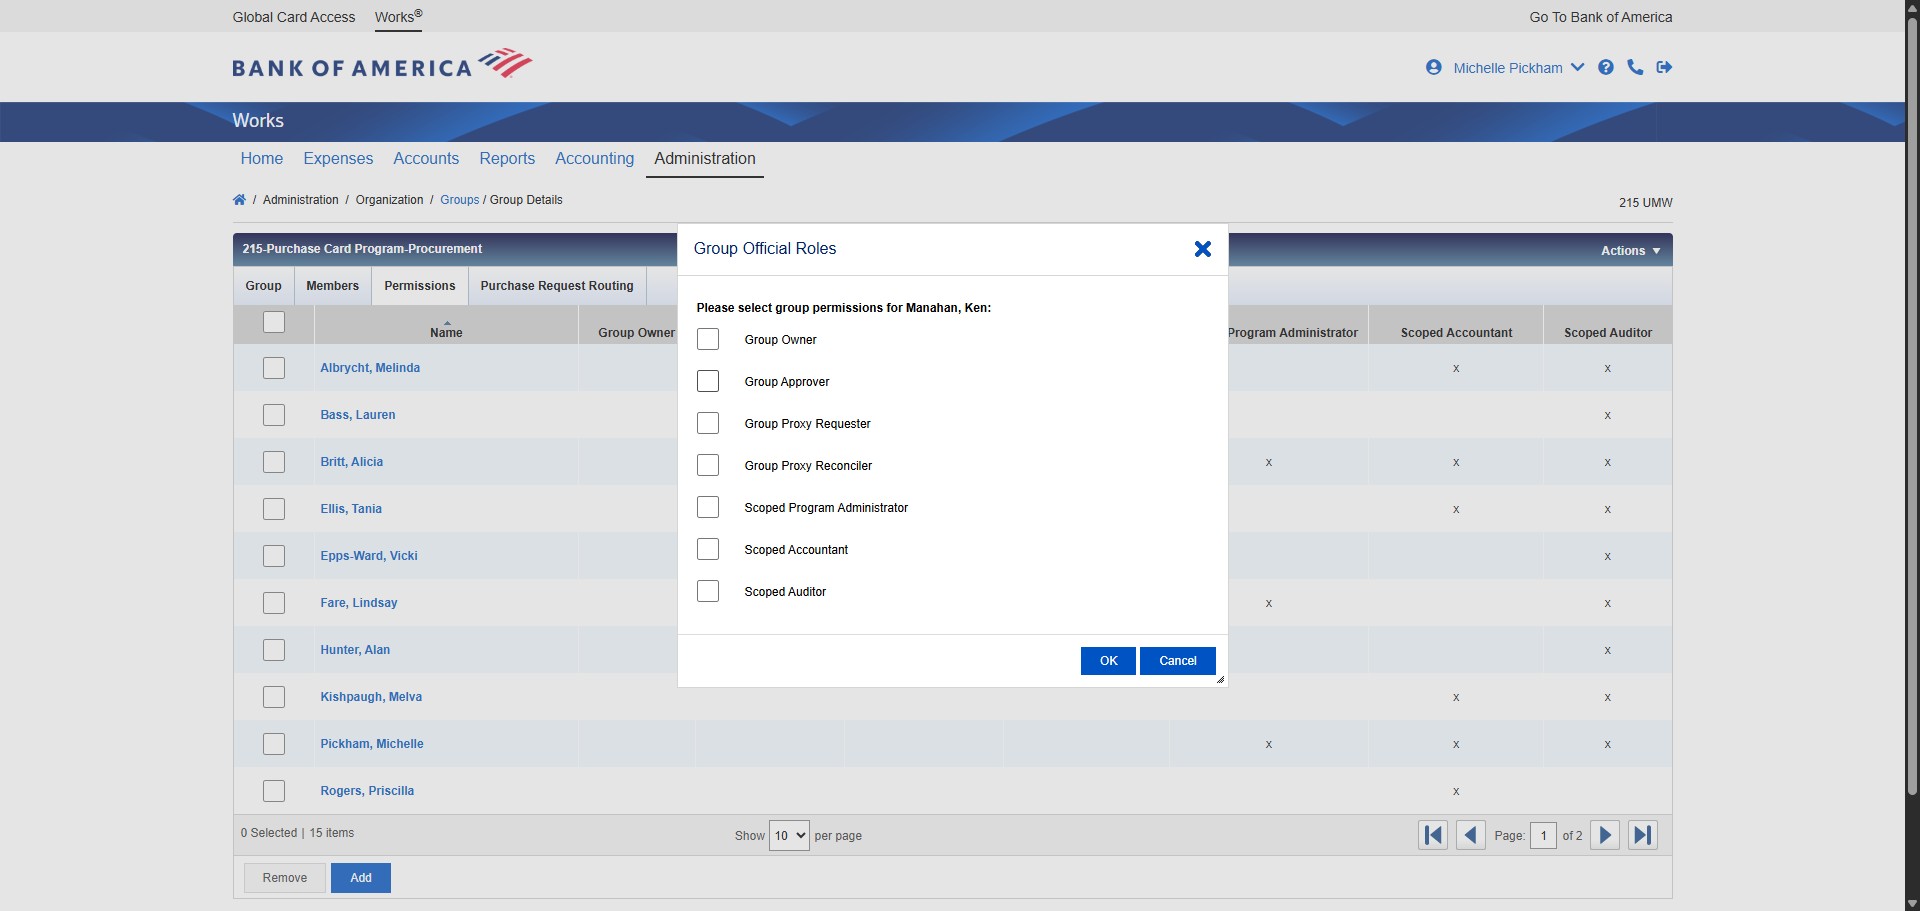
Click on "OK"
Done 🚀