Technology Request eVA Requisition Entry: Catalog
This guide will walk through the steps of making a Catalog Technology Request eVA Requisition. The only punchout catalog used for technology purchases is Dell. This guide can be used for both Standard OR Non-Standard technology purchase requests.
For this guide, consider the scenario that a Standard Technology Request Form has been submitted and is requesting a non-touch 512GB standard laptop, two 27" monitors, and a docking station.
Navigate to https://eva.virginia.gov/ and log in.
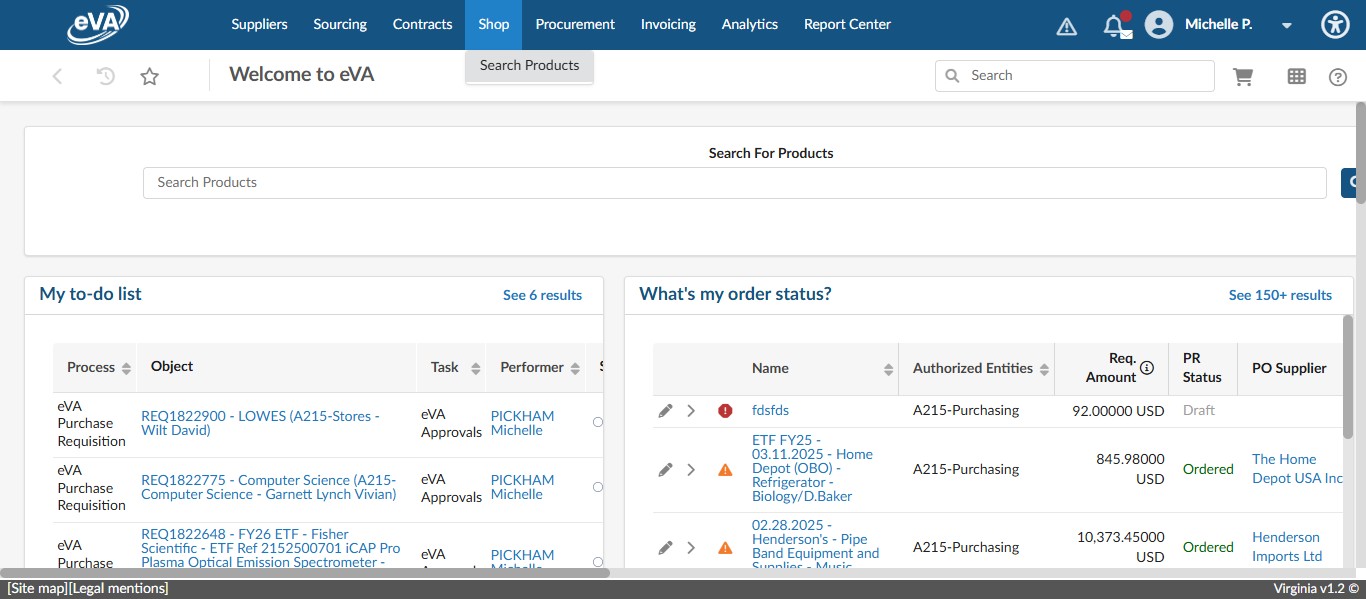
To access the catalogs, hover over Shop and click on Search Products.
This guide assumes that you have favorited the supplier catalog pages that you use. To reach the correct catalog to your favorited catalog supplier, click on the Star.

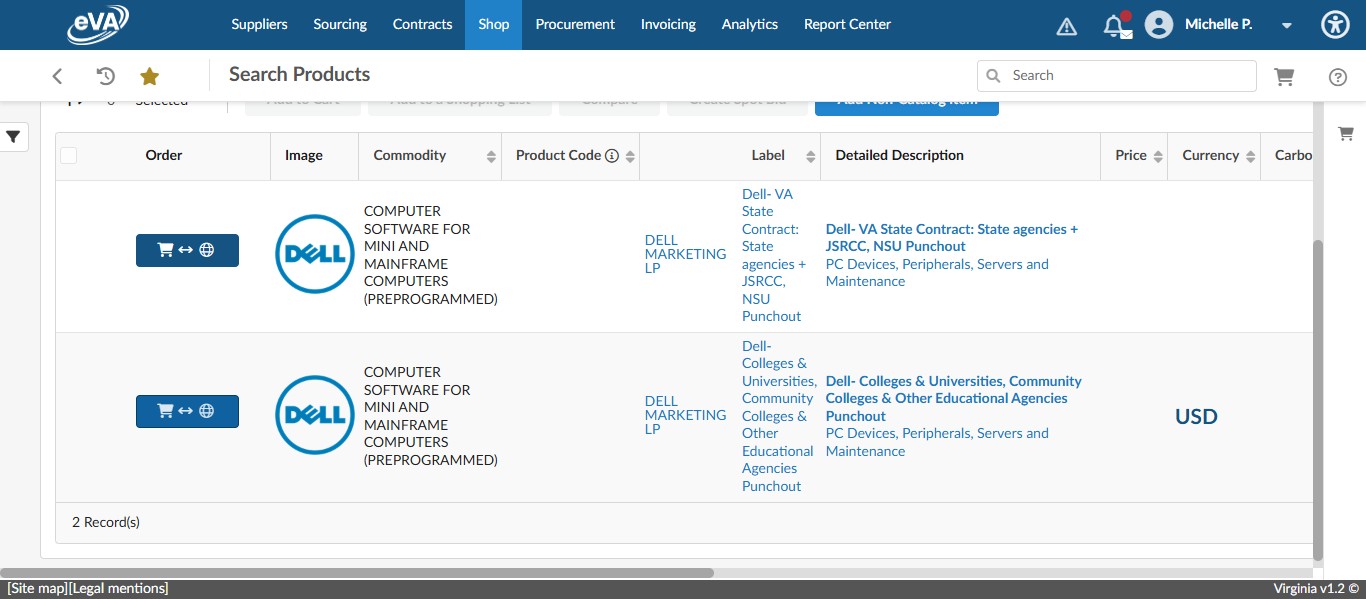
Click on "Dell Punchout Catalog"

Click on the shopping cart button next to the correct catalog for UMW.
To access the University's Standard computers and accessories, click on "Shop" then "Standard Configurations."

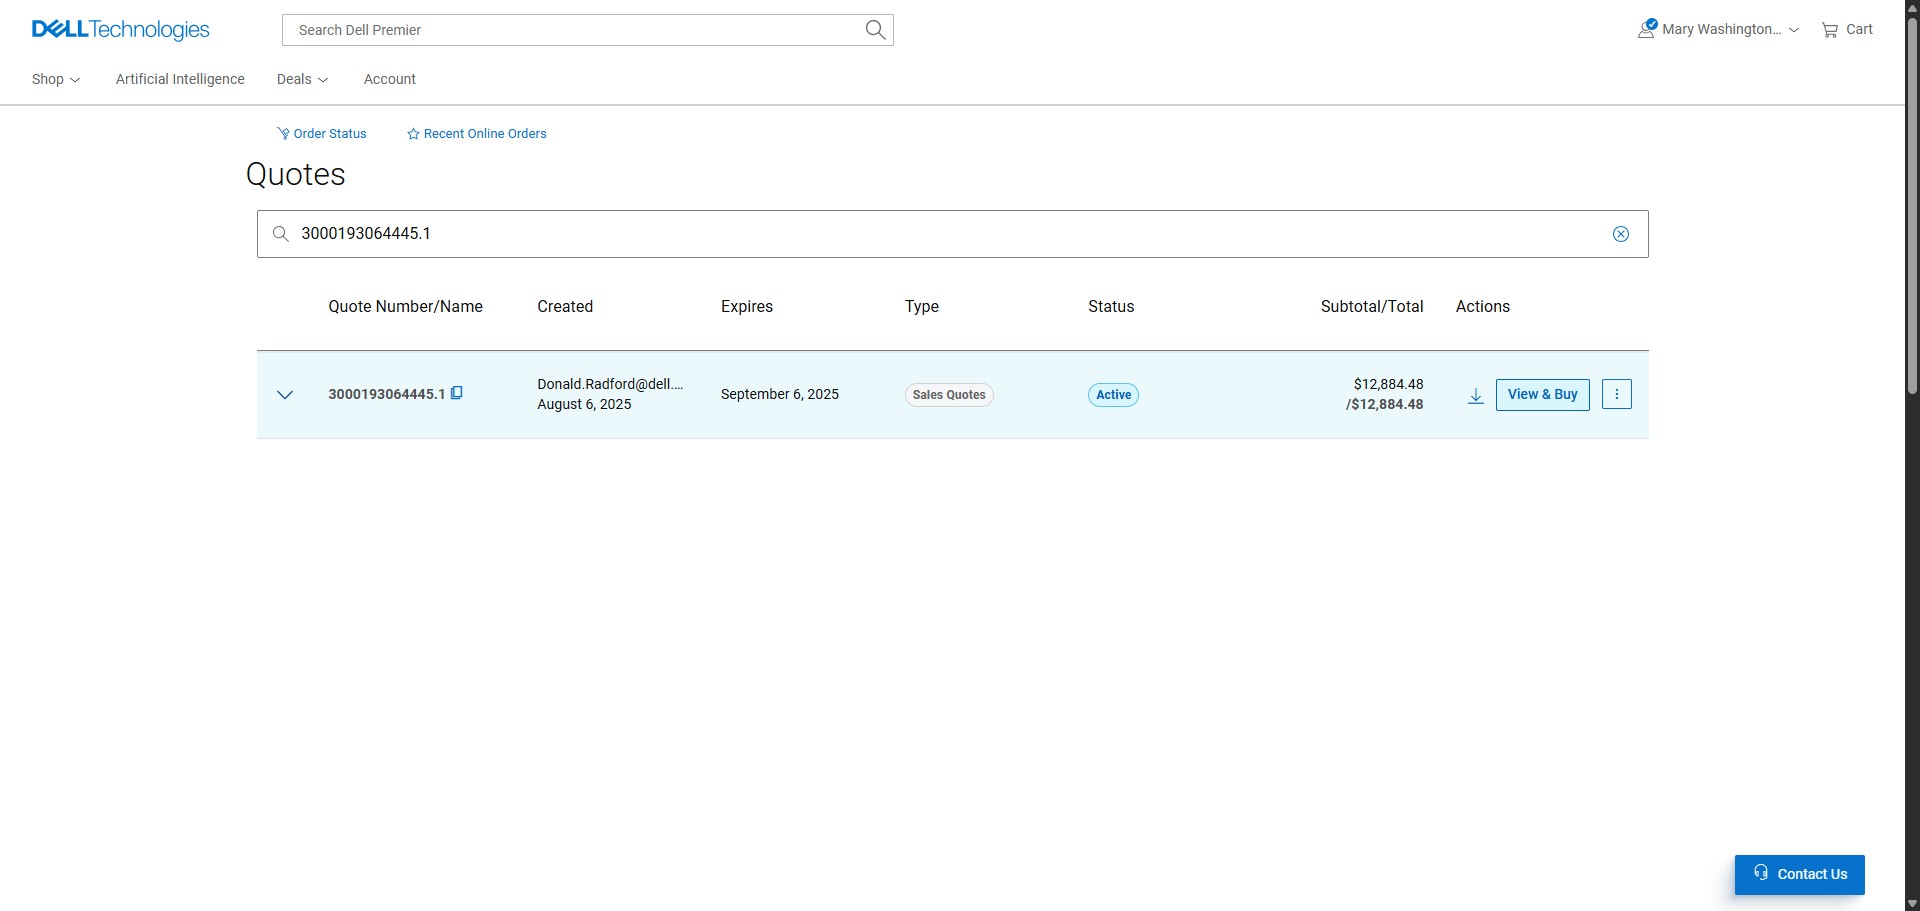
If you're purchasing a non-standard item from Dell through a custom quote, click on the arrow next to View quotes in the Quotes section.
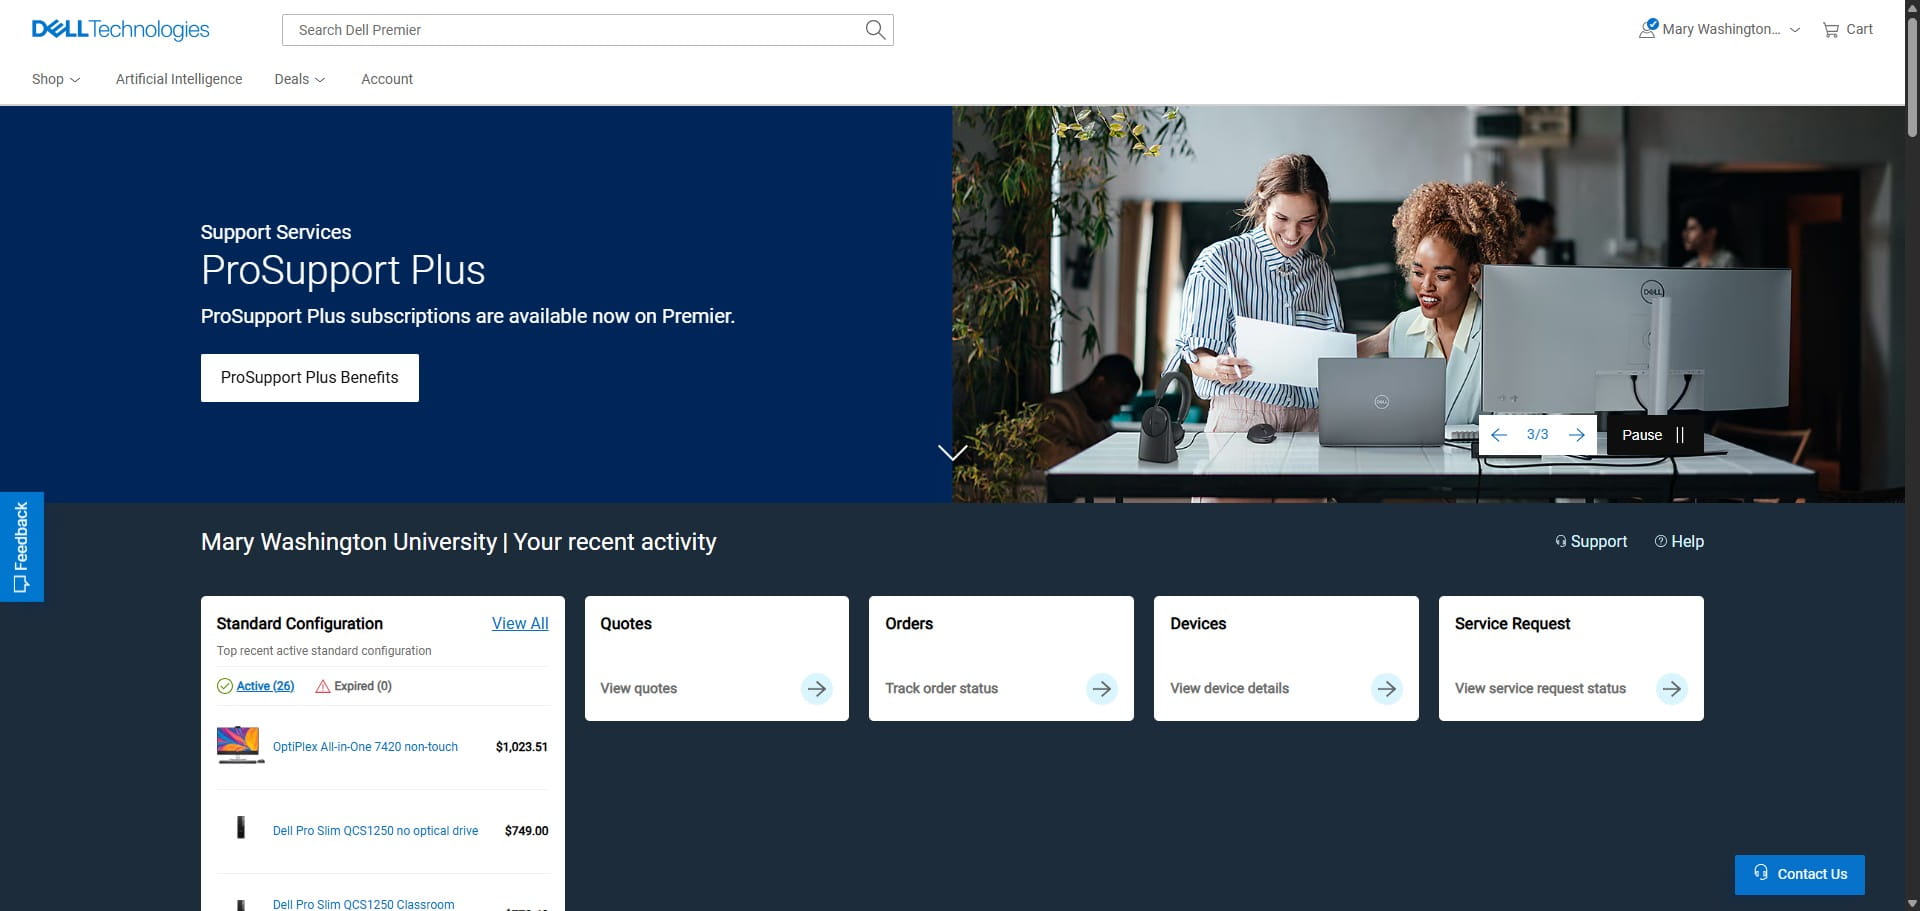
Then enter the quote number given from the custom quote received from the Dell representative.
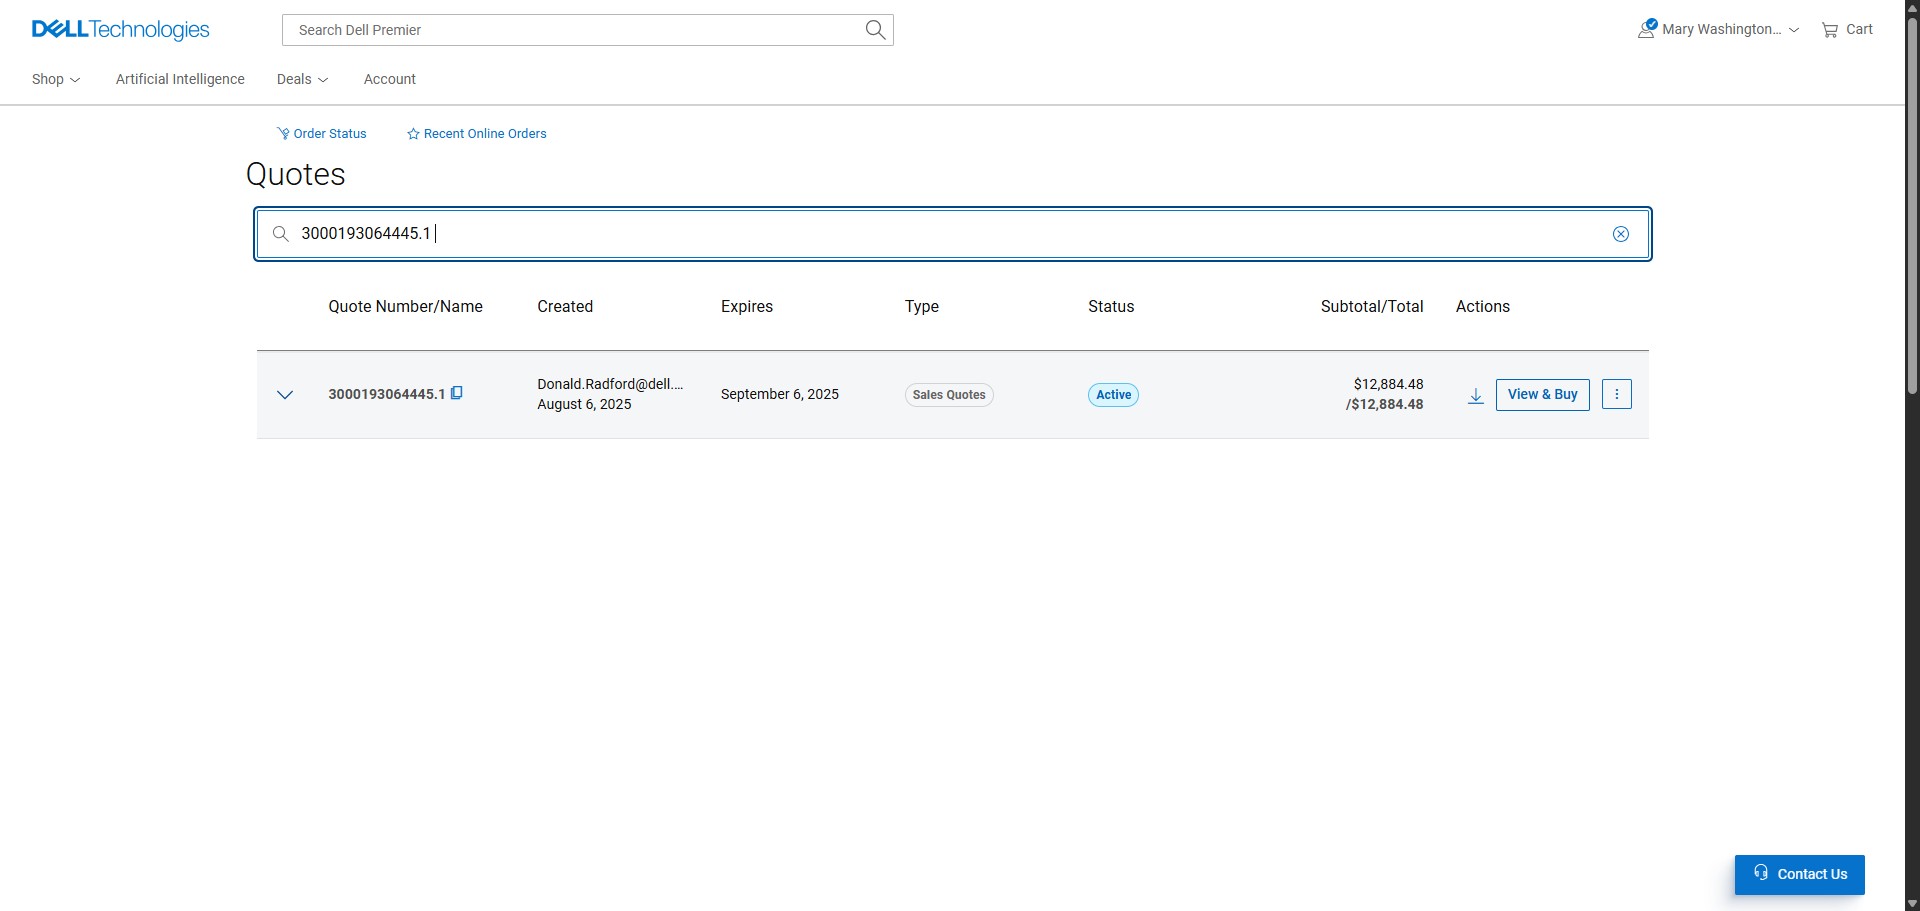
Click on "View & Buy" then follow the rest of the steps starting with Step 16.
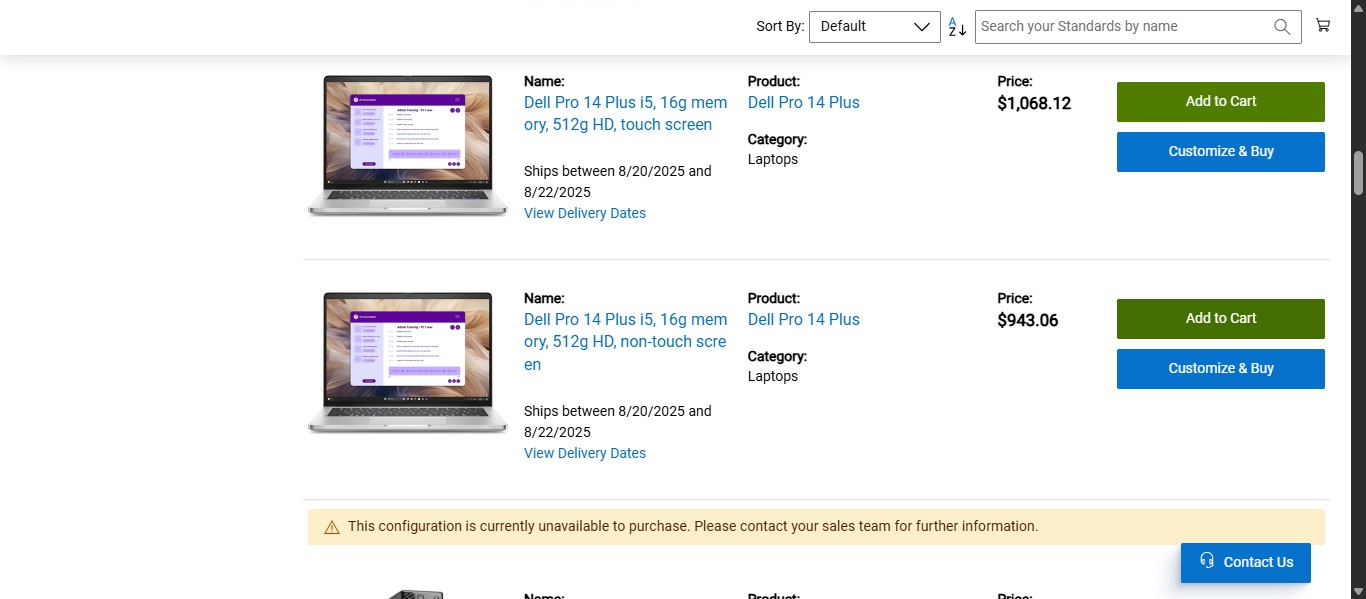
Scroll down until you get to the item listed on the Standard Technology Request Form that is requested. In this case, it is a Non-Touch 512GB laptop.
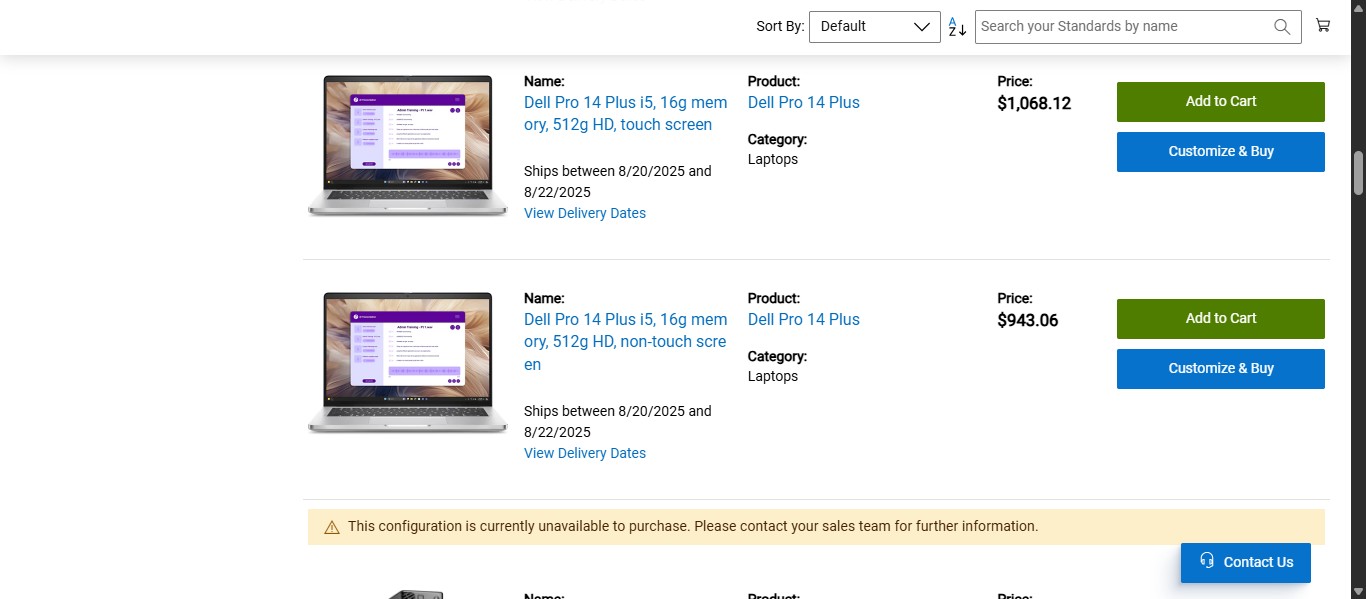
Click on "Add to Cart"
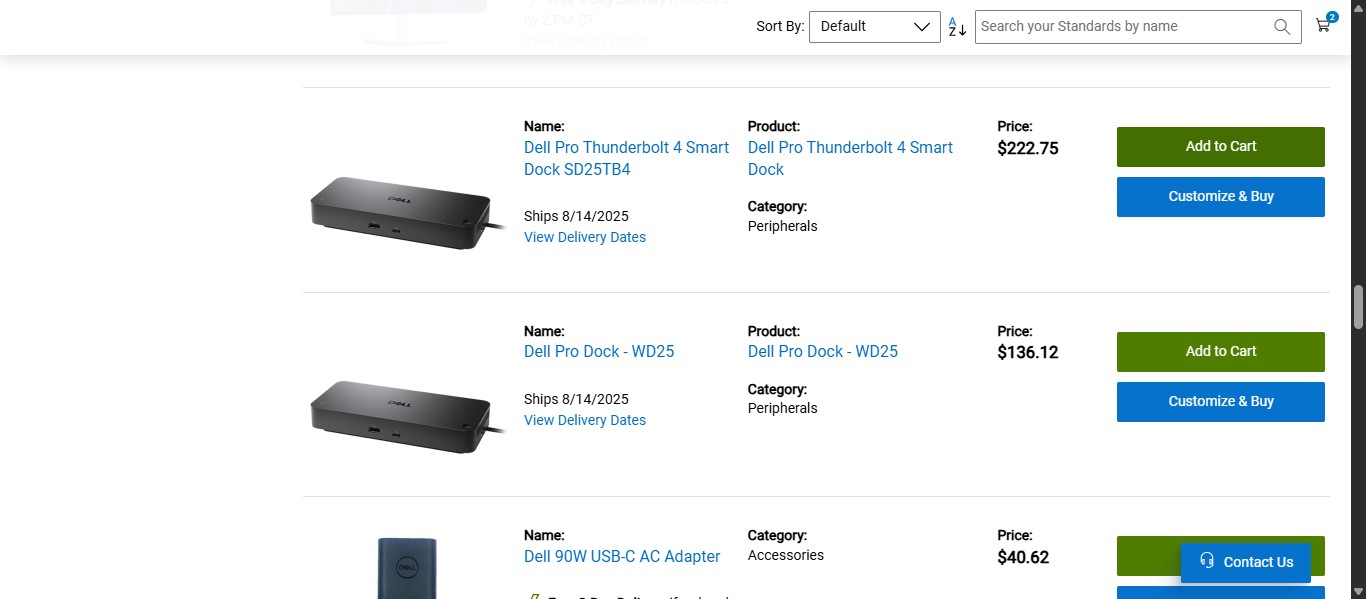
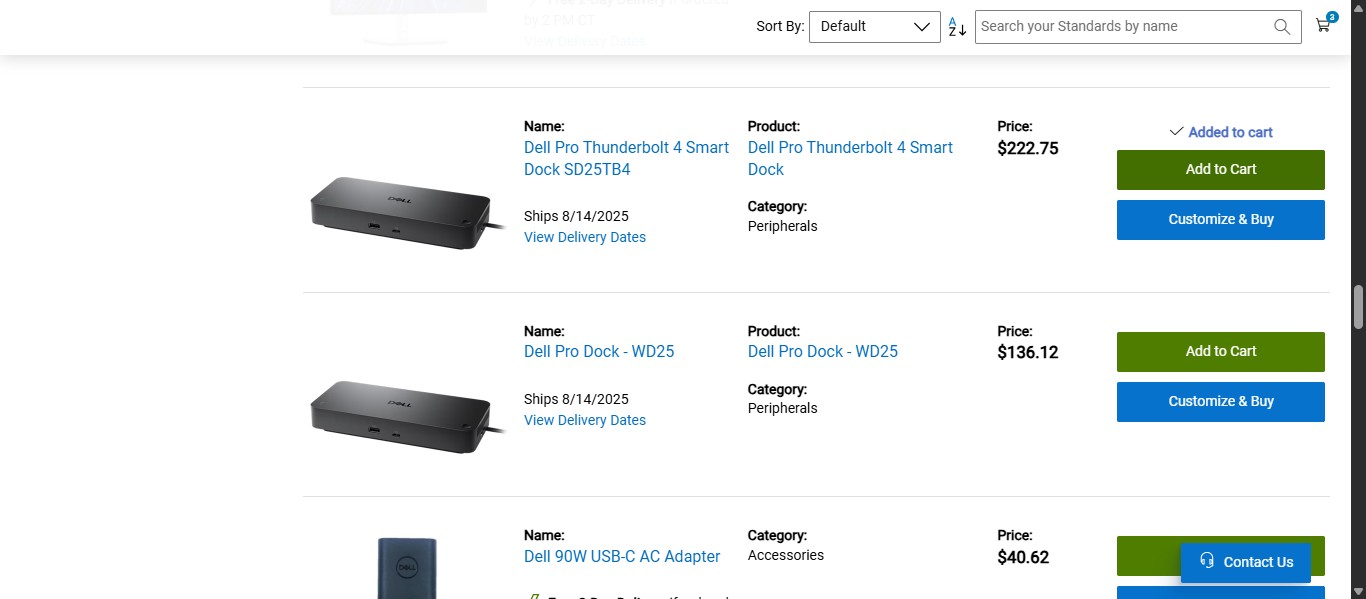
If more items are requested on the Standard Technology Request Form, scroll to access all items needed and click on "Add to Cart" for each one.
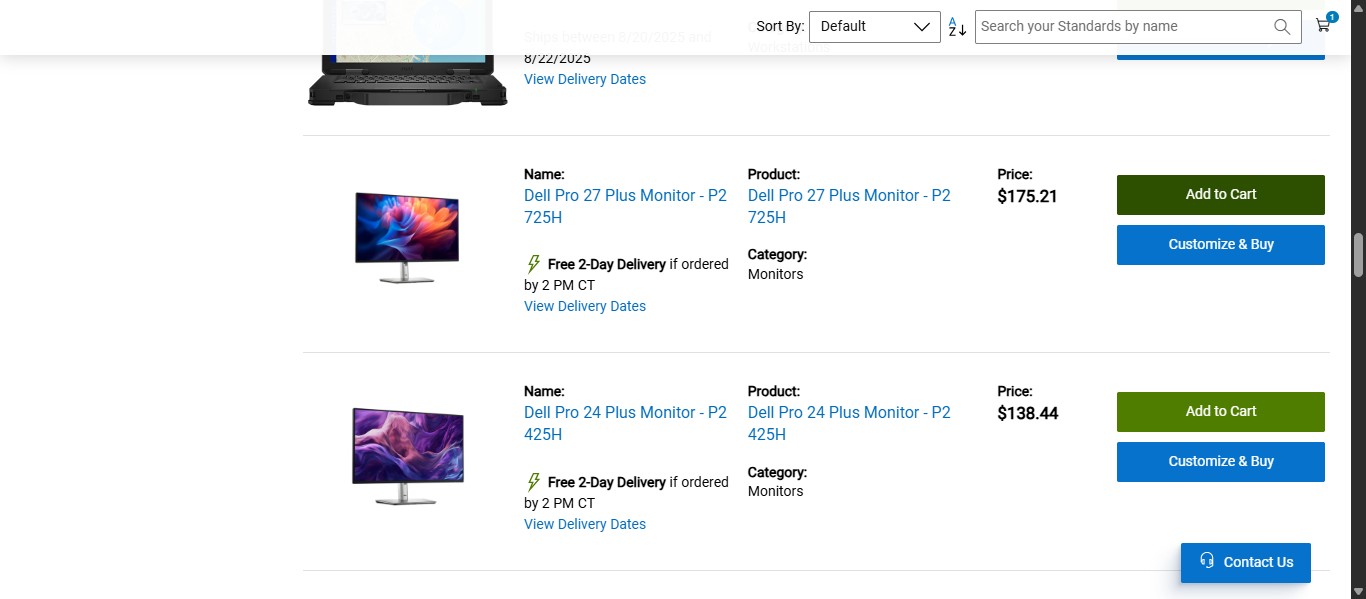
Click on "Add to Cart"
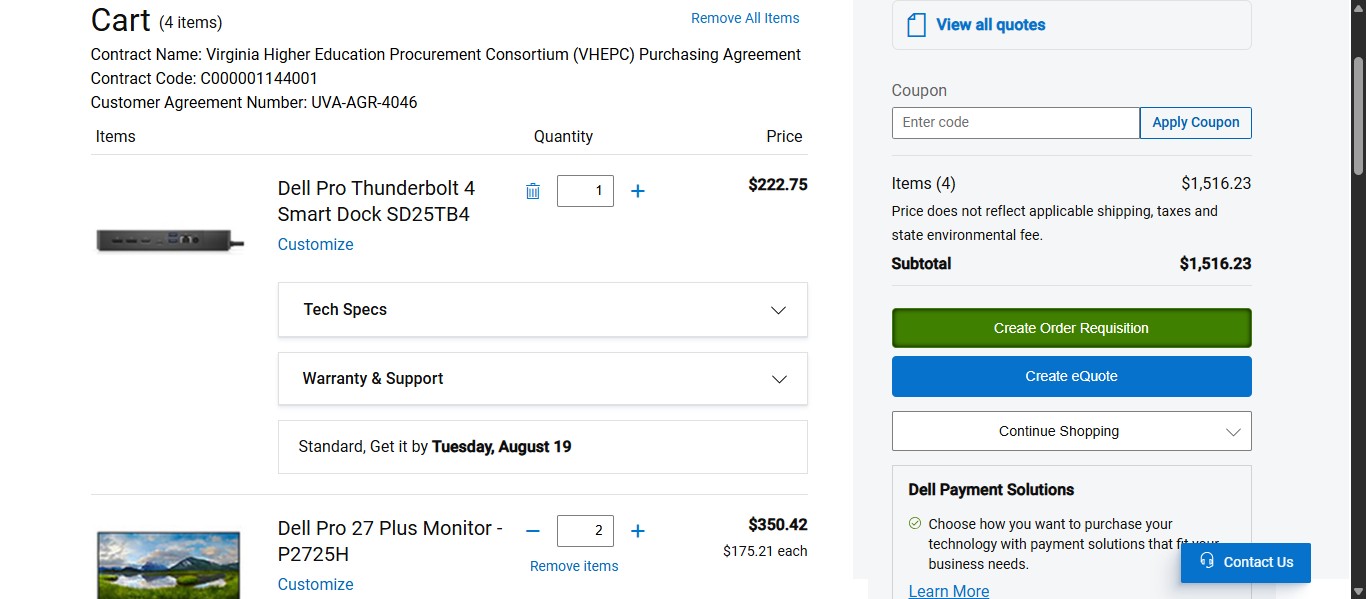
When all items requested are added to the cart, select the shopping cart icon in the top right.
Since the Standard request form requested a quantity of 2 27" monitors, you can manually add them twice on the previous screen OR you can increase the quantity here on the cart screen.
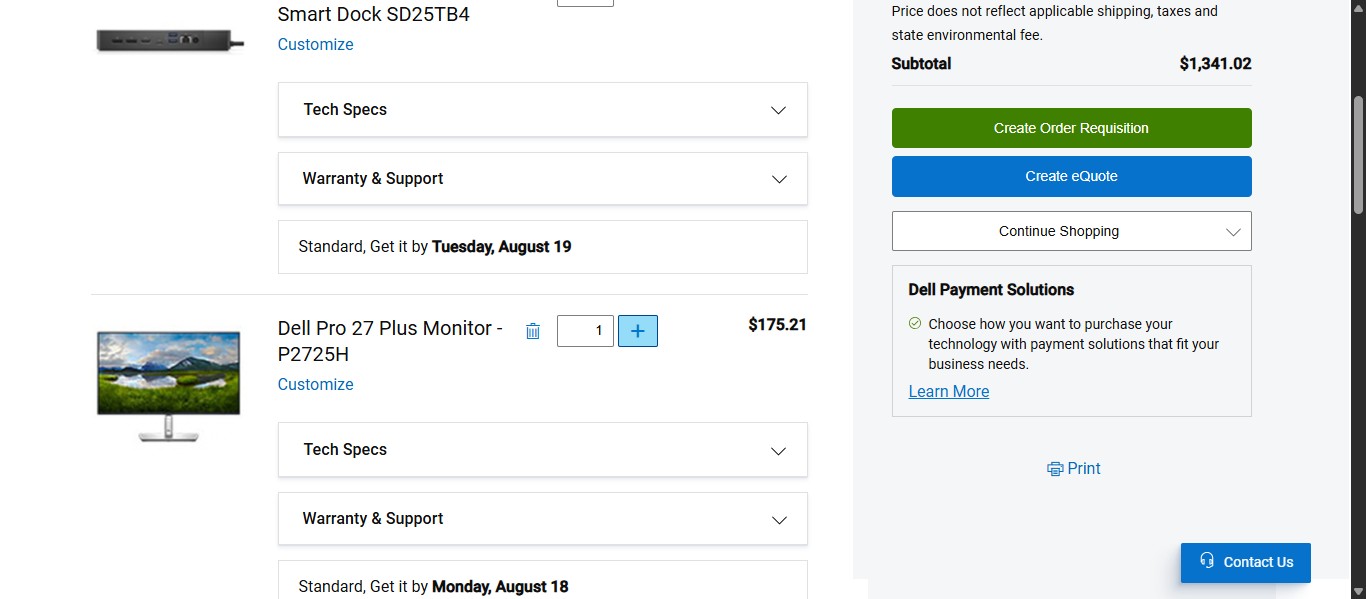
Once you've reviewed the items selected in the cart are accurate to what is requested, you can click on "Create Order Requisition."
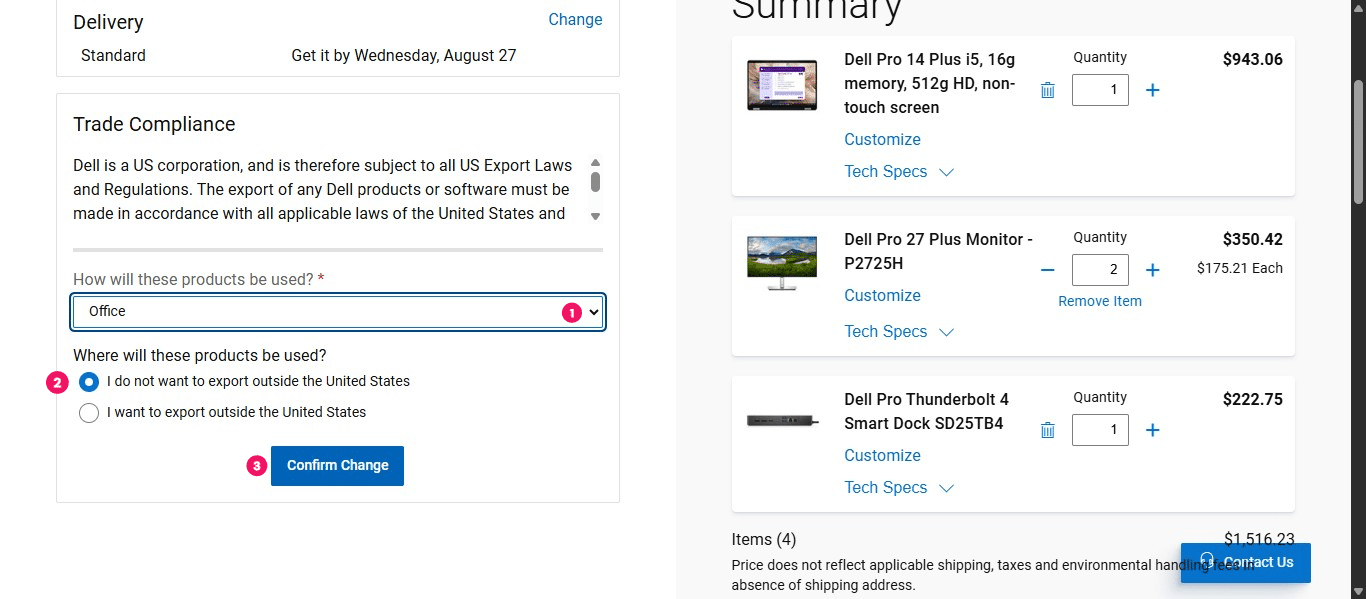
Dell requires you to select an option of where the item will be used. Select "Office. Then select the radio button for "I do not want to export outside the United States" and click "Confirm Change."
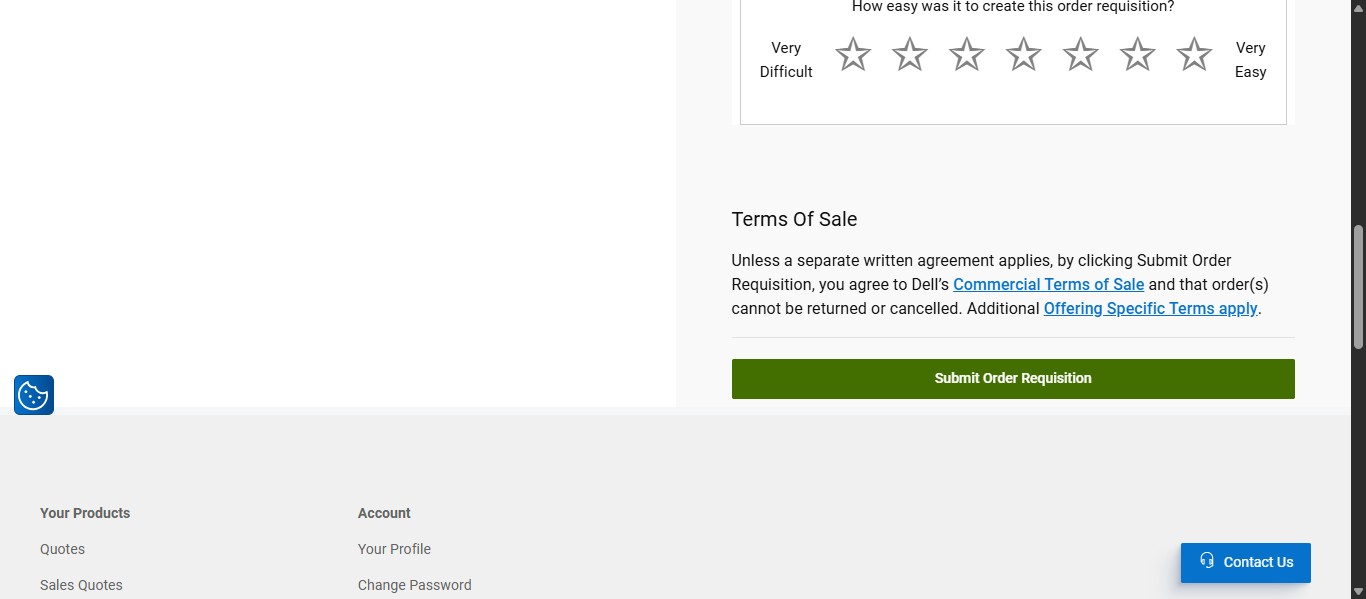
Click on "Submit Order Requisition"
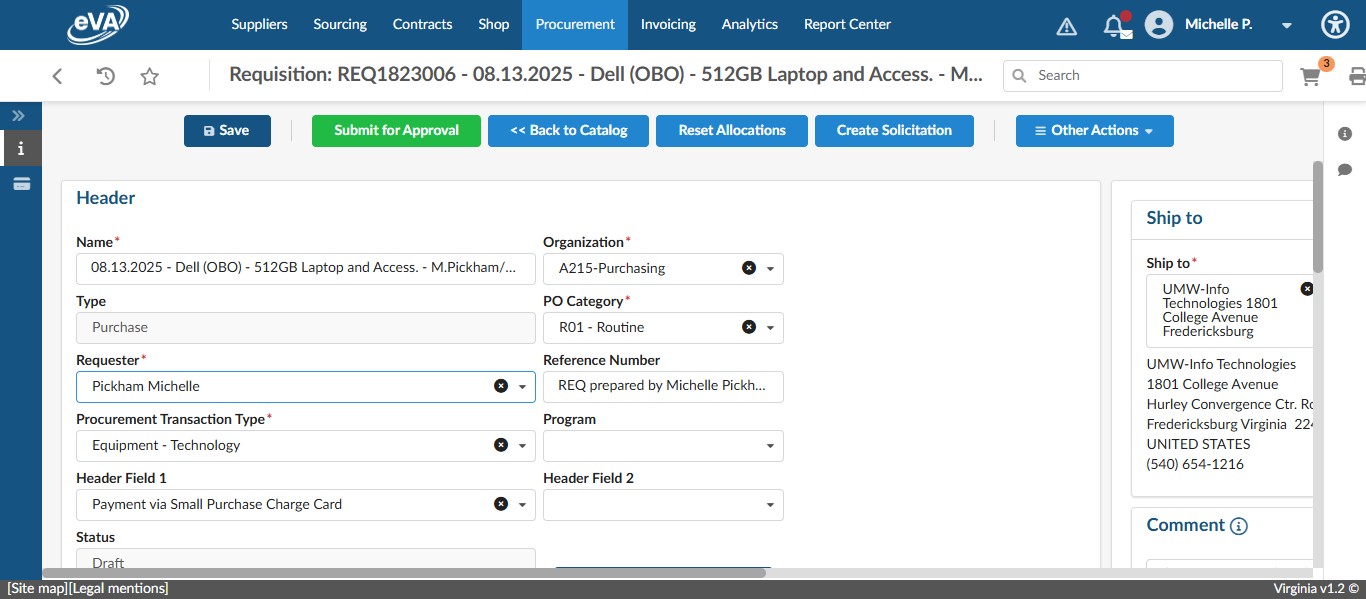
Submitting the Order Requisition will turn the cart contents into line items and start a draft requisition. Enter a Title for the requisition in the Header Name field. A good formula for the title is "MM/DD/YY - Vendor (OBO) - Brief Item Description - End User/Dept"
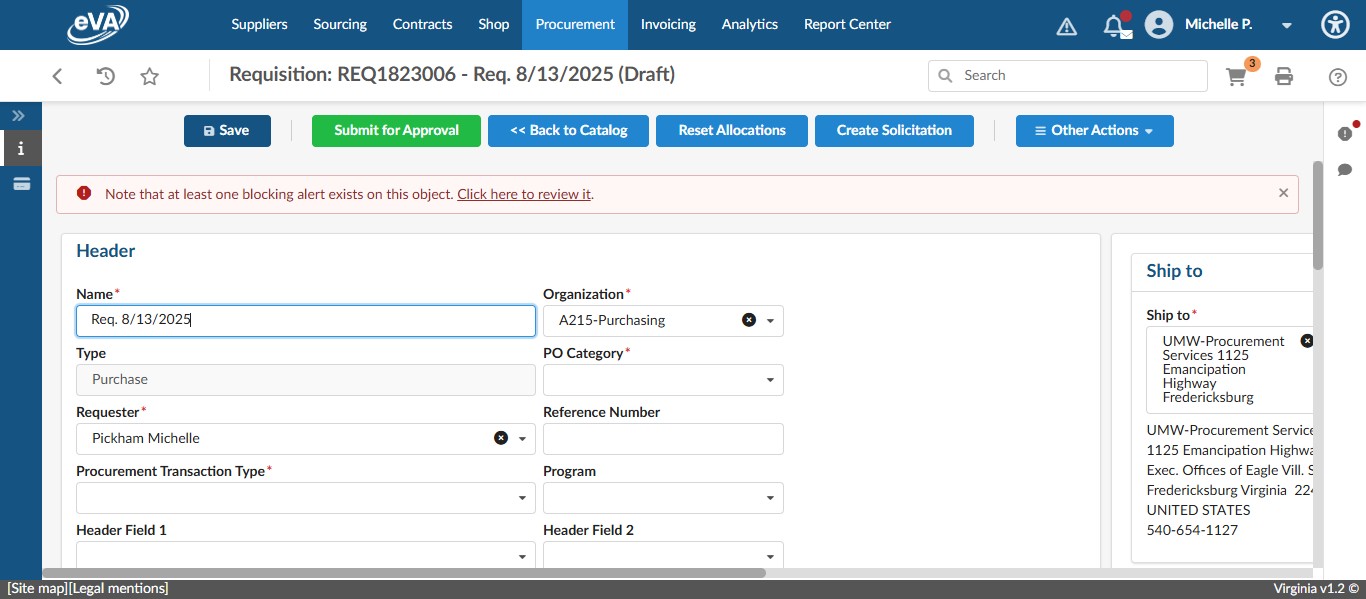
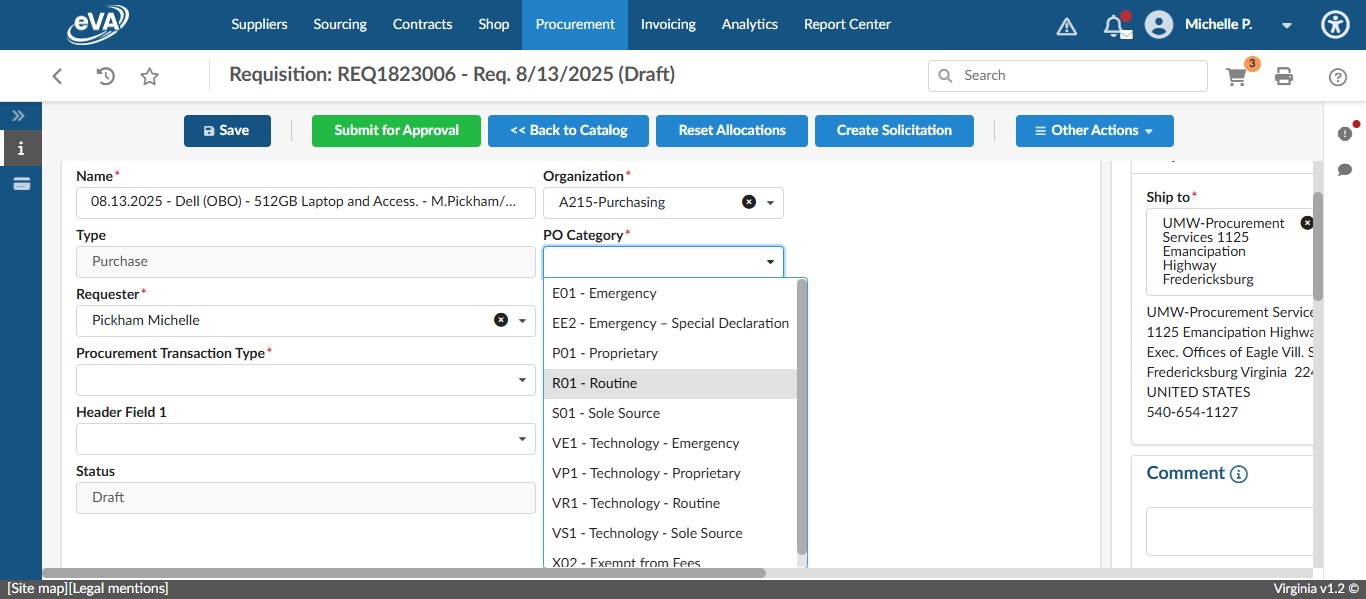
Change the PO Category to "R01 - Routine"
In the Reference Number field, enter something close to "REQ prepared by" and your name. Anything similar will work.
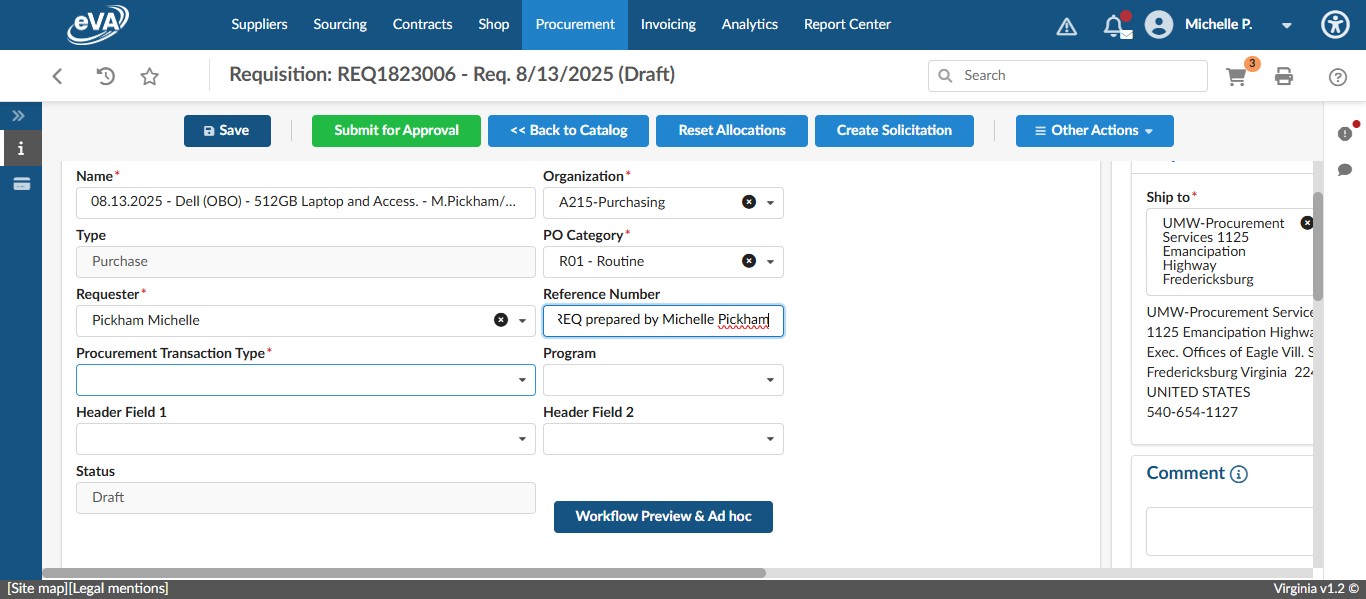
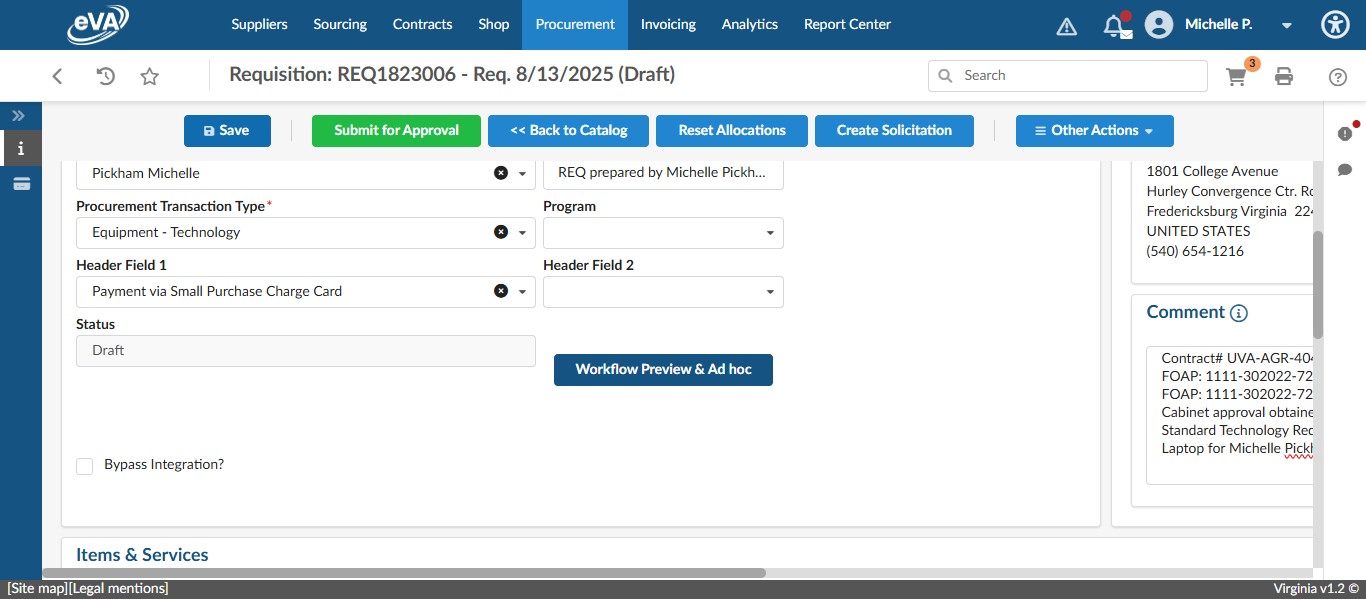
Change the Procurement Transaction Type accordingly. In this case, select "Equipment - Technology"

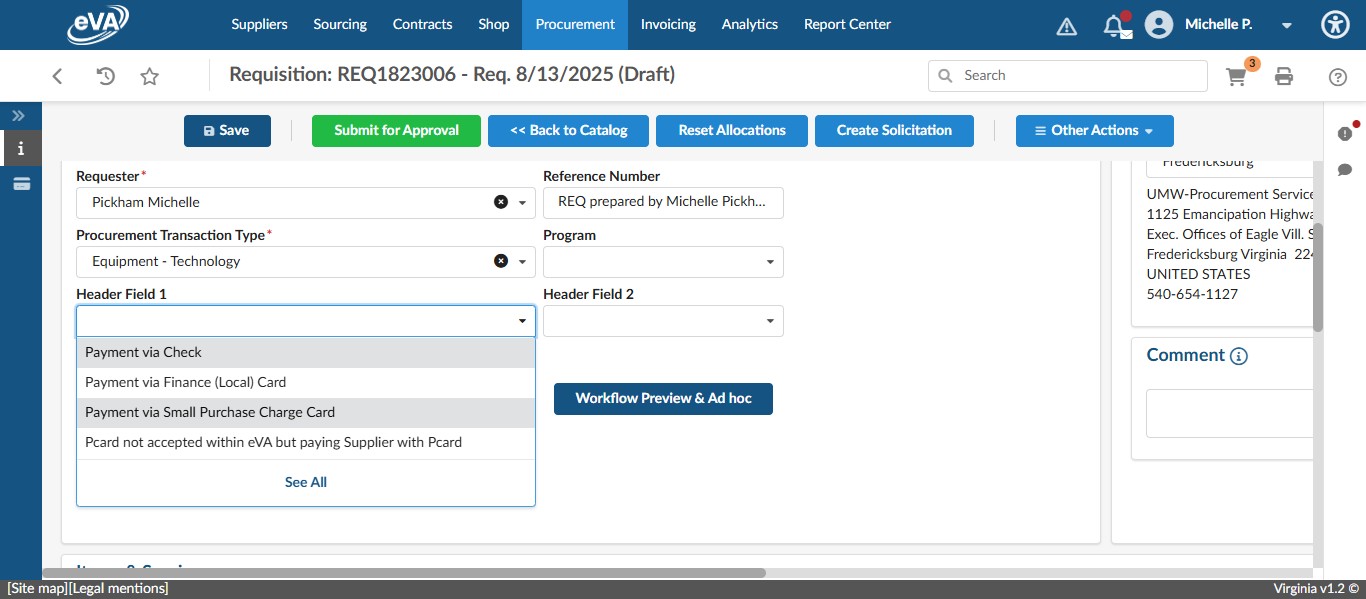
Click on the Header Field 1 drop down and select the appropriate intended payment method. If being paid for with state funds, click on "Payment via Small Purchase Charge Card." If being paid for with non-state funds, click on "Payment via Finance (Local) Card." In this case, we are paying with a SPCC.
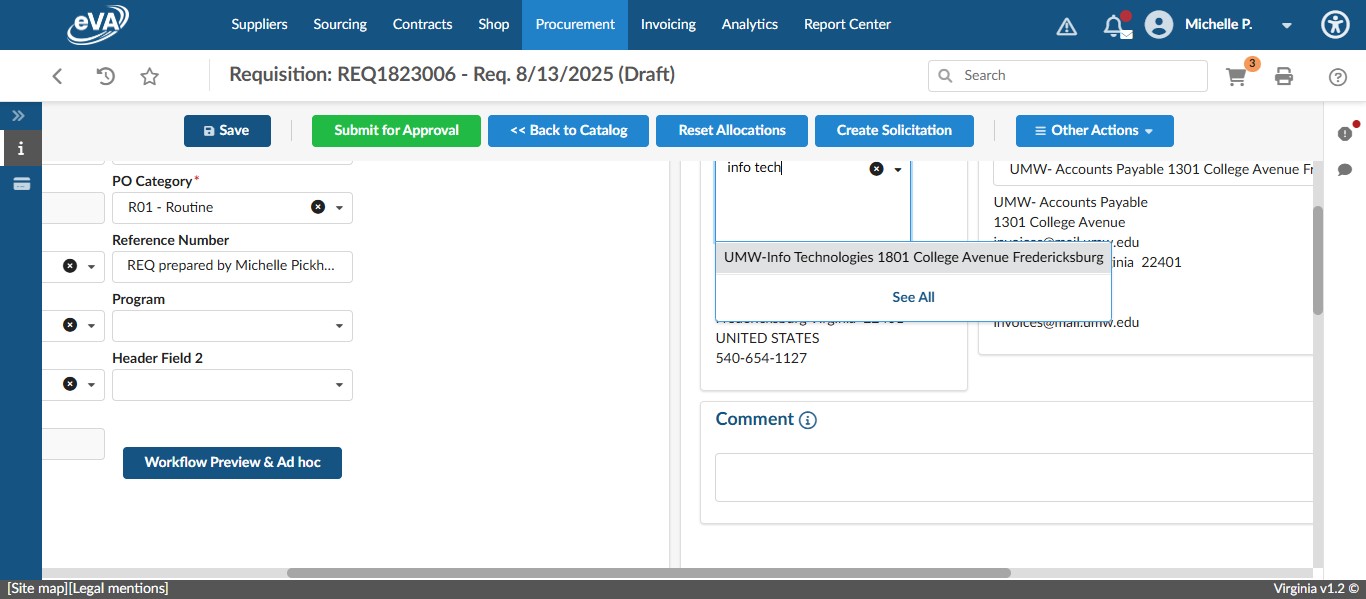
Since laptops need to be handled by IT, the entire requisition should be shipped to the IT Business Office, so change the Ship To location accordingly.
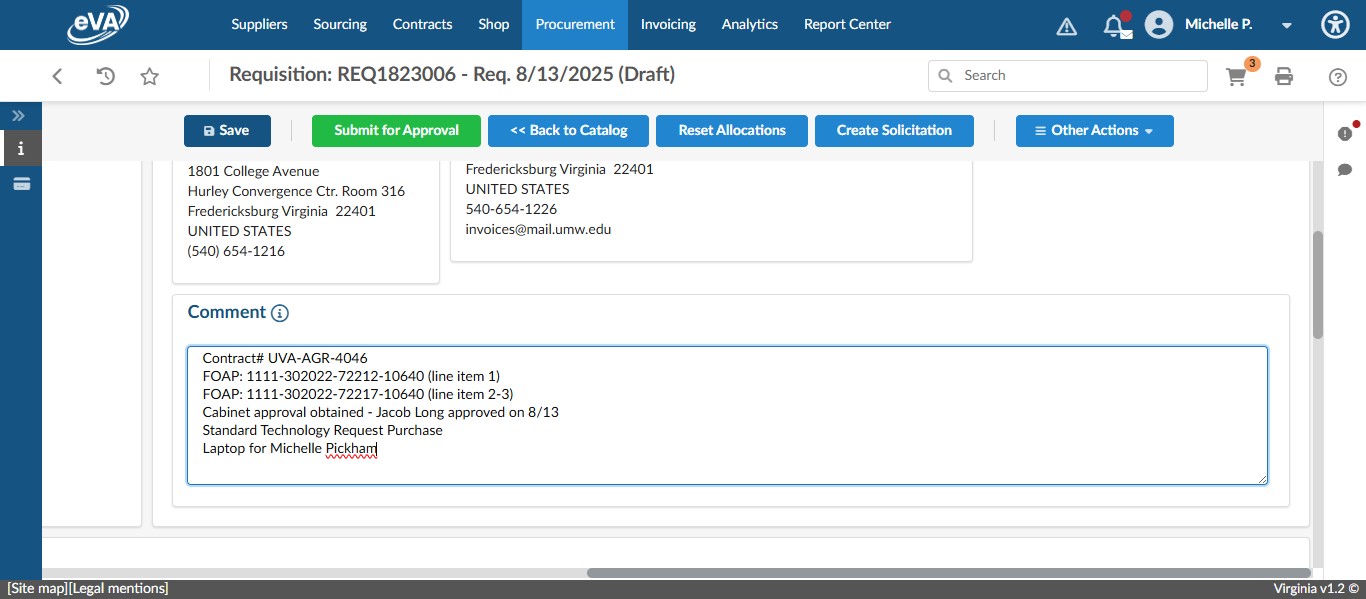
Include the following information in the Supplier Comment box: FOAP (separated out if there are different FOAPs or account codes for different items), Contract #, IT Ticket# or reference to the Standard Technology Purchase Request, Cabinet approval if needed, who the item is for, and any other relevant information.
Once all fields in the Header are completed, click on "Save"
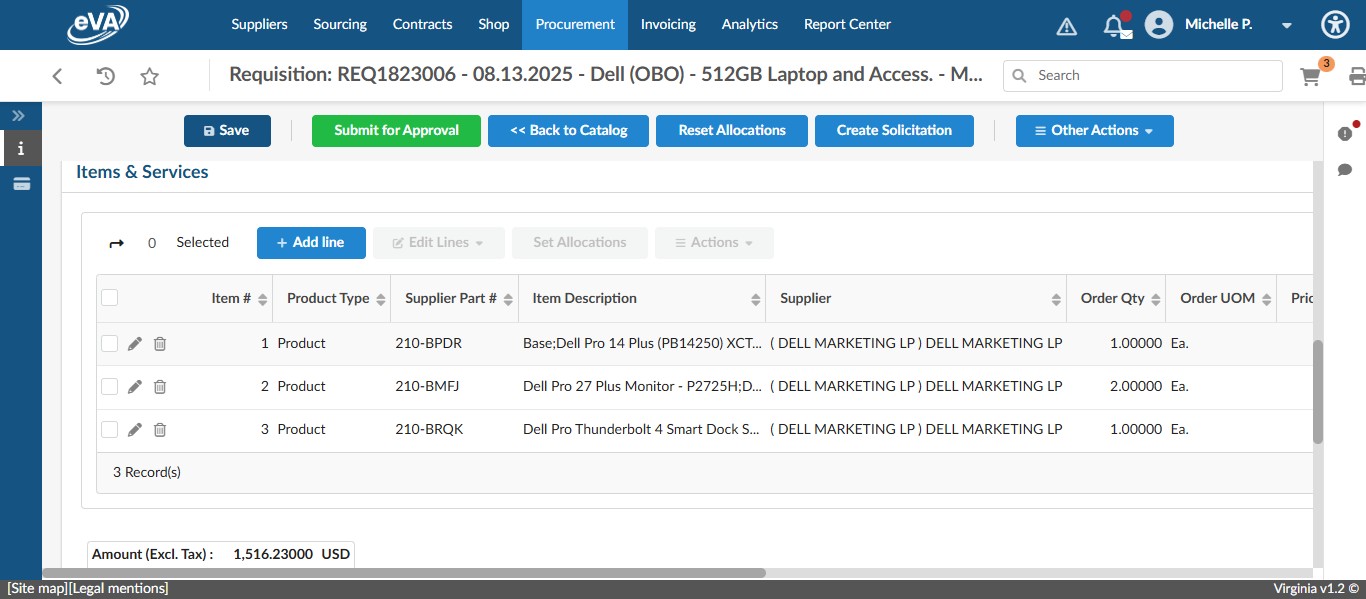
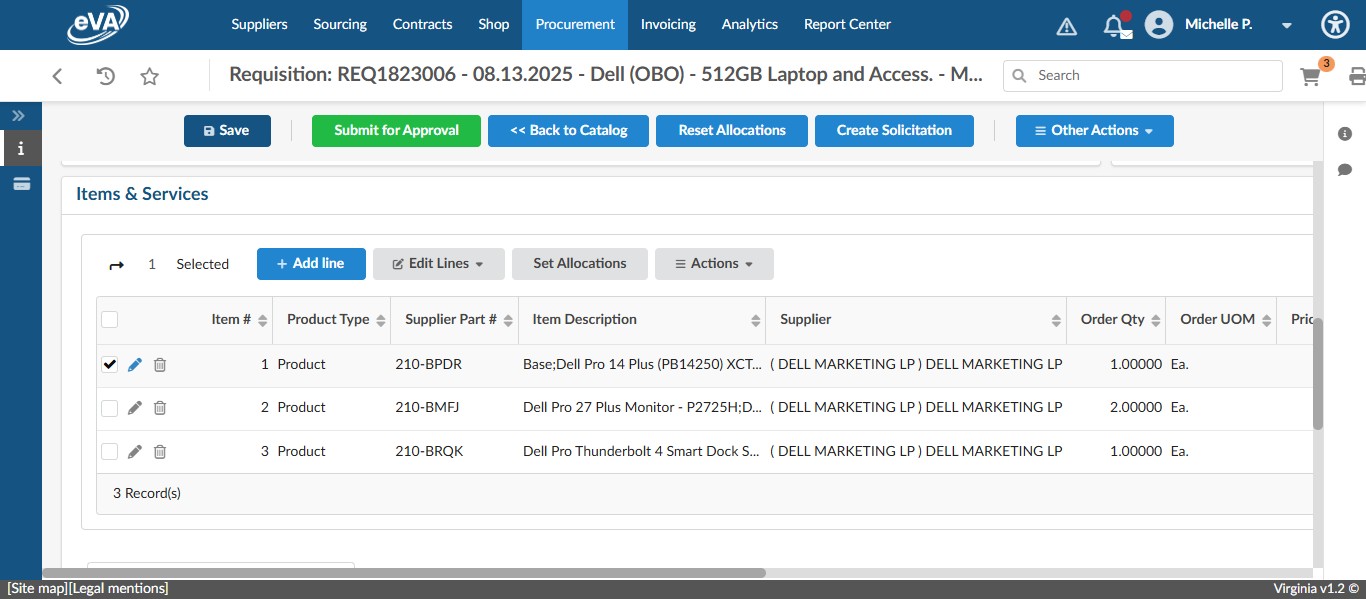
Scroll down to the Items & Services section to edit our line items. Because this is a catalog purchase, all shopping cart selections have automatically been made into line items. The only edits needed are to include a FOAP and change any shipping information as needed.
For multiple line items, it is easiest to mass edit and change an individual item if one FOAP is different.
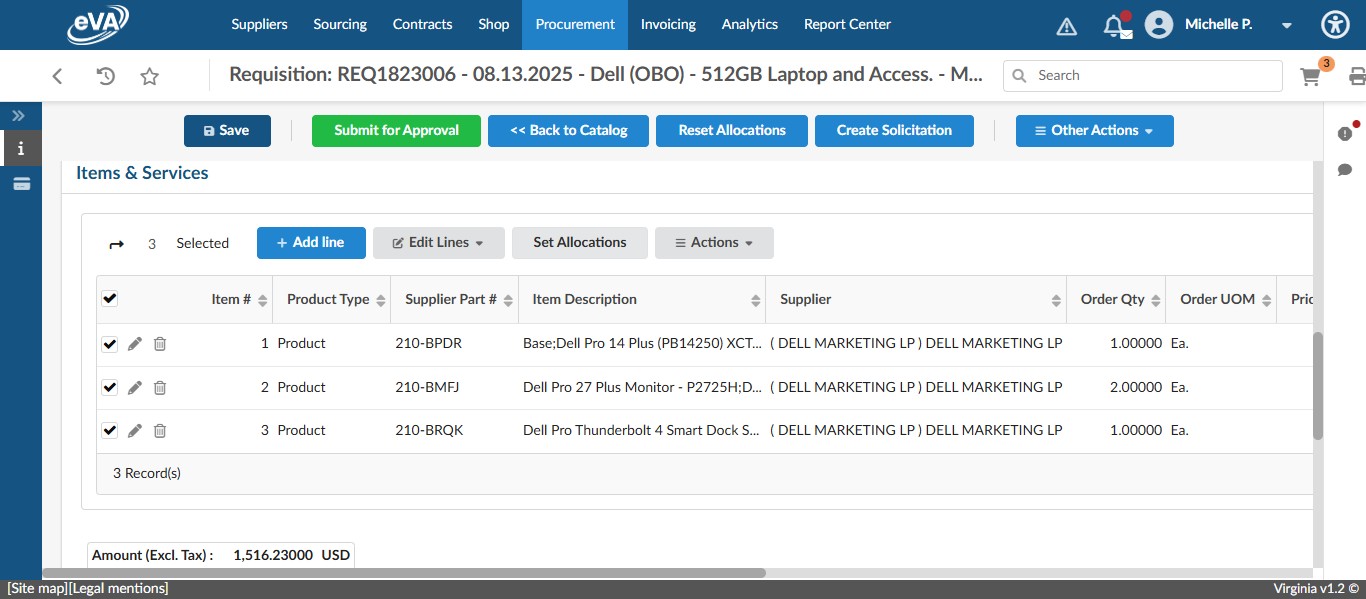
To multi-select items for mass FOAP editing, select the check marks next to the line items you want to set, or select the check box next to Item # to auto-select ALL line items and then click on "Set Allocations"
Click on "+ Allocation"
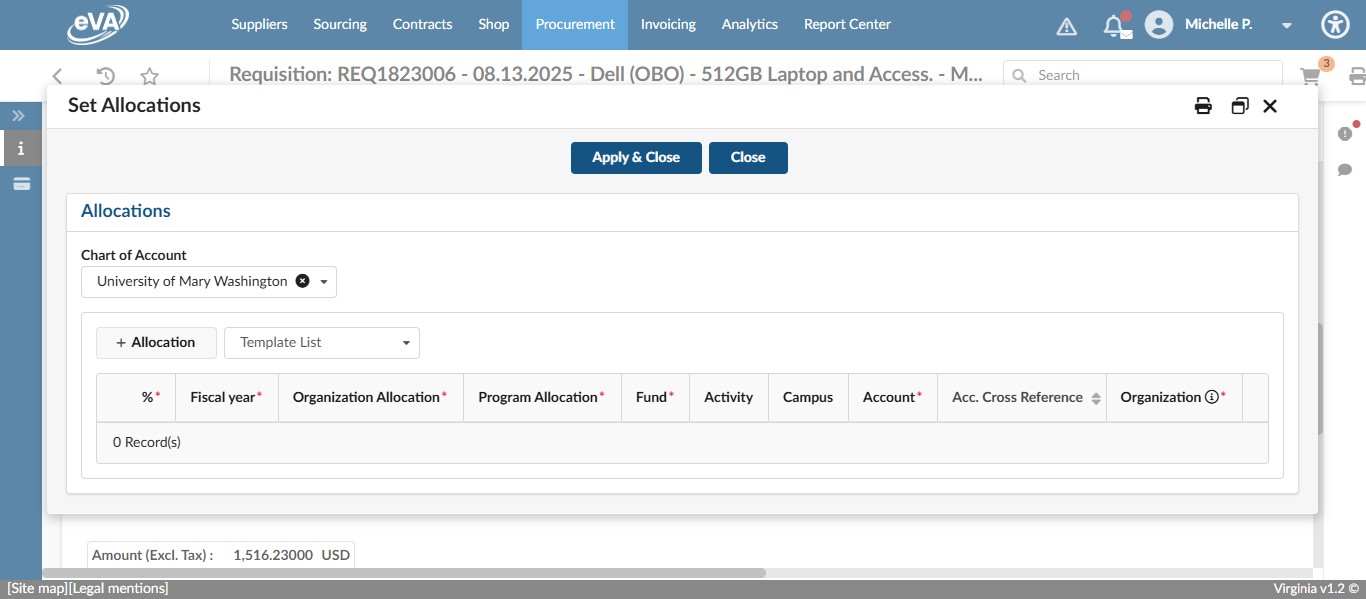
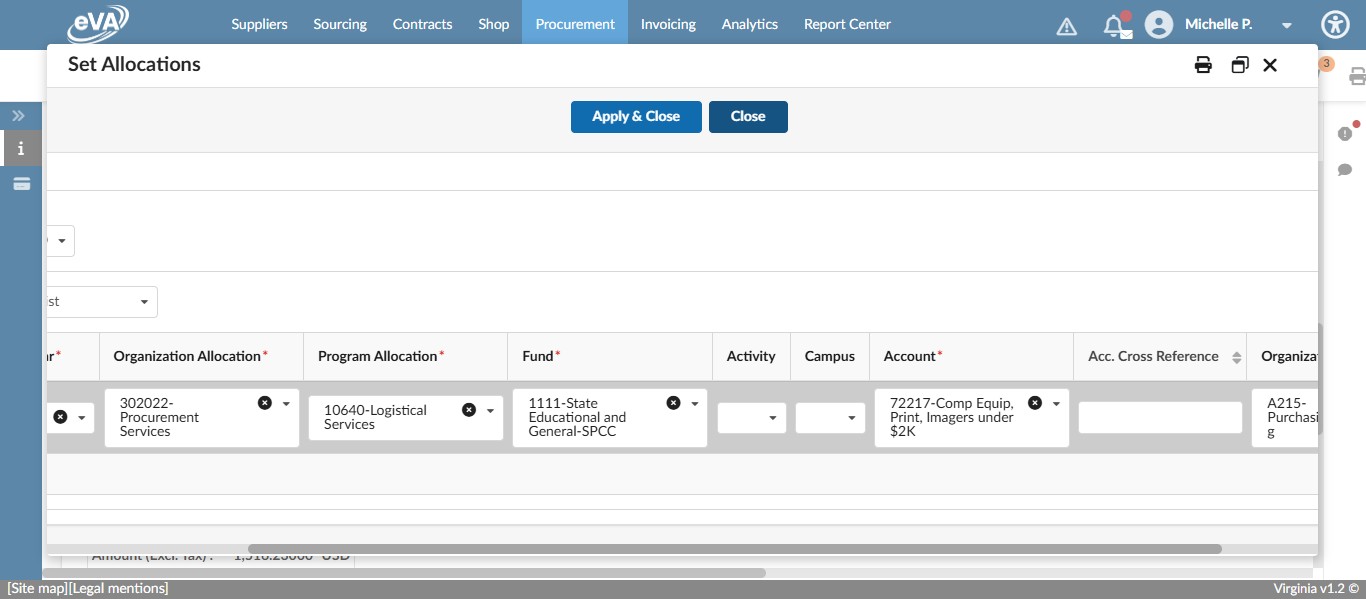
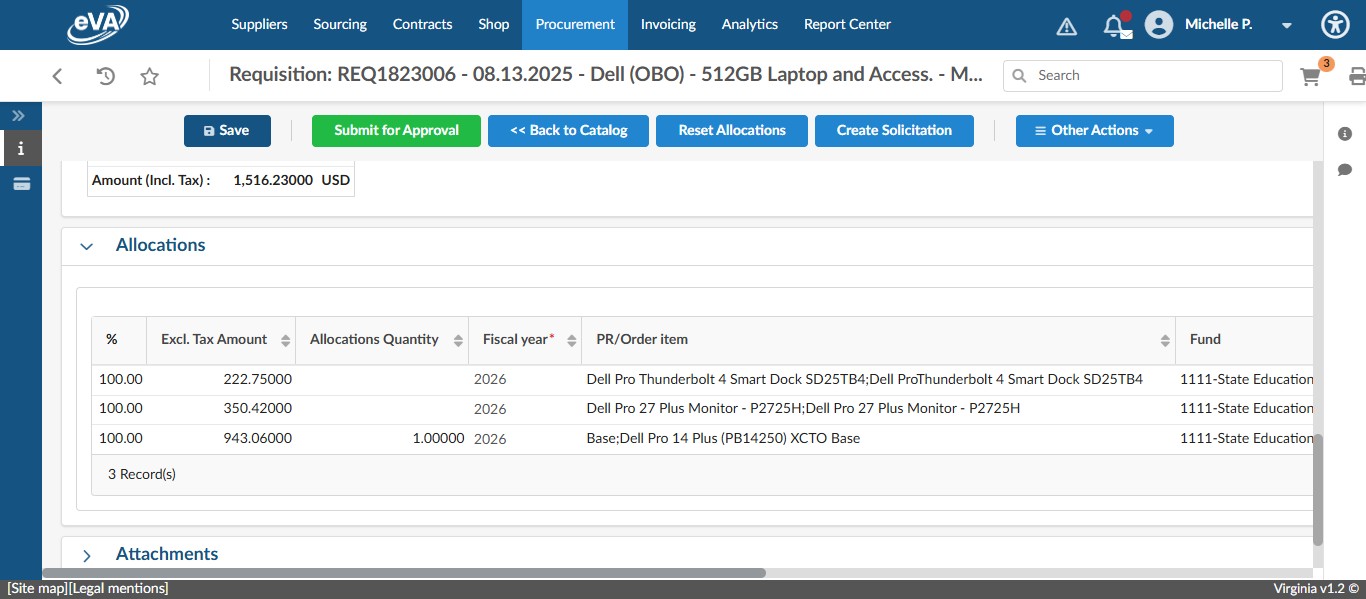
Enter the Fiscal Year, Organization, Program, Fund, and Account codes then click on "Apply & Close." Enter the Account code that will be used the most for these line items.
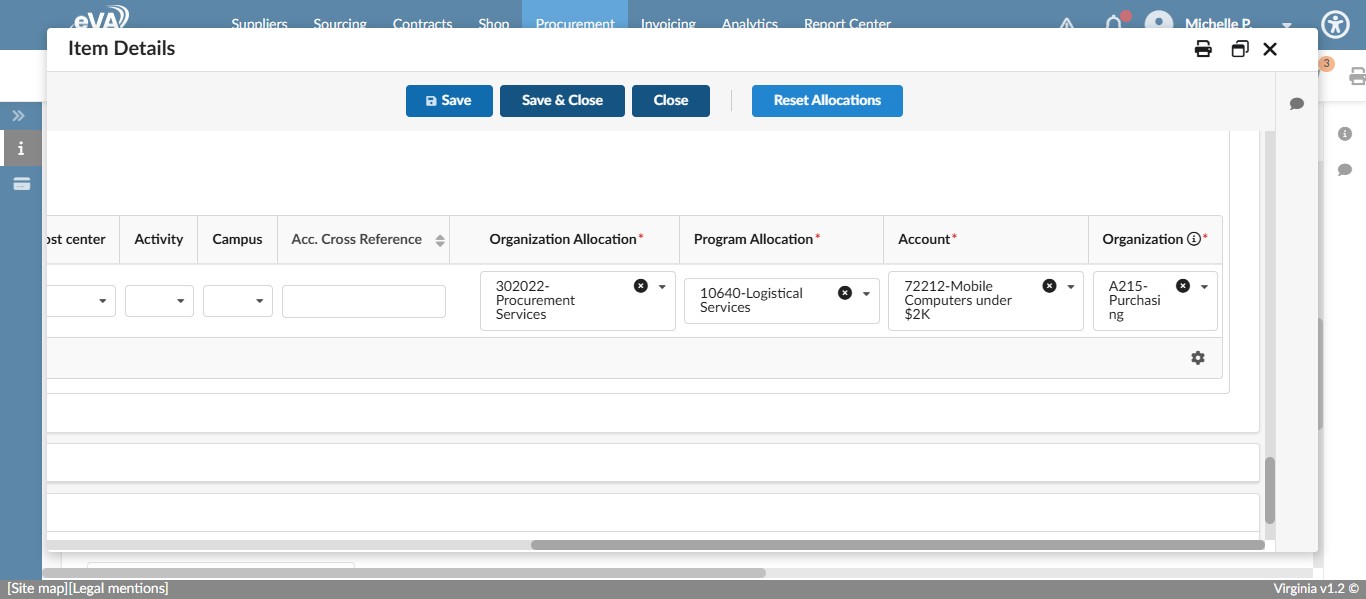
To go back and edit just one of the line items that was mass allocated to a differen Account code or different FOAP, select the pencil next to that line item.
Scroll down to the FOAP and edit what is necessary. In this case, the line item is a laptop and should not be coded as a peripheral, so we are changing the account code from 72217 to 72212.
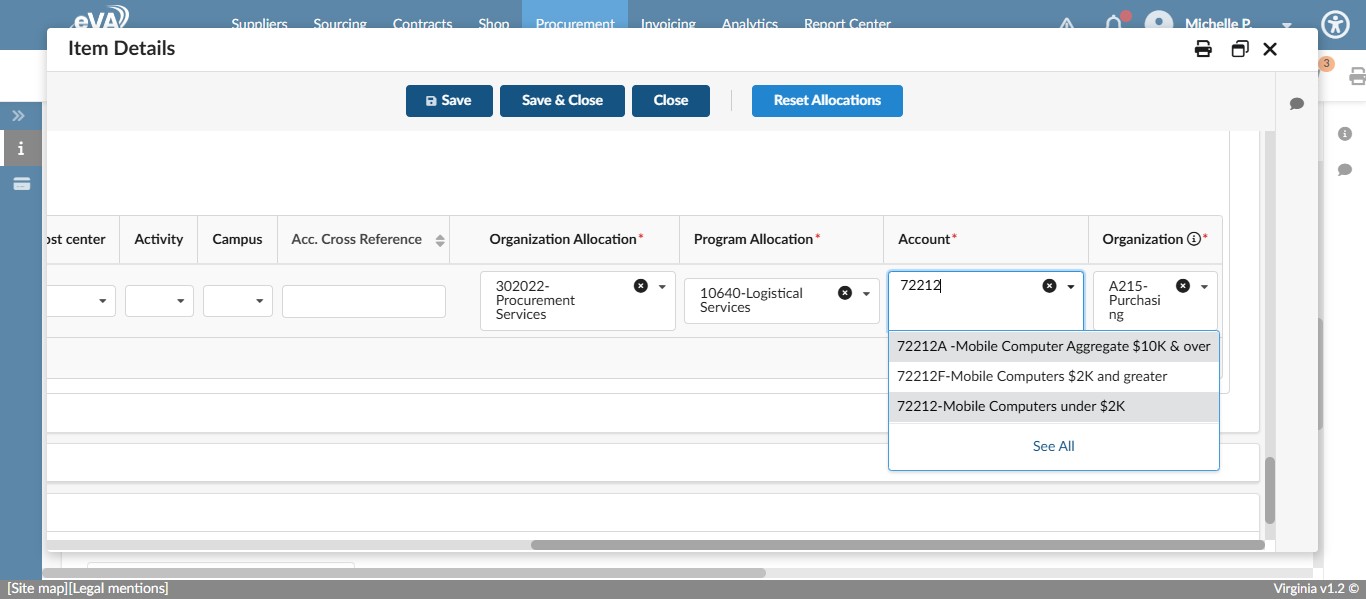
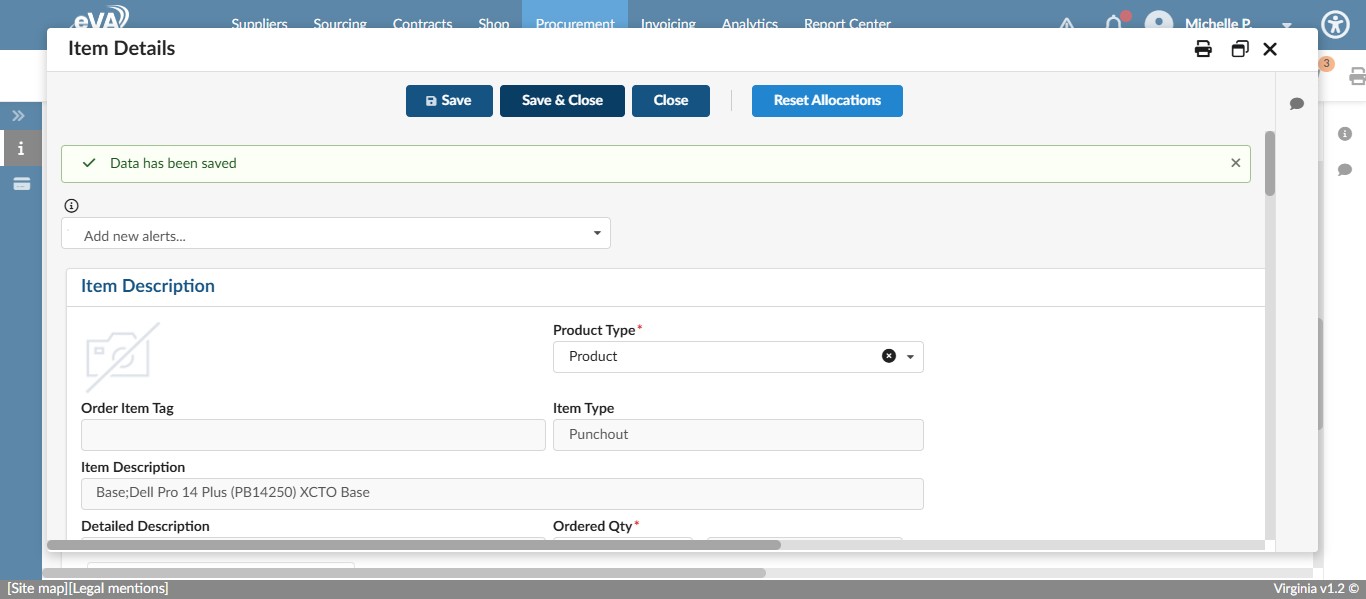
Click on "Save"
Click on "Save & Close"
If you want to add any attachments or anything else to the requisition, now is the time to do that.
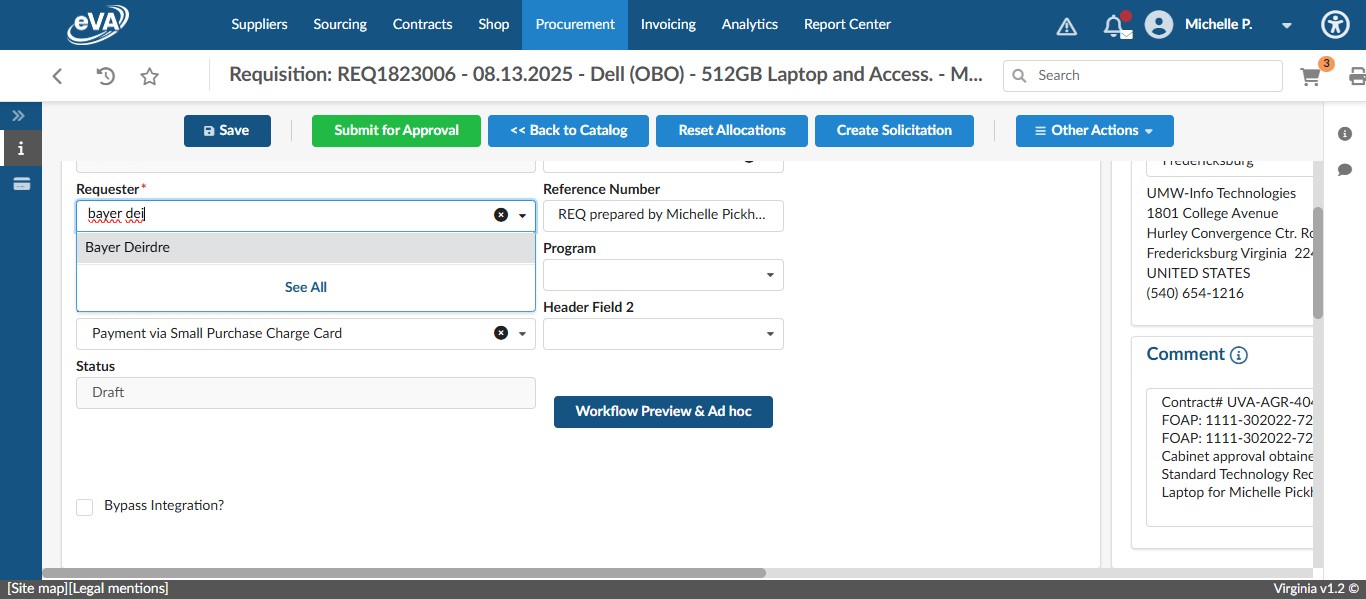
Otherwise, at this point, you can change the Requester of the requisition to the Cardholder responsible for the payment.
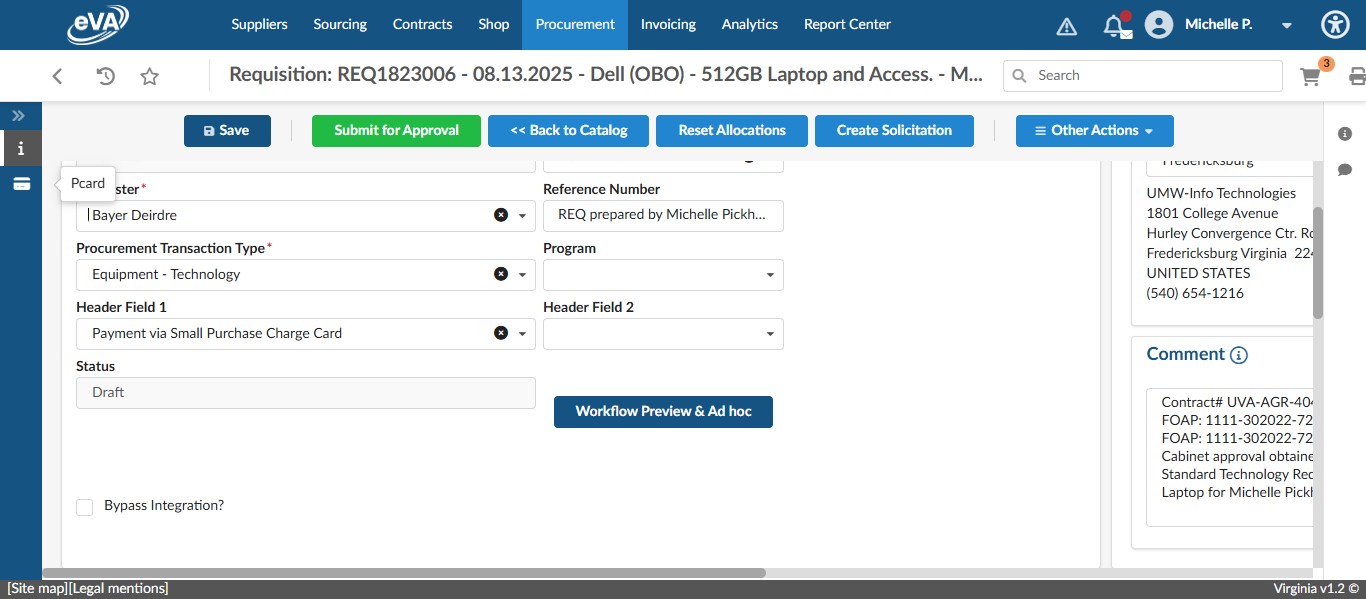
For this example we are going to use Dei Bayer.
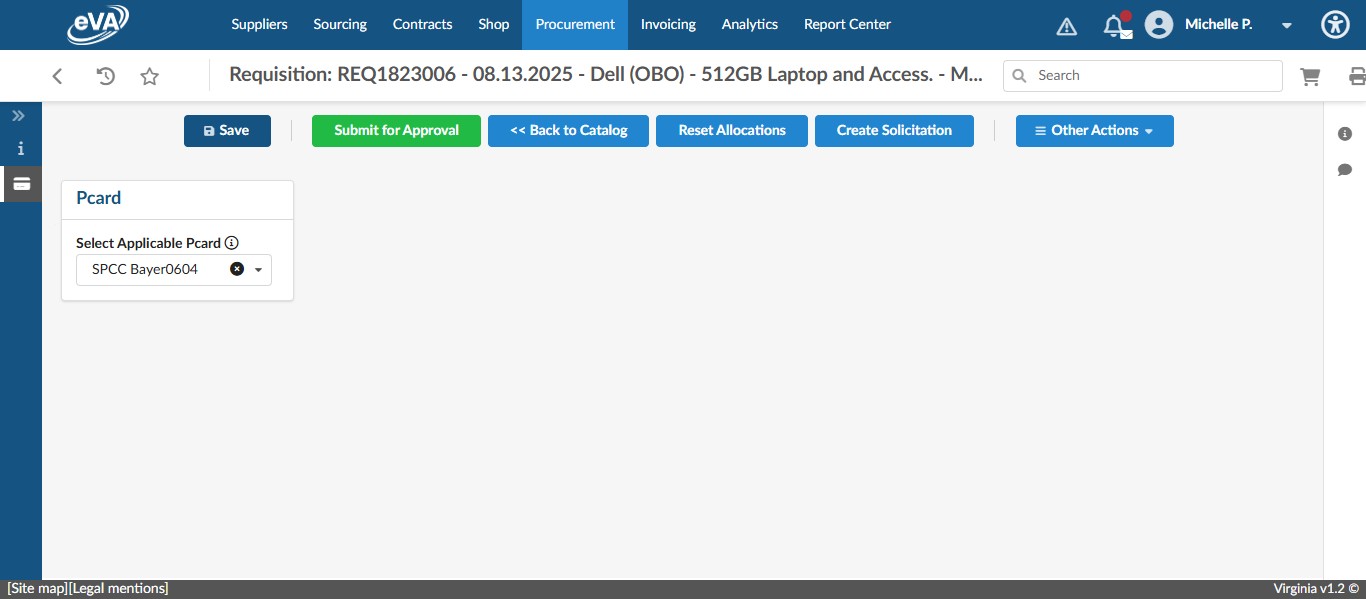
Then we need to select the pcard of the Cardholder paying. Click the Pcard icon on the left menu.
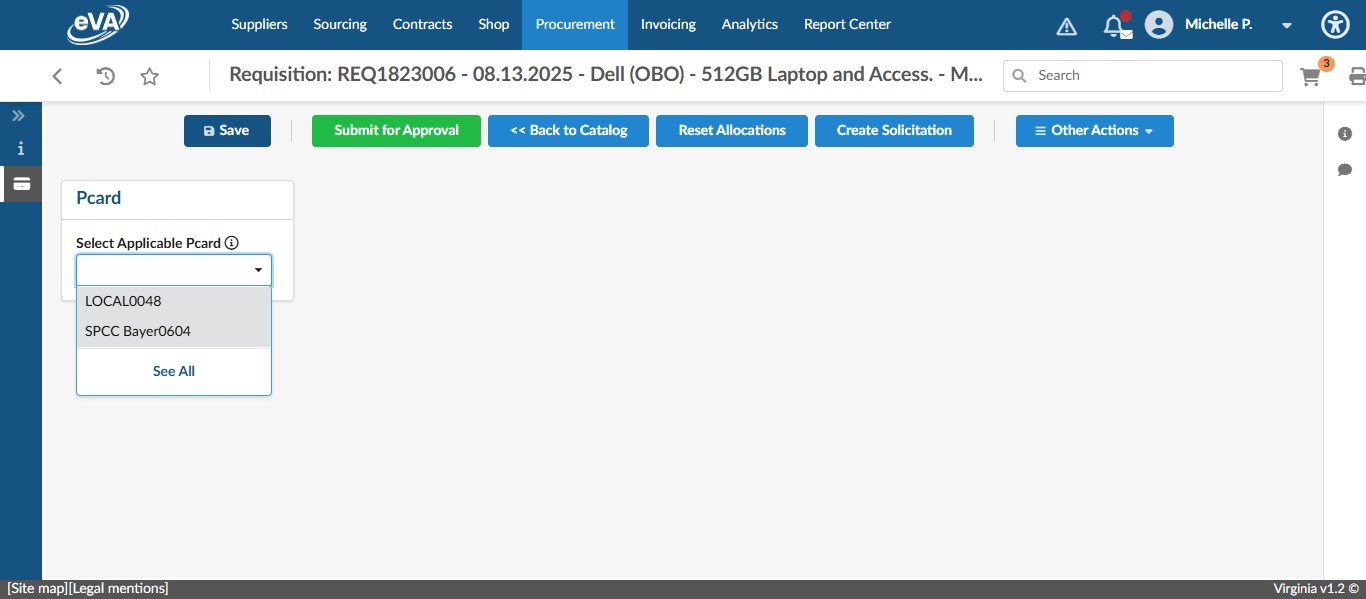
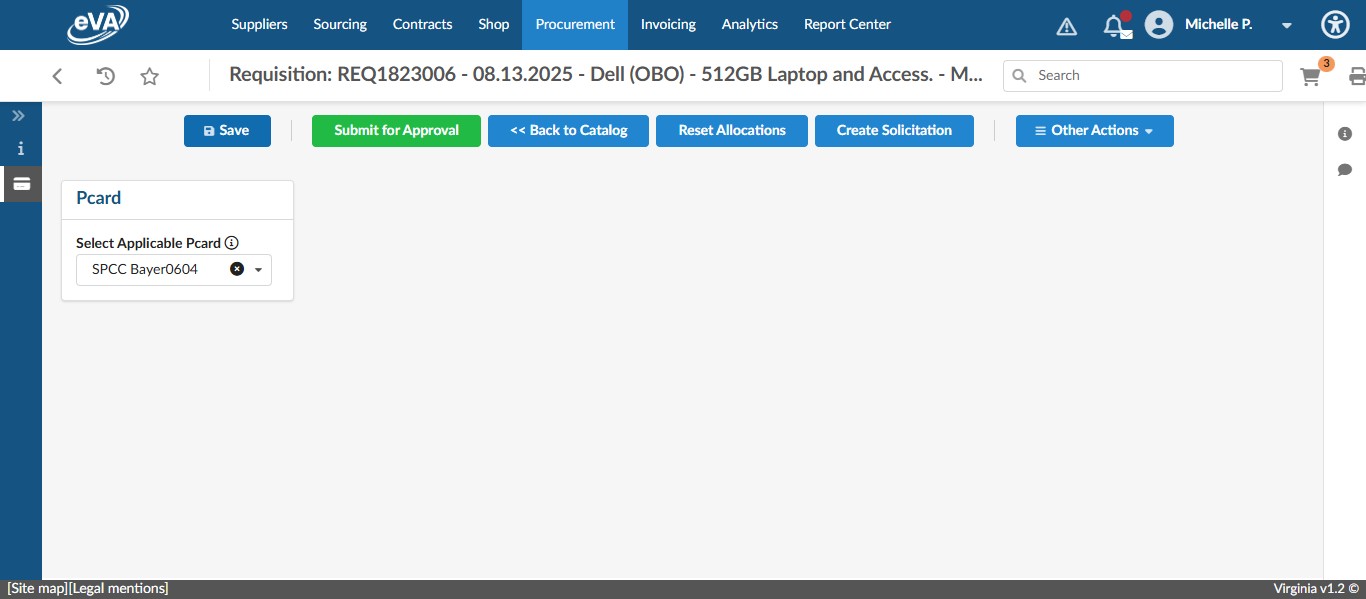
Click on the drop down and select the appropriate card.
Click "Save."
Once the card is saved and you've reviewed the requisition, you can click "Submit for Approval."